STEP 15
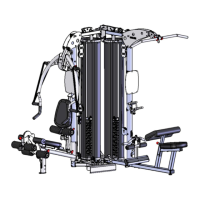
Pulley 1
Pulley2
Pulley 3
Pulley 4
Pulley 5
Pulley 6
Pulley 8
Pulley 11
Pulley 9
Pulley 7
Pulley 10
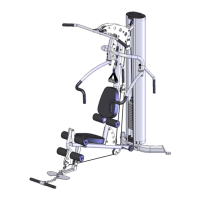
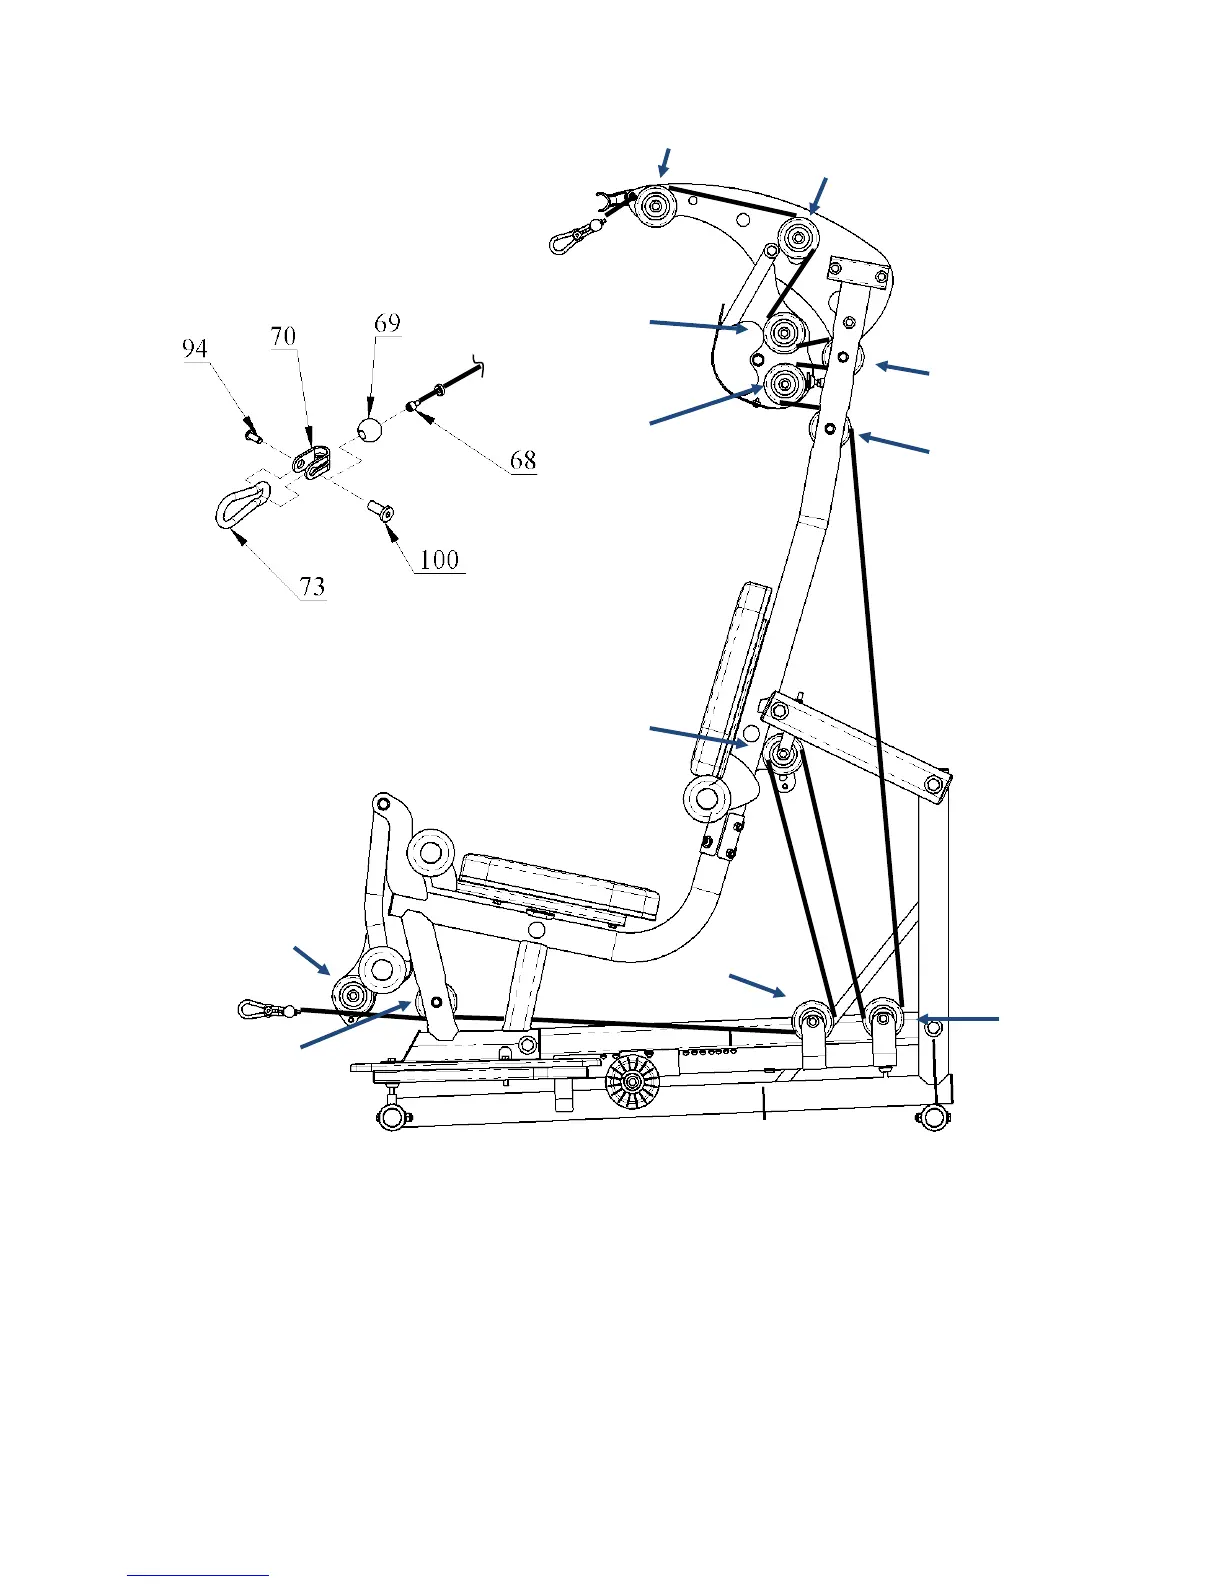
Began at the top of the machine and run the cable sequentially from pulley #1 to pulley #11, as
shown in the above drawing. Once complete, finish both cable ends with a plastic ball (#69),
“U” bracket (#70), flat head nut (#100), button head bolt (#94), and a spring clip (#73). Look
back over the cable routing to make sure that the cable is sitting securely in each pulley.
Note: Wrench tighten “U” bracket hardware at both ends of the cable.
Page 18 5/11
 Loading...