19
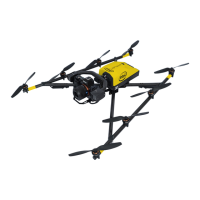
First setup only.
2. Push ENT to activate the rst digit.
3. Enter the rst digit of the serial number by using the
arrow RIGHT/LEFT buttons to increase/decrease the
number. (RIGHT increases the number, LEFT decreases
it.)
4. Push ENT to conrm the rst digit. The next digit can be
entered now.
5. Repeat this ve times (for every digit).
6. Push ENT to conrm the serial number. OK is highlighted.
7. Push ENT and the connection will be established.
(The next time the UAS is powered ON, these settings
will be recalled and the connection will be established
automatically.)
7
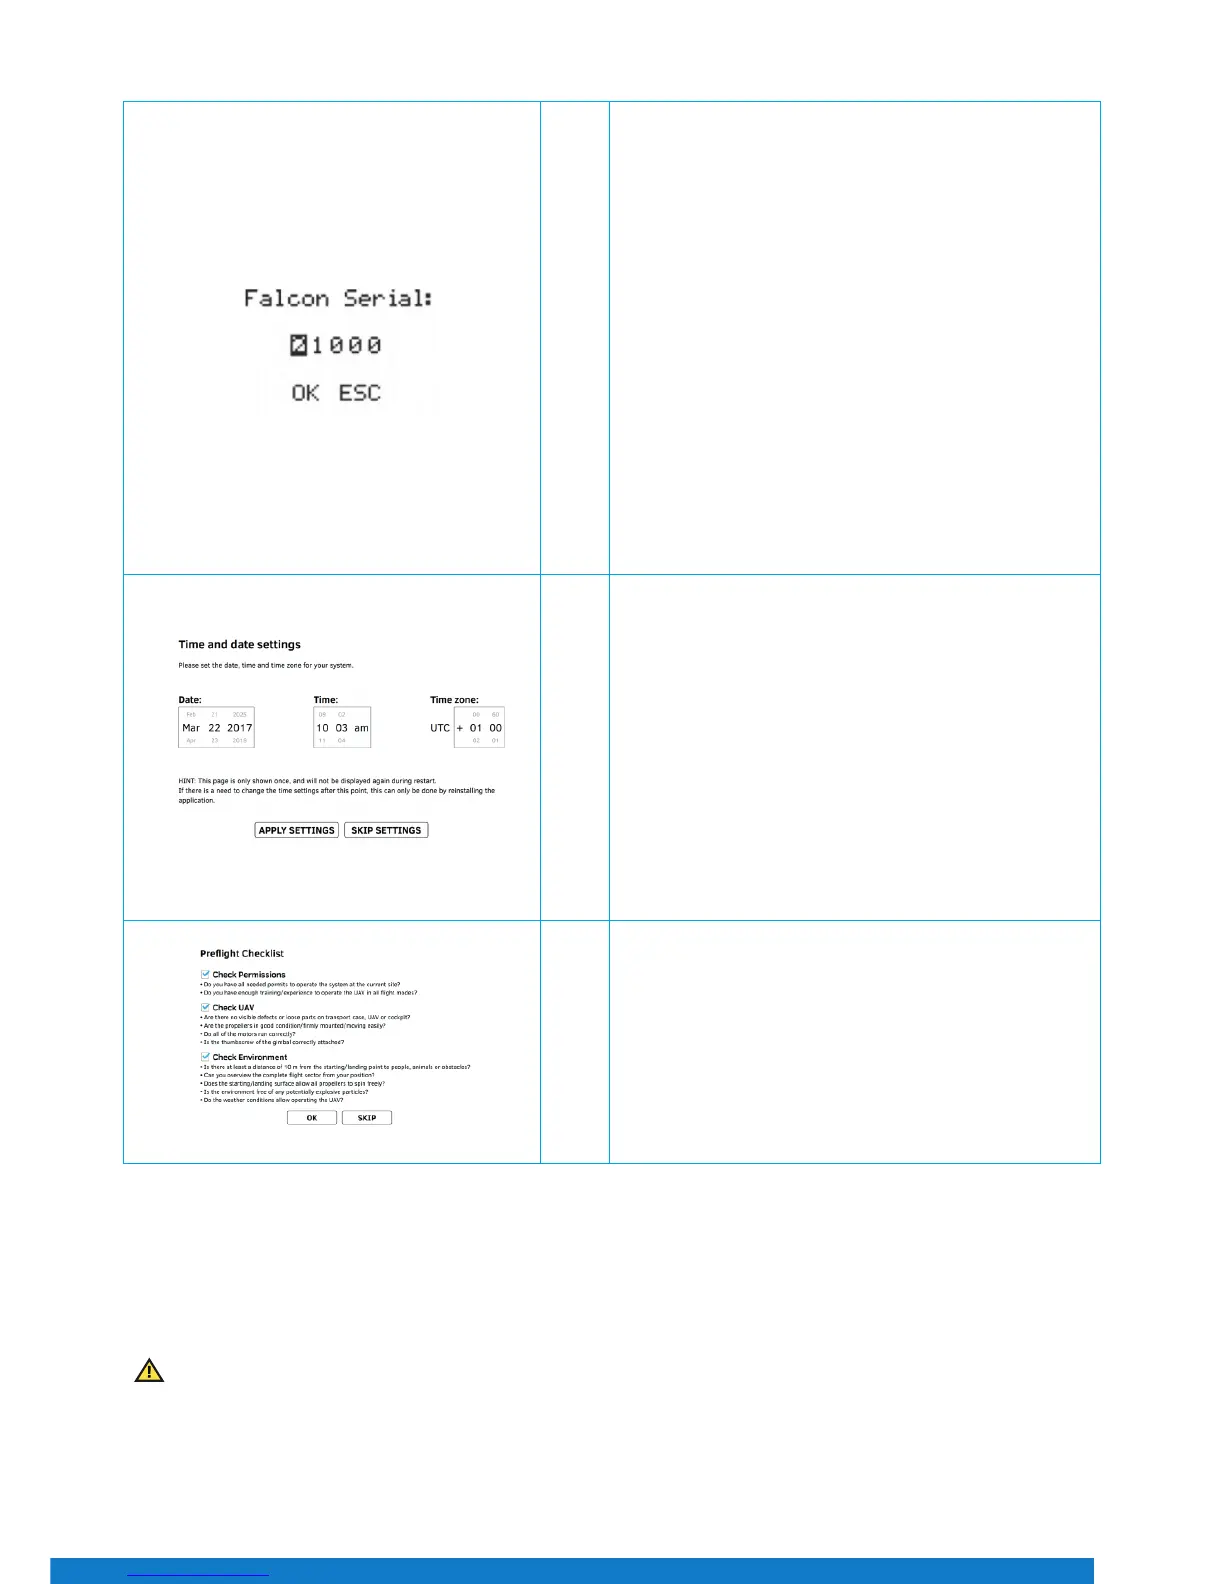
The rst time the touchscreen tablet is started, it is
necessary to set the UAS time and time zone. To do so, tap,
hold and drag the respective value. When set, conrm with
APPLY SETTINGS.
If SKIP SETTINGS is selected, there will be a warning that
projects might have incorrect data, and time values. At the
next start, the time and date settings will be presented
again.
(Once the settings are applied, the time and date settings
screen will only be shown again after a software update of
the touchscreen tablet.)
8
The touchscreen tablet always starts with the Pre-ight
Checklist, where the most important safety aspects are
listed. Make sure to comply with all aspects shown, conrm
all three check boxes and tap OK before take-o.
You may tap SKIP at your own responsibility. After tapping
OK or SKIP, the main screen of the application is opened.
Figure 37
Figure 38
Payload and Compass Calibration
First setup only.
The rst time that a payload is connected with the Intel Falcon 8+ UAV, it is necessary to rst perform a payload calibration, and
then the compass calibration (strictly in that order). The Intel Falcon™ 8+ UAS will save the calibrations with that exact payload,
and remember it the next time it is used.
If the calibrations are not done, the UAS will use default parameters which will lead to decreased heading accuracies.
Figure 39