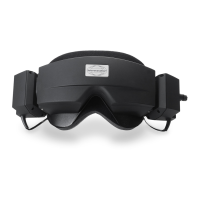
Air Fx Irrigator Instructions for Use - US Page 15
The irrigator front panel LCD display will show the irrigation method (Cool or Warm) followed by the
desired irrigation temperature (24°C) and the current temperature (e.g. 23.4°C).
Irrigation will be available after the desired temperature has been reached and stabilized. Once this
occurs, the Air Fx will emit an indicator tone and will display “Ready” below the irrigation information.
3.5 Perform the Irrigation
An audiologist or physician should inspect the patient’s ear with an otoscope prior
to testing, looking for infection, open wounds, wax impaction, or a perforated
eardrum. If any of these are observed, DO NOT proceed with irrigation using the
Prior to irrigation, the patient should be supine with their head elevated 30 degrees. The patient’s head
should be at an elevation within 12 inches (higher or lower) relative to the irrigator height. Irrigating with
the patient elevation too high or too low will adversely affect the irrigation flow rate.
Once the selected irrigation temperature has been reached, the Irrigator will beep and say “Ready”.
Place the speculum gently into the external ear canal, then click the button on the irrigator handle to begin
air flow. Direct the speculum at the ear drum.
Once the irrigator button has been pushed to begin testing the air will continue to flow
until either the preselected test time is reached or until you press Stop in the software
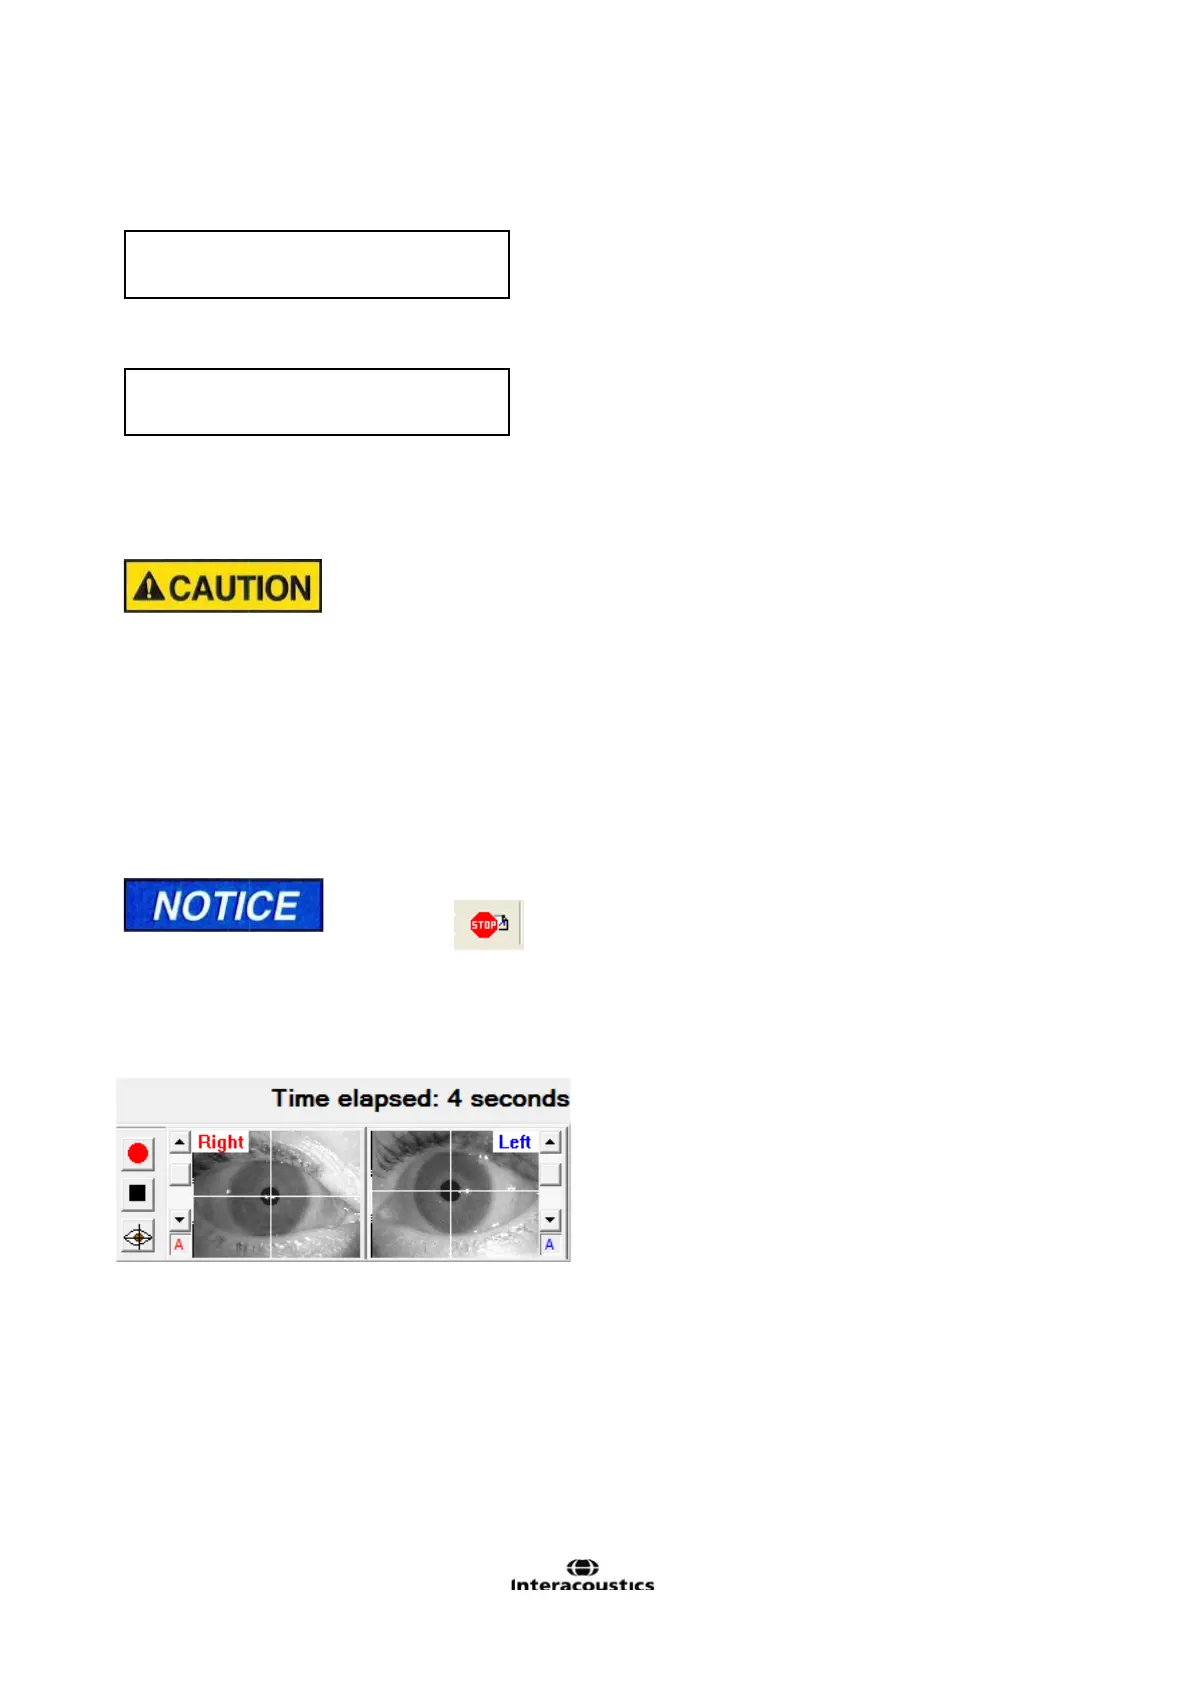
Caloric test eye movement recording will begin automatically after the irrigator’s handle button has been pressed.
During irrigation, the display will show the elapsed test time.
If the irrigation needs to be suddenly aborted, remove the speculum from the ear and direct air flow
elsewhere. The irrigator air flow will continue until the pre-selected irrigation time has elapsed, at which
time an indicator tone will sound and air flow will stop.
Continue eye movement recording and follow normal caloric testing protocol (e.g. alerting tasks, look
for peak response, test for fixation suppression etc). The irrigator will be automatically set to the next
irrigation’s temperature when you select the next irrigation subtest from the menu dialog box.