Setting Astro Zone and Time Zone
The astronomic feature of this time switch provides a sunset ON event and a sunup OFF event for each circuit (see “Setting
Astronomical ON/OFF Events”). These ON and OFF events automatically adjust to the actual change in sunset and sunup times in
the geographical location (Astro zone) that is set in the following procedure.
Follow this procedure to set the Astro Zone for the time switch.
1. The ASTRO ZONE icon appears at the top of the display. The display shows AL C and a ashing US.
(If this mode selection is not already active, press MODE to advance to the Set ASTRO ZONE mode selection.)
NOTE: If a custom location of the time switch had been previously set by adjusting either the latitude or longitude setting, the
display will show the current latitude setting. Simultaneously press + and – to delete the custom time switch location and return
to the previously set geographical location setting (state and section of state).
2. Press + or - to select the country (USA, Canada, or Mexico) and press ENTER/NEXT.
If you selected Then
USA or Canada Press + or - to select the desired state or province and press ENTER/ NEXT. Go
to step 3.
Mexico Go to step 3.
3. Press + or - to select the applicable geographical section within the selected state or province and press ENTER/NEXT
(possible geographical locations are listed in the following table). Not all sections will be available for every state.
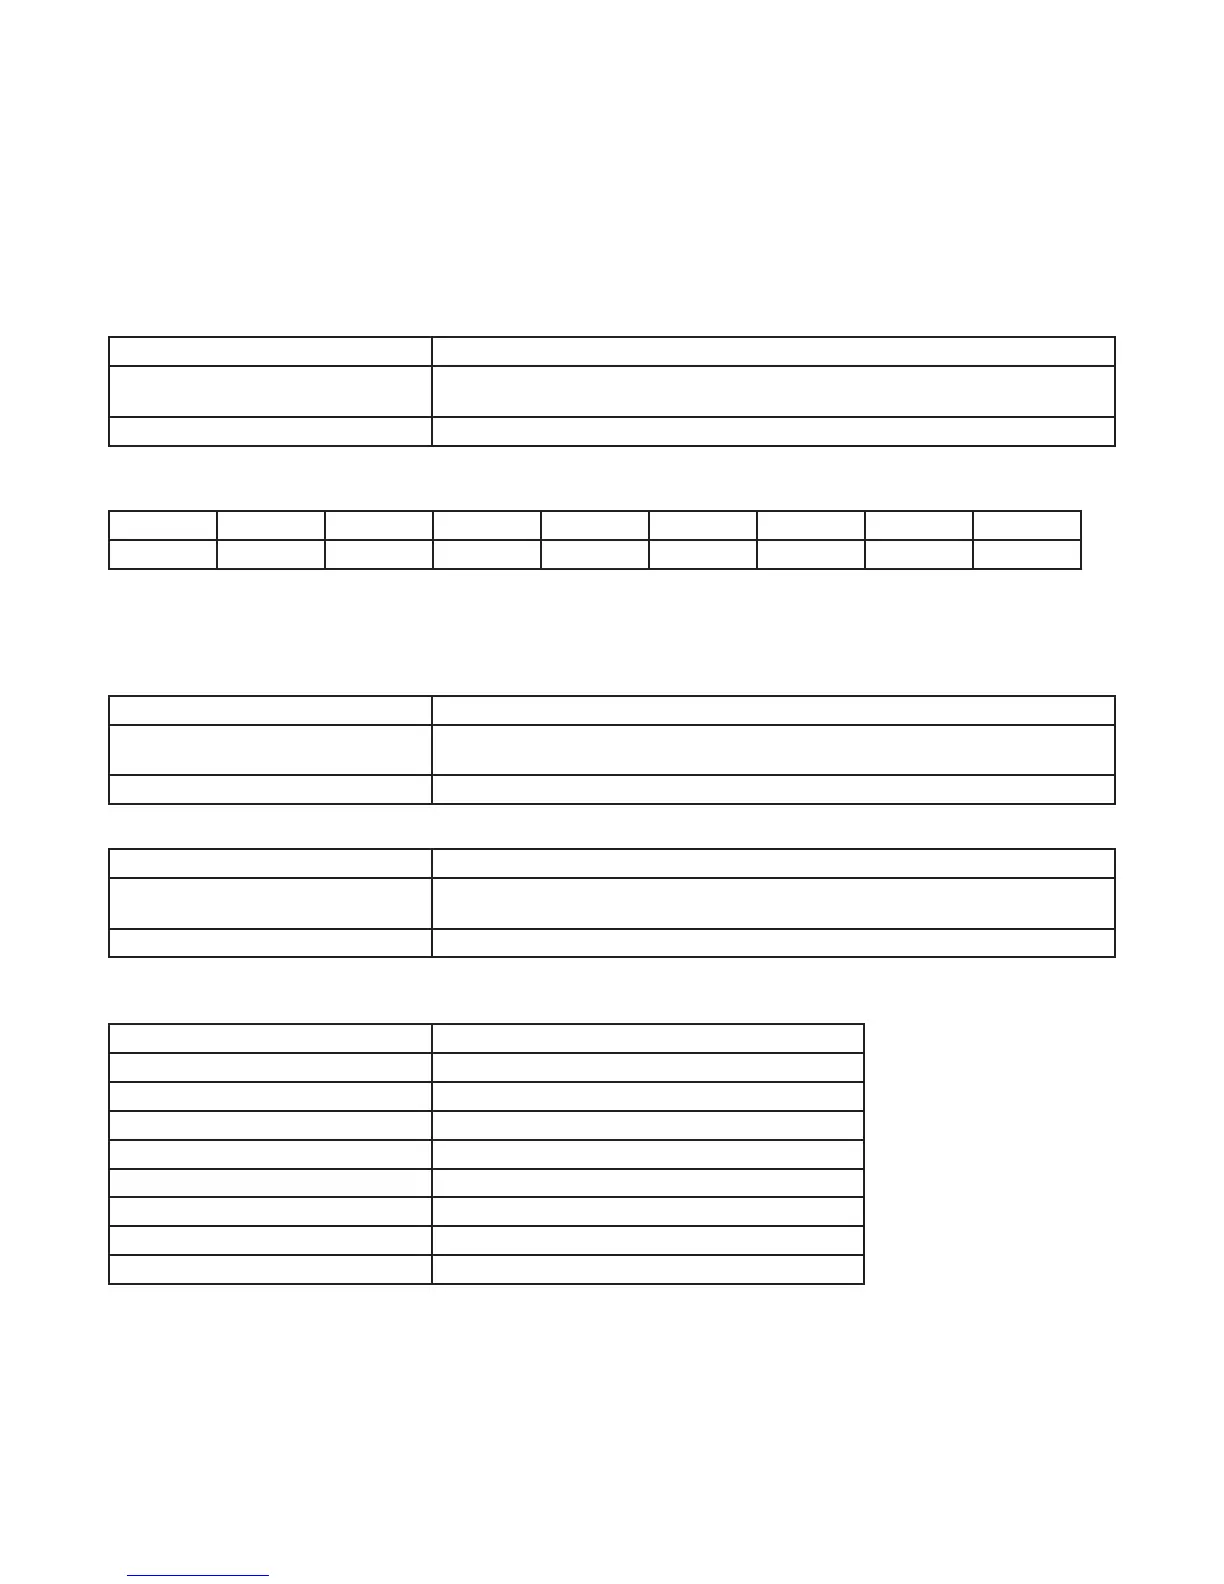
N S E W C NE NW SE SW
North South East West Center Northeast Northwest Southeast Southwest
Example: If time switch is located in Chicago then the geographical location within the state of Illinois would be NE.
NOTE: In most cases, the section choice provides an accurate location for your time switch. If a location requires greater
accuracy adjust the latitude and longitude in the time switch. If this is a requirement, follow the applicable steps to set a custom
latitude and longitude.
4. The LAT (latitude) entry screen appears showing the value of the selected geographical location.
If Then
LAT accuracy does not require
adjustment (TYPICAL)
Press ENTER/NEXT twice to scroll past the latitude and longitude screens to the
TZCENT screen. Go to step 6.
Greater LAT accuracy is warranted Press + or - to select the latitude and press ENTER/NEXT. Go to step 5.
5. The LN (longitude) entry screen appears showing the value of the selected geographical location.
If Then
LN accuracy does not require
adjustment (TYPICAL)
Press ENTER/NEXT to skip the longitude screen. Go to step 6.
Greater LN accuracy is warranted Press + or - to select the latitude and press ENTER/NEXT. Go to step 6.
6. The TZCENT screen appears. Press + or - to scroll to the desired time zone and press MODE to save the settings.
(See table for a description of the available time zones)
If Then
TZHAI Hawaiian time zone
TZALS Alaskan time zone
TZPACI Pacic time zone
TZMntN Mountain time zone
TZCENT Central time zone
TZEAST Eastern time zone
TZ ATLN Atlantic time zone
TZNFLD Newfoundland time zone