192
PO
S AVE THESE INSTRUCTIONS
(192PO) SPA ENGLISH 7.5” X 10.3” PANTONE 295U 04/18/2013
English
SET UP (continued)
Setup the spa with at least 2 persons.
1. Movetheentirepackagetotheselectedsite.Donotdragthespatubacrossthegroundasthiscan
causedamageandleakage.
Open the carton carefully as this carton can be used to store the spa during long term storage or when
not in use.
2. Layoutallthepartsonthegroundandmakesureallthepartsareaccountedfor. Formissingor
damagedpartscontacttheappropriateIntexServiceCenterlistedintheseparate“Authorizedservice
Centers”sheet.
Safety Sign Card Posting
TheSafetySigncardincludedwiththemanualshallbepostedinanareavisibletotheusersofthespato
alertthemofthesafetyrulesandwarnings.Forreplacementofthesafetysigncard,visitourwebsiteat
www.intexcorp.comforadditionalprintcopies.Laminatetheprintedsafetysigncopyforprotectionfromthe
elements.
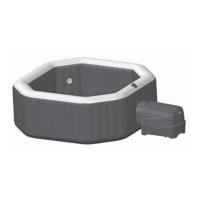
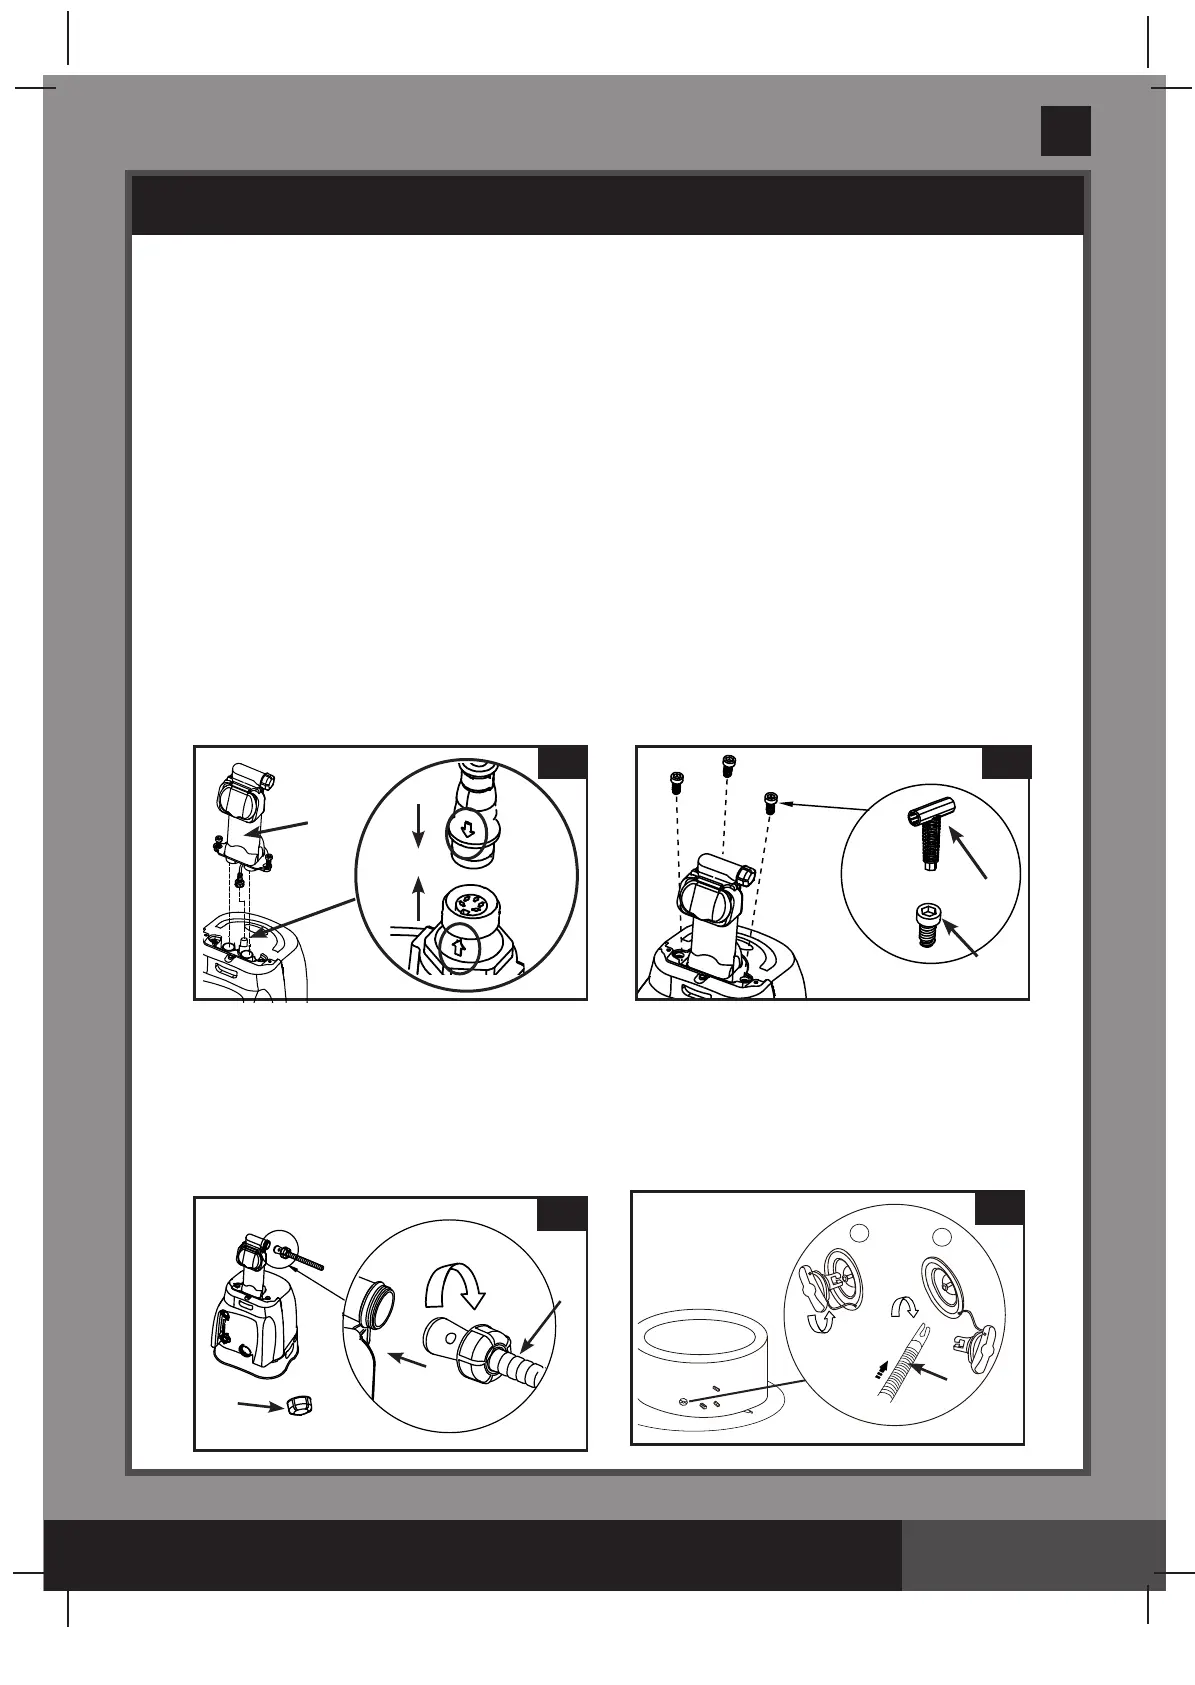
Spa Control Unit Assembly
1. Connectthecontrolpanel(3) cable plug into the receptacle on top of the spa control base (see
drawing 1).
2. Screw the control panel bolts (4)withtheprovidedboltwrench(6) to secure the control panel
(see drawing 2).
3. Plug the spa control unit into a grounded electrical outlet.
Page 8
Ination
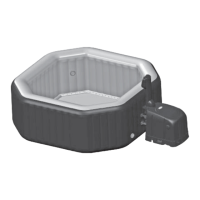
Inate the Spa Tub Wall
1. Takeoutthegroundcloth(19)andspreaditovertheclearedarea.Thenspreadoutthespa linerover
the ground cloth andpointthedrainvalvetowardsasuitabledrainingarea.
2. Unscrewthecontrolpanelcap(5)ontopofthecontrolpaneltorevealtheairblowerinationoutletand
connectoneendoftheinationhose(7) to the outlet (see drawing 3).
3. Unscrewtheairvalvecaptorevealthestemintheuppositionforination.Inserttheotherendofthe
inationhose(7)intothevalveandturntotherighttolockitinposition (see drawing 4).
7
5
7
1
2
3
4
1
3
4
6
2
 Loading...