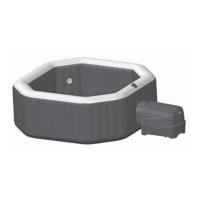
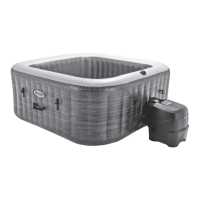
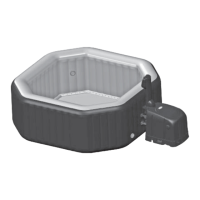
192
PO
S AVE THESE INSTRUCTIONS
(192PO) SPA ENGLISH 7.5” X 10.3” PANTONE 295U 04/18/2013
English
Page 9
SET UP (continued)
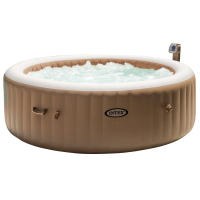
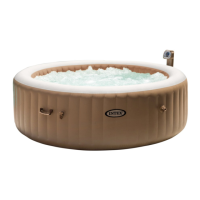
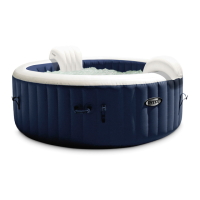
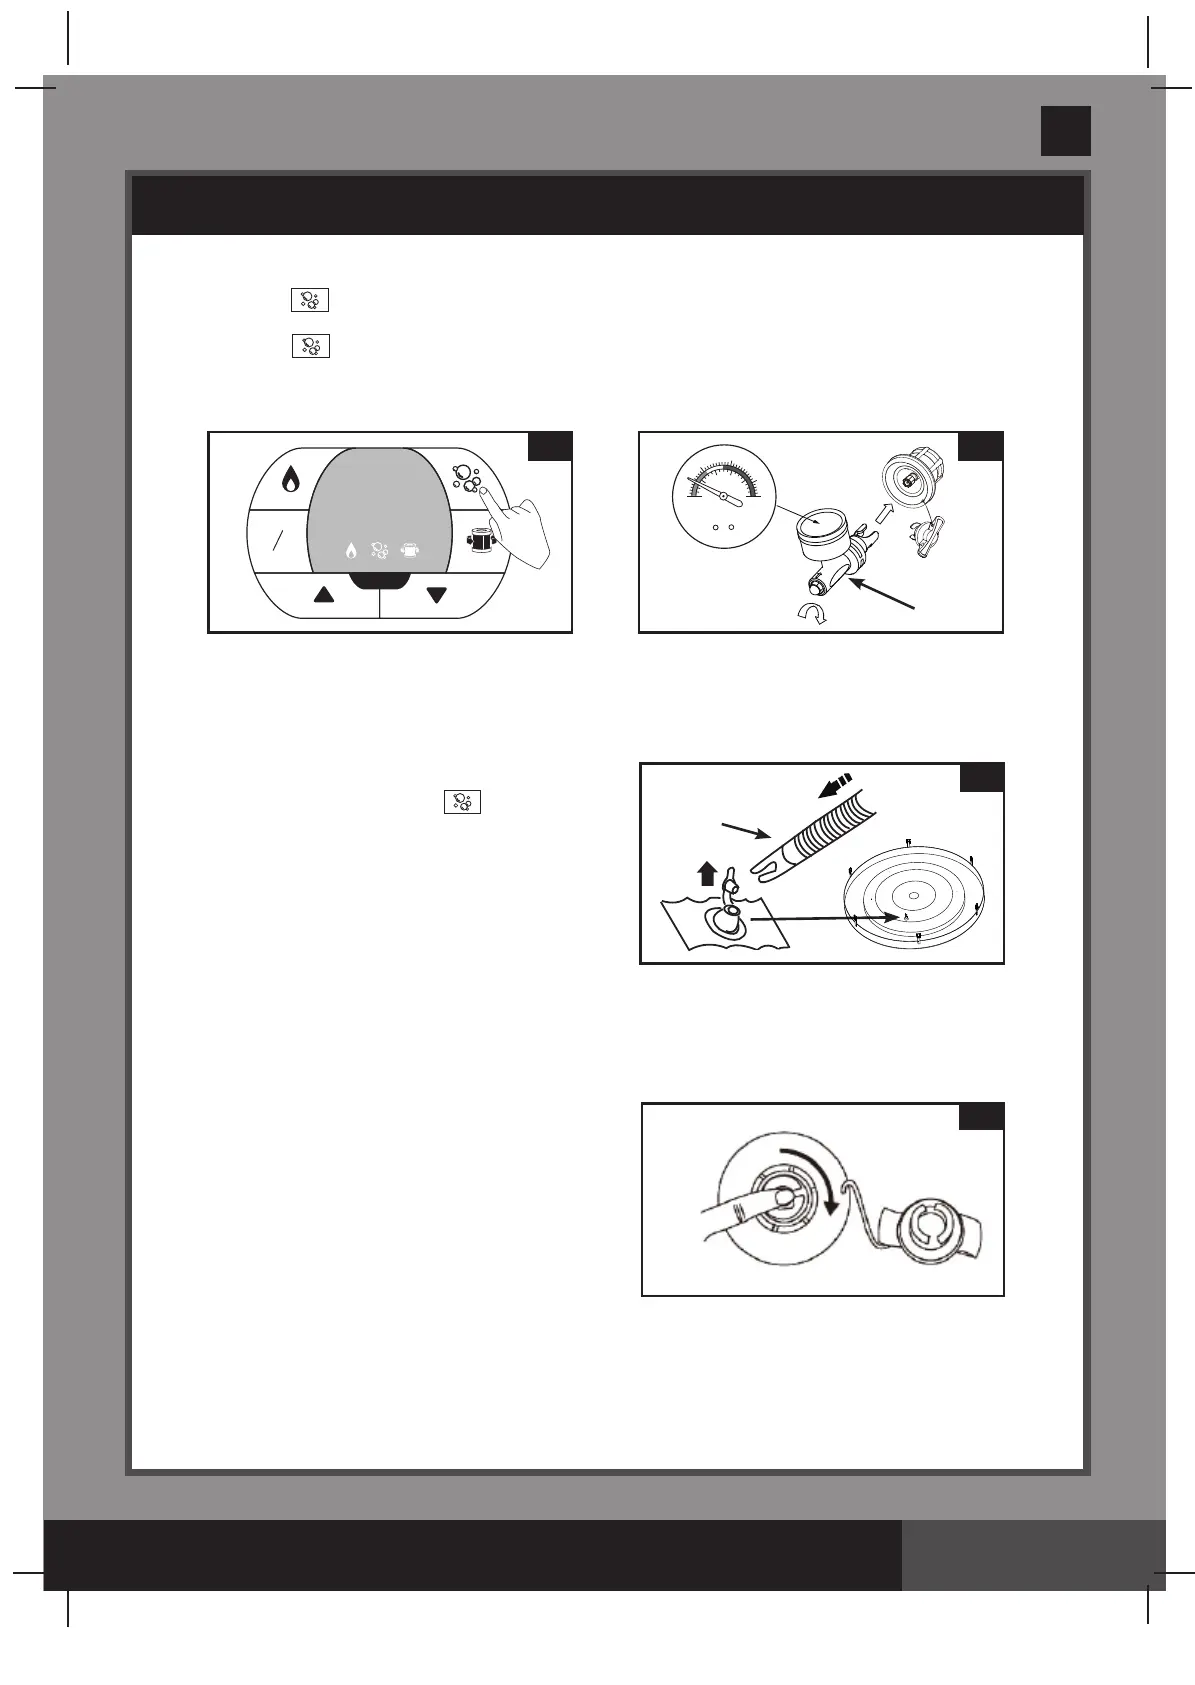
4. Pressthebuttontoinatethespatubwalluntilitisrmtothetouchbutnothard(see drawing 5).
IMPORTANT:Donotoverinateorusehighpressureaircompressortoinate.
5. Press the button again to turn it off.
6. Disconnecttheinationhose(7) fromtheairvalveandattachthepressuregauge(23) totheairvalve.
Thepressuregaugeindicatorshouldbeinthegreenareaforaproperlyinatedspatub(see
drawing 6).Repeatpreviousstepstoaddmoreairifnecessary.
7. Replacetheairvalvecapback.
NOTE: Thecapisdesignedtobescrewedonandoff.Neverexertforceasthiscouldcausethe
completeinternalinationsystemofthevalvetocomeloose.See“SpaTubAirValveFastening”for
valvemaintenance.
Inate the Spa Cover Air Bladder
1. Opentheinationvalveandinserttheination
hose (7)intothevalve;presstoinate
untilitisrmtothetouchbutnothard(see
drawing 7).
2. Disconnecttheinationhose(7) from the air
blowerinationoutletandthevalve.
3. Replace the control panel cap (5) back;closeand
recesstheinationvalve.
NOTE: Ifthereisaneedtoaddsomeairtothespatub
wallorspacoverairbladderaftertheyhavebeensetup,
refertoabove“InatetheSpaTubWall”and“Inatethe
SpaCoverAirBladder”sections.
Deation
For Spa Tub Wall:
1. Unscrewthecaptorevealthestem,pushthestem
in and turn 90 degree right to secure it in the down
position (see drawing 8).
2. Oncethedeationiscompleted,pushthestemin
andturn90degreelefttoreturnittotheination
position.
3. Replacethecapback.
For Cover Air Bladder:
1. Pullvalvecapoutandsqueezethevalveatitsbase
untildeated.
2. Closeandrecessthevalveback.
8
7
7
5 6
0.01
0.02
0.03
0
1
2
3
4
5
0
psi
MPa
23
˚
C
˚
F
RESET
104
F
o
 Loading...