2. FAMILIARIZE YOURSELF WITH THE INTROSPECT ESP SOFTWARE GUI
a) Double click on “IntrospectESP_GUI.exe” located in the Introspect ESP GUI installation
folder and select form factor “SV4E_2L2G_MIPI_I3C_EXERCISER”. At this point,
connect the SV4E-I3C Test and Debug Module to your PC via the USB cable if this is
not already done.
b) Select the “IESP/MIPI_I3C_EXERCISER” pull-down menu and click on the “Connect”
option if you have not done so already in the previous USB driver installation
procedure. Establishing connection should require a couple of seconds.
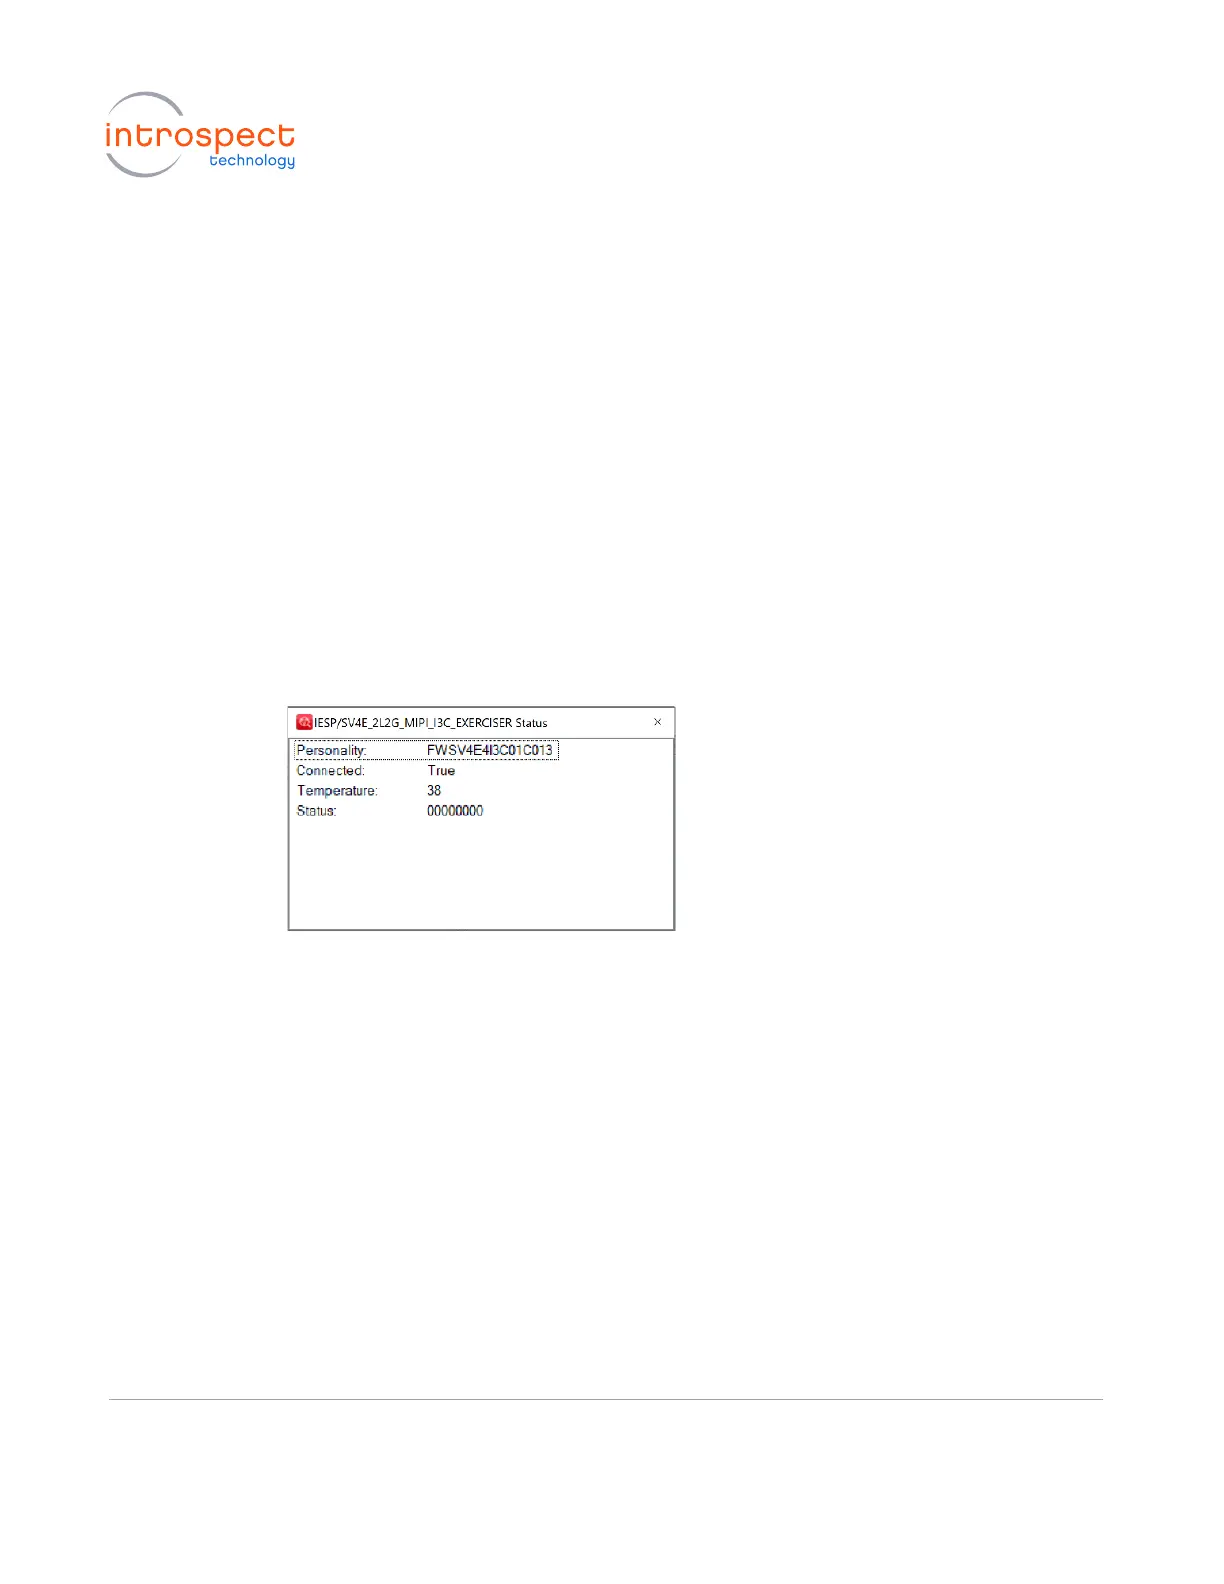
c) To verify the connection between the PC and the SV4E-I3C module, select the
“IESP/MIPI_I3C_EXERCISER” pull-down menu and click on the “Status” option. A
dialog window should confirm that the SV4E-I3C module is connected, as below, and
will list the firmware version. Note that the firmware version may differ from what is
shown below.
d) By default, when started in the SV4E_2L2G_MIPI_I3C_EXERCISER form factor, the GUI
contains two commands in the Test Procedure window and five pre-populated
components in the “Components” window pane of the Params tab, as shown in the
screen shots on the following page. When executed, the masterDevice.setup()
method configures a master device onto the I3C bus. Additionally, the
i3cDataCapture.start() will start a bus capture.
 Loading...