24
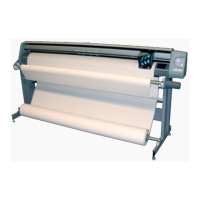
Ioline FlexJet E Quick Start Guide
4. For paper narrower than 70-in, center the paper roll on the feed
shaft. Make sure the hubs remain securely in place. For paper
greater than 70-in in width, offset the paper to the left slightly
to avoid covering the Service Station area. Also leave a mini-
mum 1/4 inch gap between the paper edge and the edge of the
fan on the left side of the rear cover of the machine.
5. Use the supplied hex wrench to tighten both screws on each
paper hub.
6. IMPORTANT: Apply a light coating of grease (supplied in the
Accessory Kit) to the right support block.
7. Lift the feed shaft and paper roll into the support blocks. Make
sure the paper unrolls from behind and towards the printer.
Step 2 : Loading the Take-up Roll
1. Turn on the power to the printer with the switch on the back of
the right cover.
2. If the take-up shaft has printed markers on it, remove them. See
Unloading Completed Markers in the Ioline FlexJet E Printer in
the FlexJet E User Guide for details.
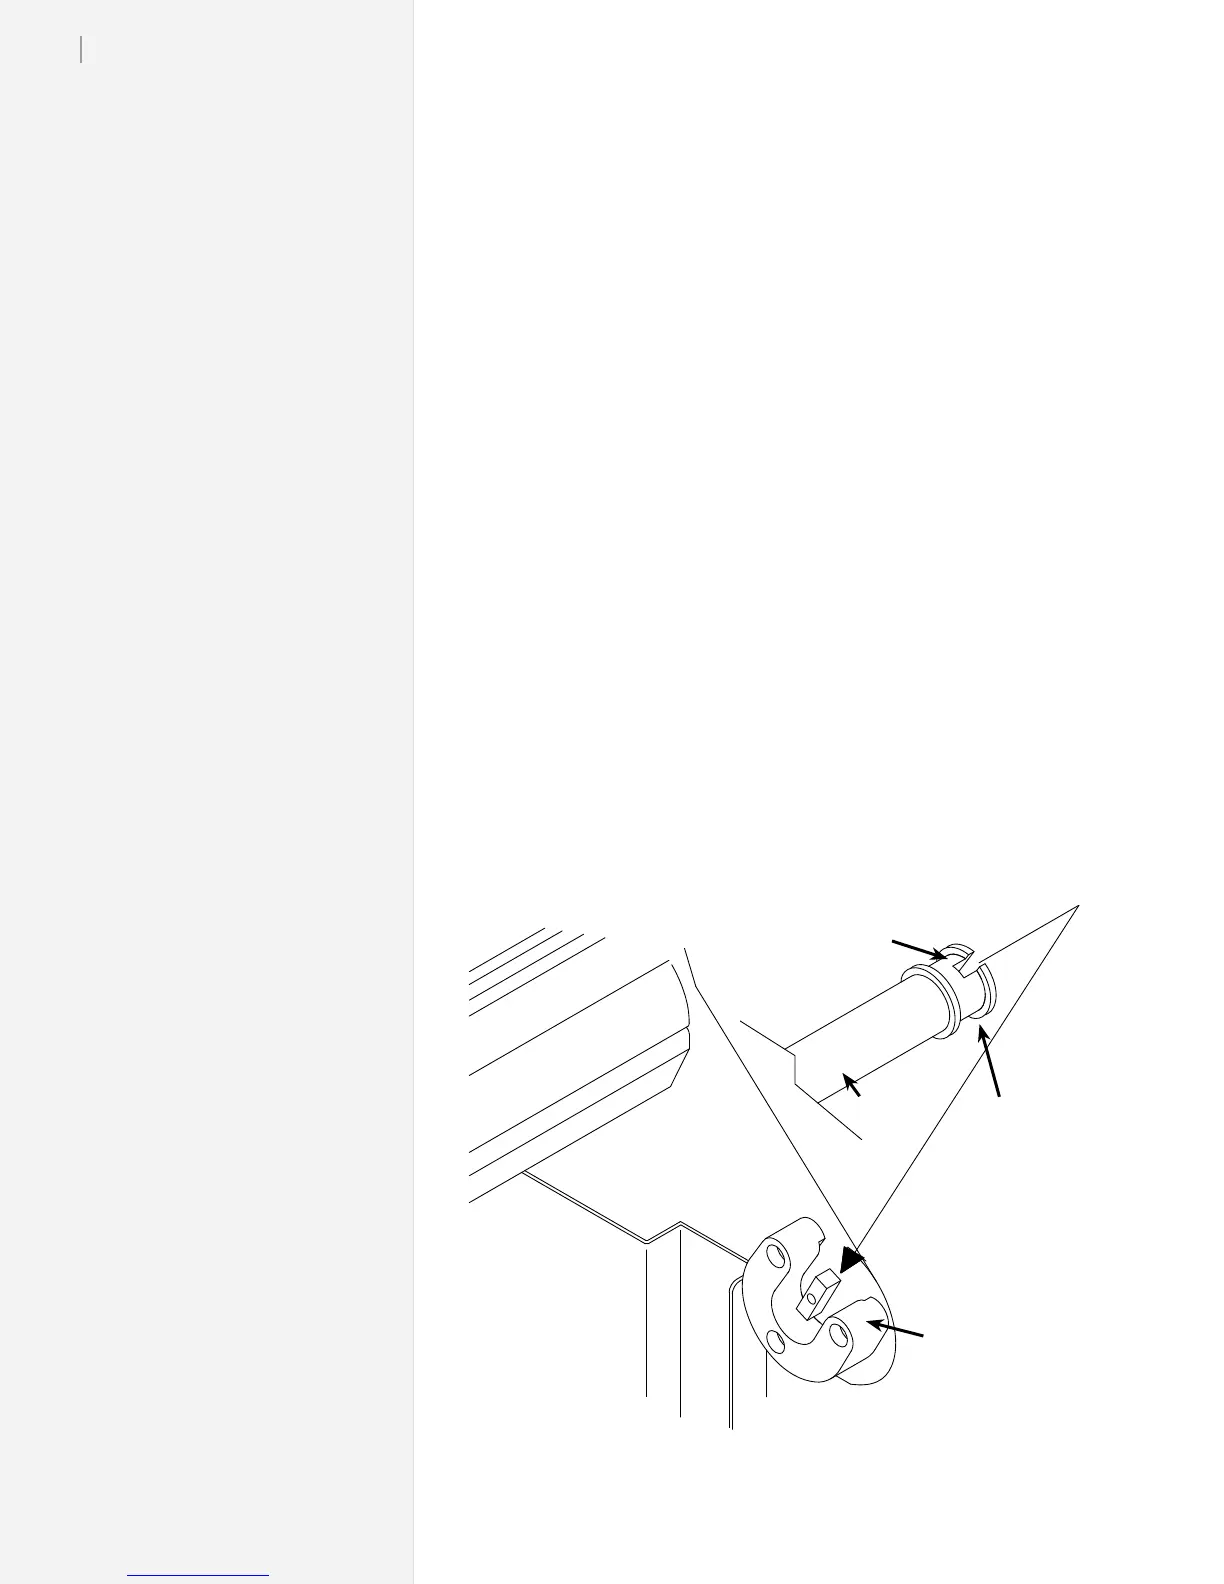
3. Use the keypad Unroll key to rotate the take-up key until it is
oriented perpendicular to the support block opening as shown
below.
4. Put the take-up shaft into the front support blocks with the
flanged coupling at the right (keypad) end. Rotate the shaft
until the slot in the flanged coupling is aligned with the take-
up key. When the shaft slot and the key are aligned, push the
take-up shaft into place until it is seated in the support block.
The slot in the anged coupling on the take-up shaft ts into the key in the right front
support block
Position take-up
key as shown
Rectangular
slot
Flanged
Coupling
Take-up
Shaft
Support Block