
S
Susan BrownJul 27, 2025
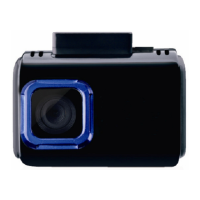
How to fix ION DashCam Dash Cameras that won't turn on?
- HHenry YoungJul 27, 2025
If your ION Dash Cameras won't turn on, it's likely due to low battery power. Connect the DashCam to a power source using a DC or USB cable to resolve this issue.