8
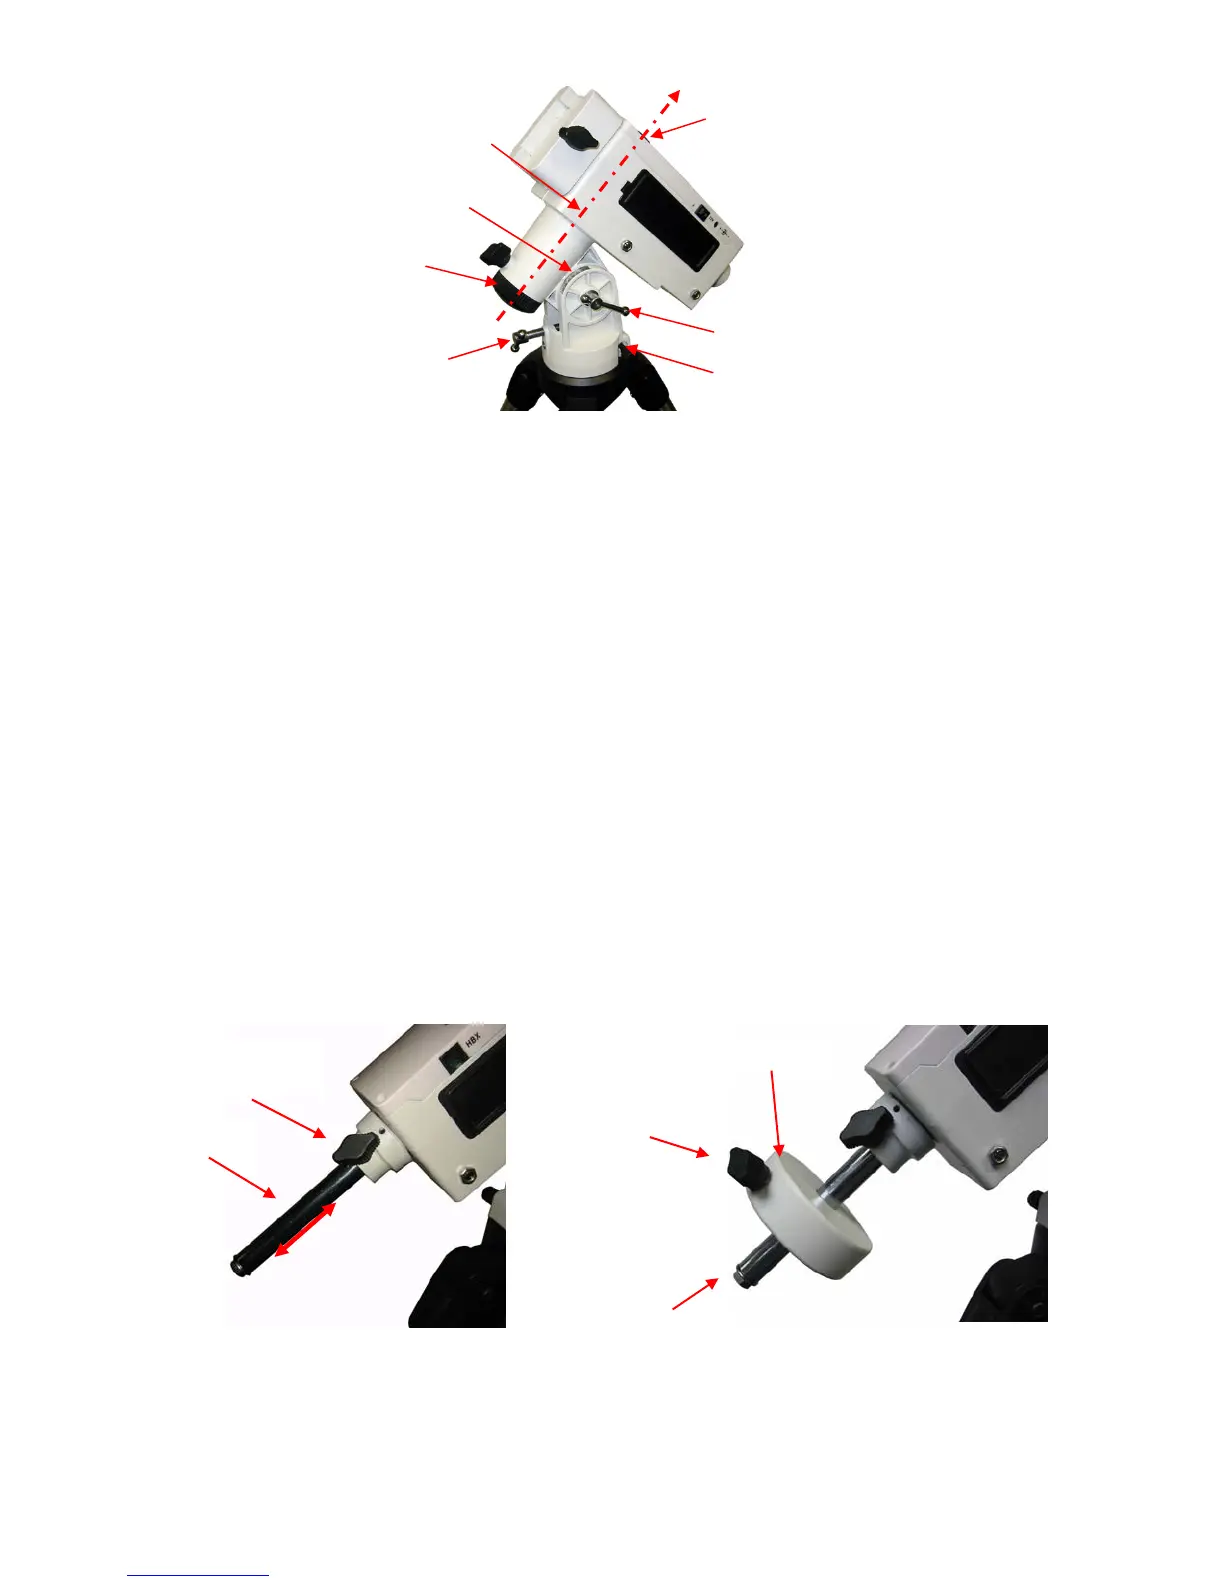
Figure 9. Align mount to the celestial pole
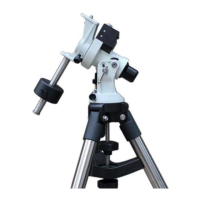
For a better polar alignment, one may use the polar scope opening on the R.A. axis. Take off the
Polar Axis Cover and Polar Scope Cover. Release the Counterweight (CW) Shaft Locking Screw to pull the
CW Shaft out of the mount. Look through polar scope opening to find the Polaris. If the opening is blocked
by the DEC axis, power the mount on and use the ▲ or ▼ button on the hand controller to turn the DEC
axle to unblock the view. (You may use the number button to change the slewing speed. 9 for MAX speed).
Loosen the Azimuth Locking Screws and adjust the mount to center the Polaris in the azimuth direction
using Azimuth Adjustment Knobs. Tighten the locking screws to secure the mount. Loosen Latitude Clutch
on the side of the mount, turning the Latitude Adjustment Screw to adjust the latitude (altitude) to center the
Polaris along the altitude direction. Re-tighten the locking screws.
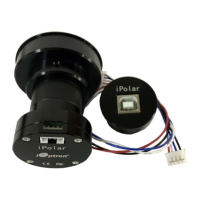
If an AccuAligning
TM
polar scope is installed (standard for a SmartEQ
TM
Pro mount, and optional for
a SmartEQ
TM
mount), please follow Section 4.1.1 to perform the Quick polar Alignment.
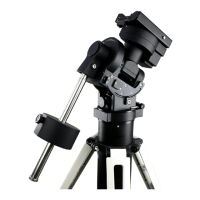
STEP 5. Install Counterweight (CW):
The mount comes with one 2 lbs (0.9 kg) counterweight. However, because of its unique design, no
CW is needed if the payload is less than 4 lbs. The mount and installed batteries will provide balancing
weight needed. If a payload is greater than 8.8 lbs (4 kg), additional CW is needed. The Counterweight
Shaft is stored inside the mount head. If a CW is needed, release the CW Shaft Locking Screw to pull out
the shaft (Figure 10). Mount a CW onto the shaft and tighten the CW Locking Screw to hold the CW in
place. Tighten the CW Safety Screw (Figure 11).
Figure 10. Release CW shaft
Figure 11. Install CW
STEP6. Attach and Balance an OTA on the Mount:
CW shaft
lockin
scre
CW safety
scre
Retractable
CW shaft
CW locking
scre
Counterweight
Azi. ad
. knob
Polar axis
(R.A. axis)
Polar axis cove
Latitude ad
. screw
Polar sco
e cove
Latitude clutch
Latitude dial