3) Filter Installation
This product features an easy-changing design that allows users to change the filter without
shutting off the water supply. To install the filter, follow the steps listed below.
Precautions
A. Make clean cuts on the tube to ensure a tight, sealed connection.
B. Always use the C-clips to secure the quick-fitting connections.
C. After assembly, check to ensure the connection is not leaking.
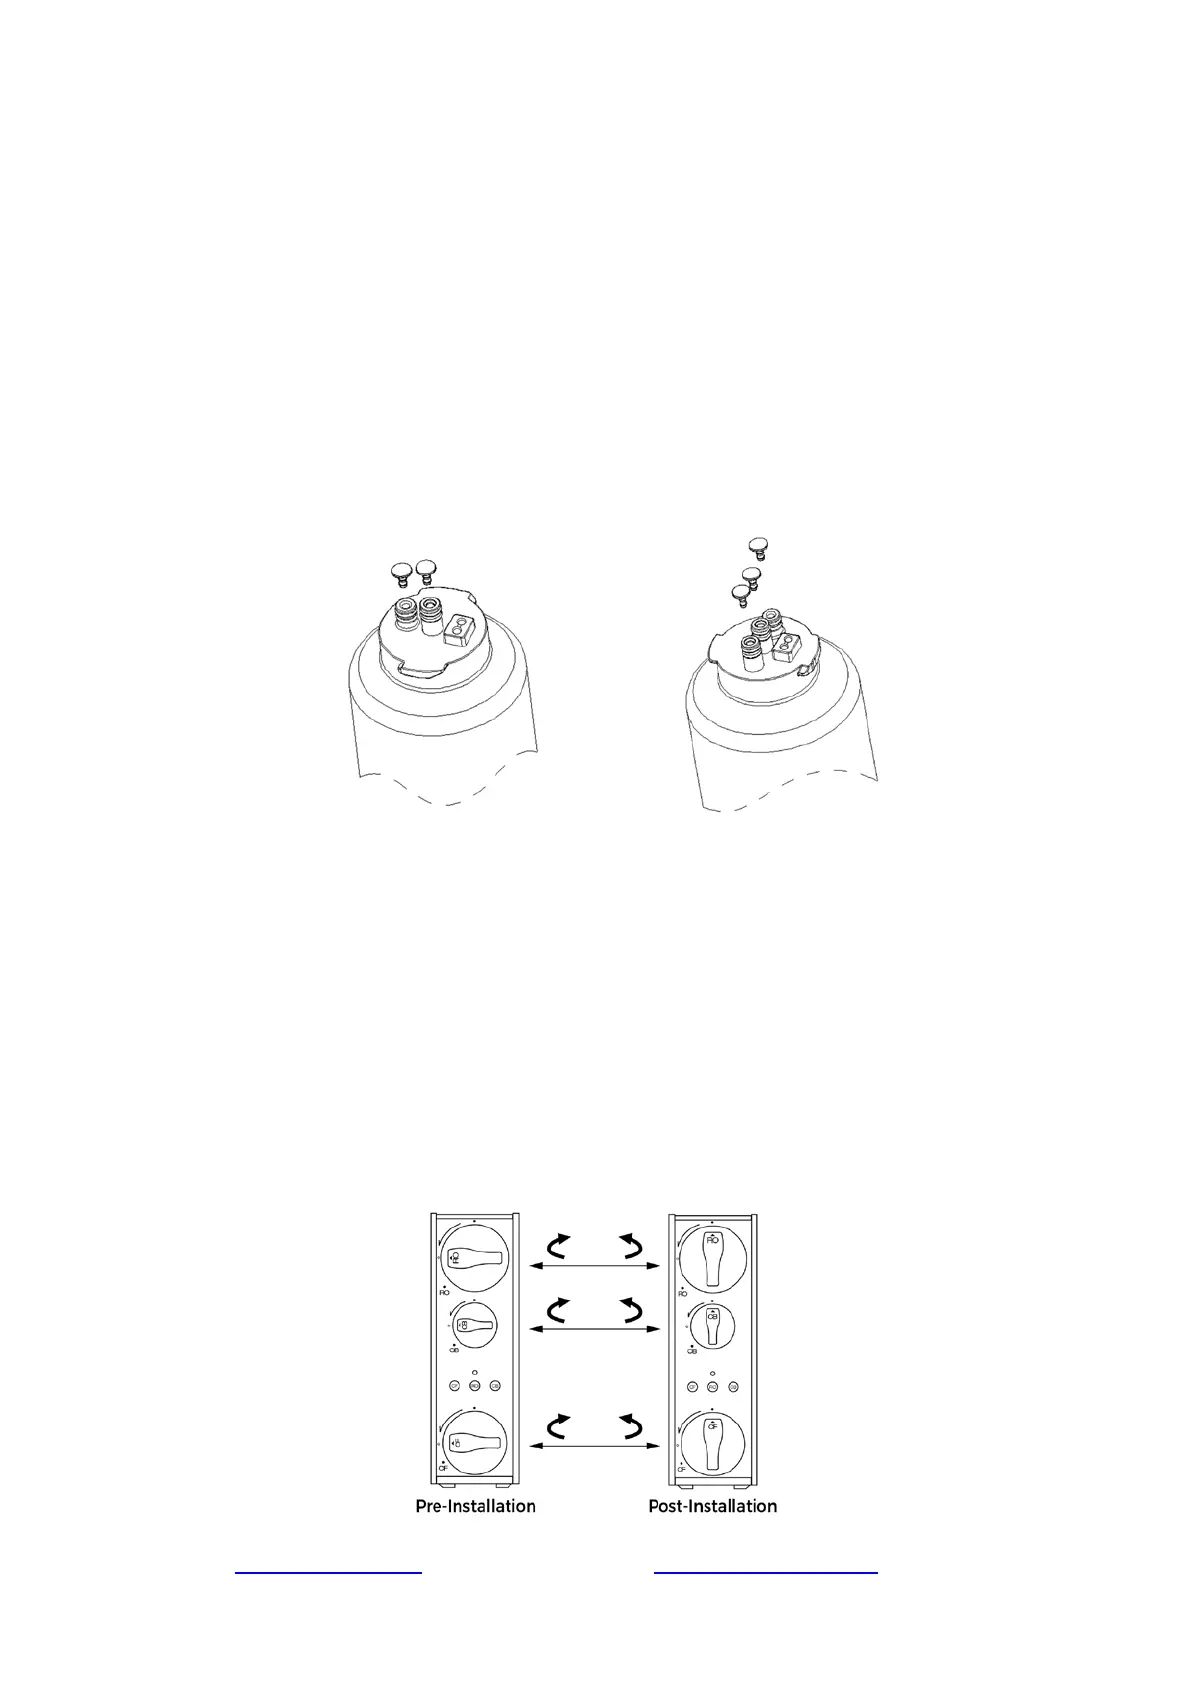
Step 1
Remove the rubber plugs on the upper end of each filter.
Step 2
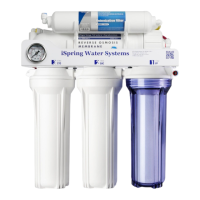
Install each filter in the appropriate slot with the name of the filter listed on the side:
1. The composite filter is mounted to the bottom slot.
2. The reverse osmosis membrane is mounted to the top slot.
3. The post carbon filter is mounted to the slot located in the middle.
Installation: Insert the filters with the handles pointed outward. Align the arrow with the mark on
the side of the slot. The filter should fit snugly into the system’s fittings. Turn the filters clockwise
until the arrow on each filter is aligned with the mark on the top of the slot.
www.123filter.com | (678) 261-7611 | support@123filter.com Page 8