Inspection and Installation
Copyright © Itech Electronic Co., Ltd. 5
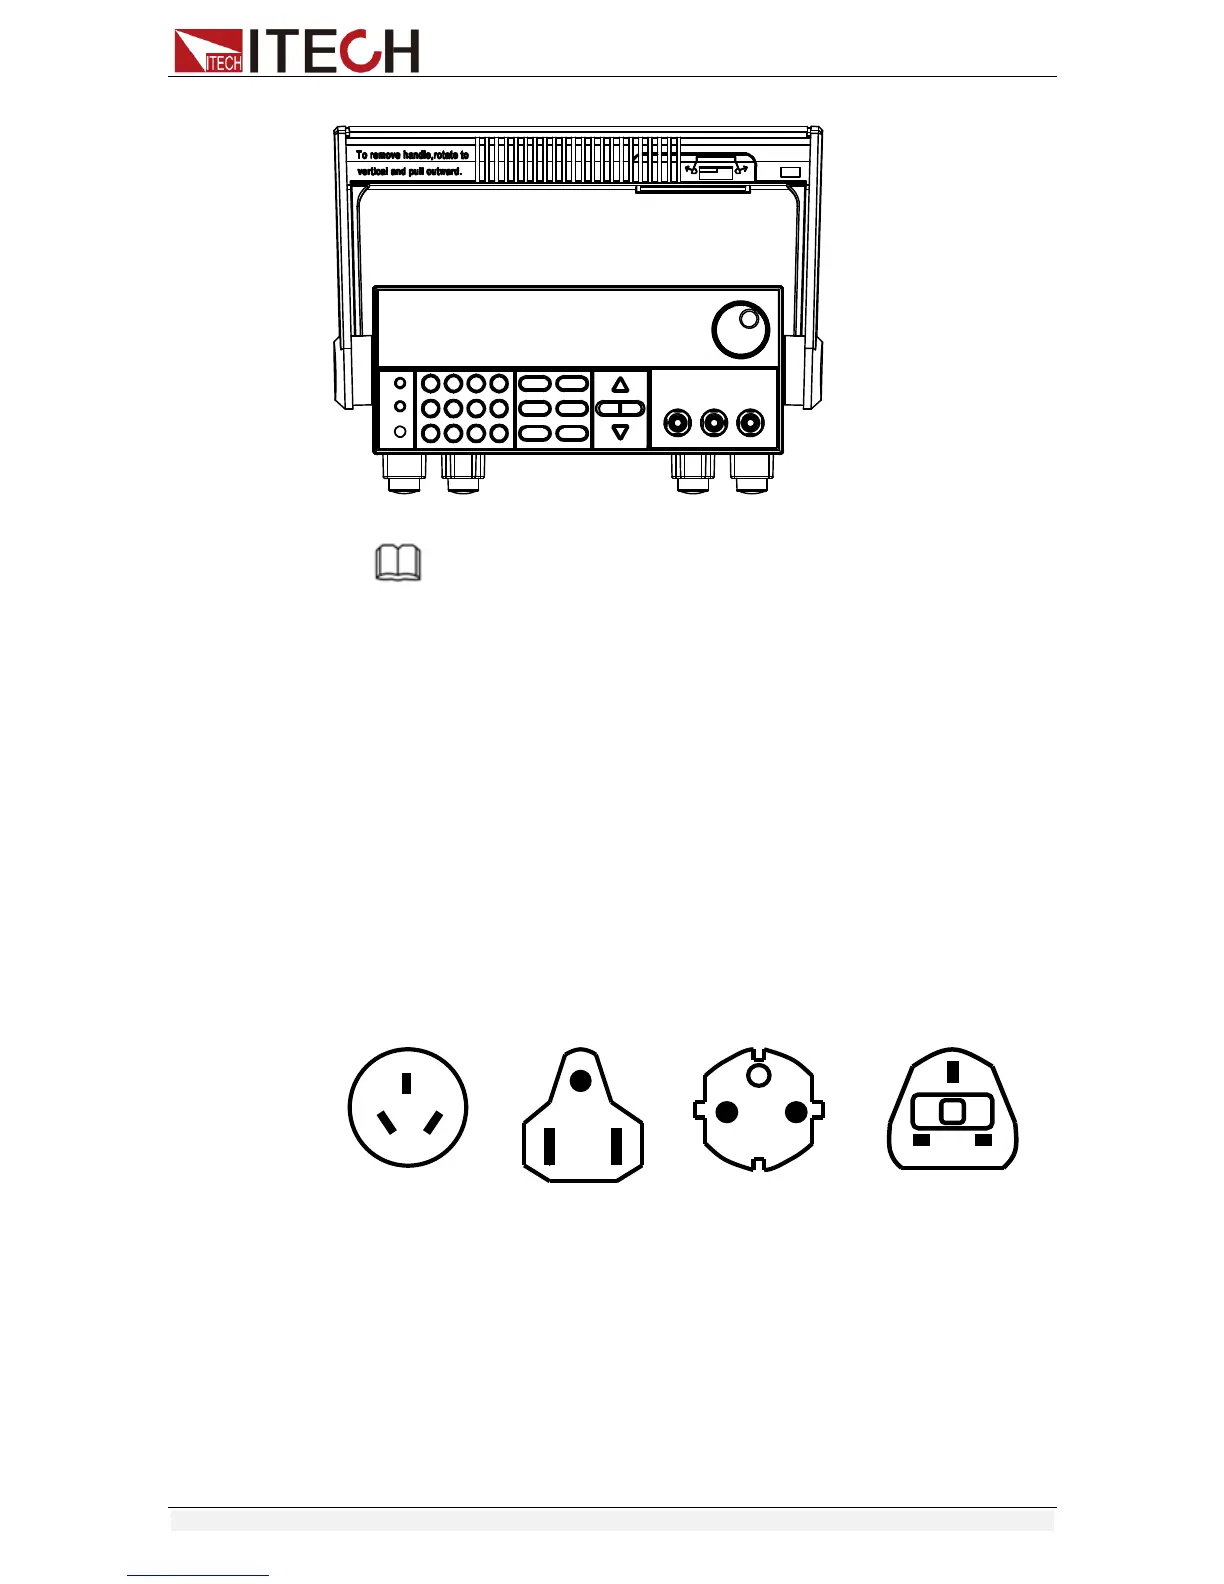
3. .Adjust the handle to the position as shown as below.
NOTE
To easily disassemble handle, align the locking mouth and locking device, which is
between the handle and the instrument
1.5 Rack Mounting
This instrument can be installed on standard 19-inch rack. ITECH provides user
with IT-E151/IT-E151A rack, as an optional mount kit. The detailed operation
please refer to the User Manual of your mount kit.
1.6 Connecting the Power Cord
Connect the power cord after checking that the power switch of the instrument
is turned OFF. Only use the power cord supplied as a standard accessory.
Select from the following Schedule of Power Cord Specifications an appropriate
power cord that matches the voltage for the area in which you use the
instrument. If the power cord included in the instrument you purchased does
not match the voltage, contact the dealer or manufacturer for change.
There are two kinds of working voltage for the power supply: 110V and 220V, so
please pay attention to the working input voltage.
AC input levels (select by change the AC power switch on the bottom of the
power supply)
Option Opt.01: 220VAC ± 10%, 47 to 63 Hz
Option Opt.02: 110 VAC ± 10%, 47 to 63 Hz