HMPRO35 OPERATOR’S MANUAL
8 www.itmtools.com.au
TRADEMASTER
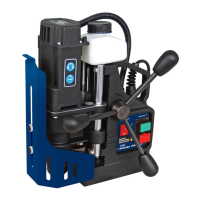
Magnetic Base Drilling Machines
Tools and Machinery
AIR
3. STARTUP AND OPERATION
1.1. Installing, removing, and operating the annular cutter
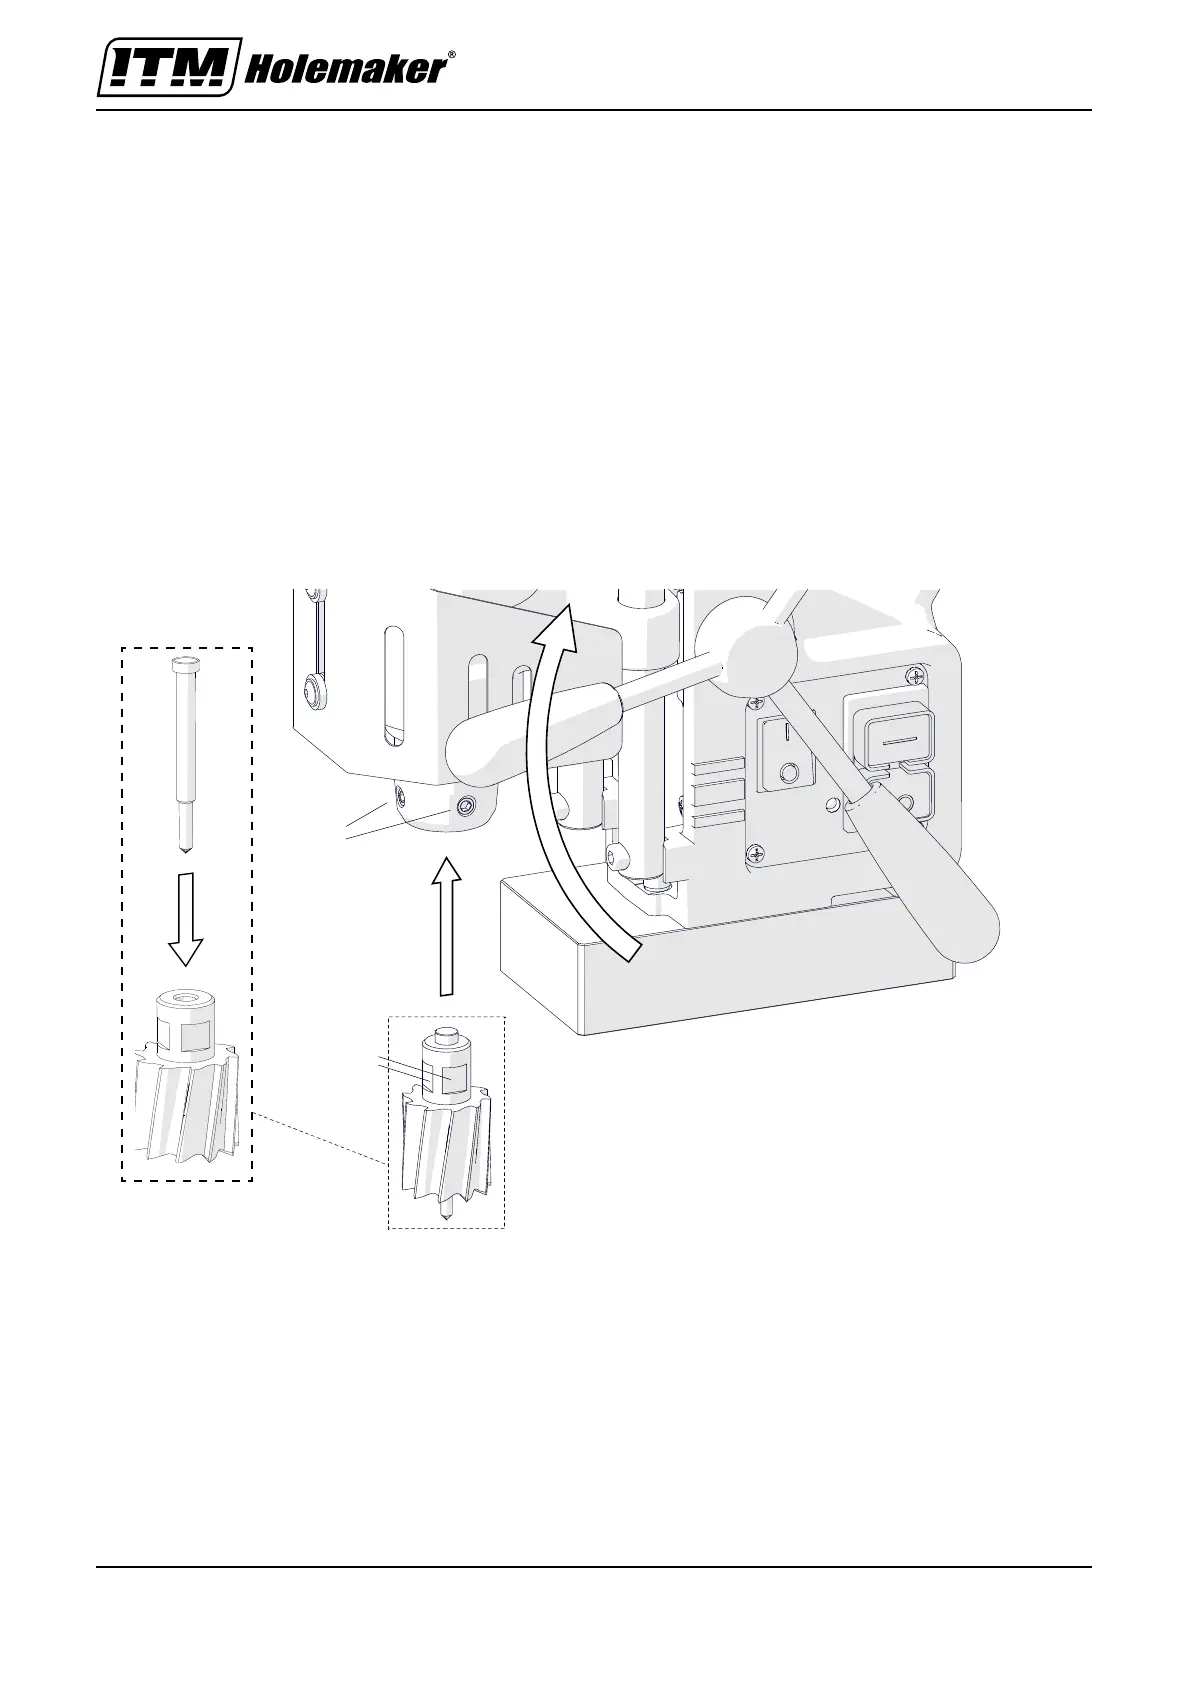
Unplug the machine from the power source, and then rotate the spoke handles to the
right (1, Fig. 1) to raise the motor. Wear protective gloves, insert the proper pilot pin
into the annular cutter (2), and then use a clean and dry cloth to wipe the arbor and
cutter. Next, insert the cutter into the arbor (3) in such a way to align the flats 4 with
the set screws 5, and then use the 4 mm hex wrench to tighten both set screws.
To remove the cutter, loosen the screws 5 with the 4 mm hex wrench.
Fig. 1. Installing the annular cutter
2
1
3
5
4
3.1 Installing, removing and operating the annular cutter
3. STARTUP AND OPERATION
1.1. Installing, removing, and operating the annular cutter
Unplug the machine from the power source, and then rotate the spoke handles to the
right (1, Fig. 1) to raise the motor. Wear protective gloves, insert the proper pilot pin
into the annular cutter (2), and then use a clean and dry cloth to wipe the arbor and
cutter. Next, insert the cutter into the arbor (3) in such a way to align the flats 4 with
the set screws 5, and then use the 4 mm hex wrench to tighten both set screws.
To remove the cutter, loosen the screws 5 with the 4 mm hex wrench.
Fig. 1. Installing the annular cutter
2
1
3
5
4