28
SPOOL GUN OPERATION
Before starng any welding acvity ensure that you have suitable eye protecon and
protecve clothing. Also take the necessary steps to protect any persons within the welding
area.
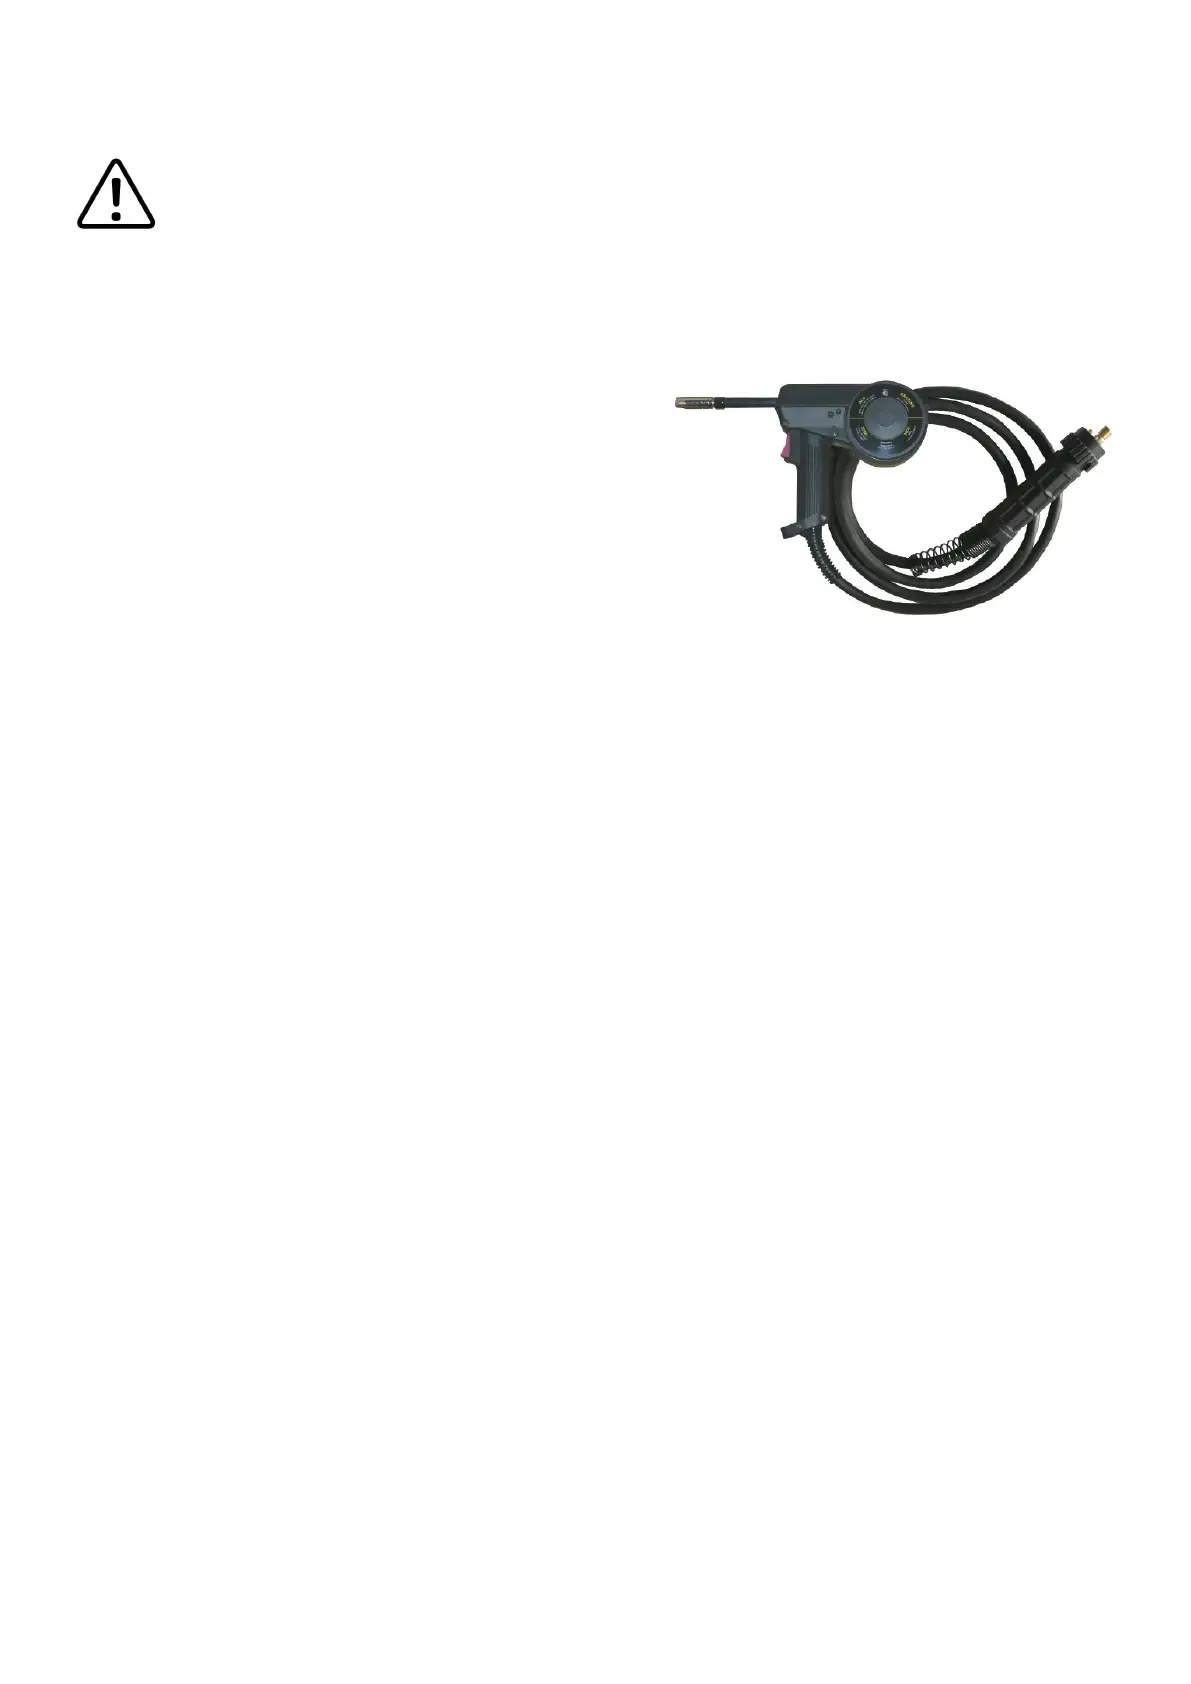
Spool Gun Welding Mode
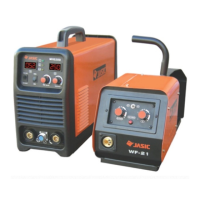
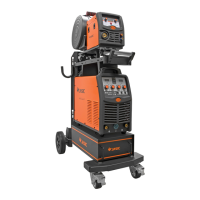
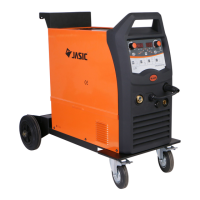
The Jasic MIG 352C can be used with our oponal spool gun part number JSG-02 which is a Euro style
spool gun which will connect to the MIG 352 via the Euro outlet connector.
Connect the spool gun euro plug to the (MIG) euro socket.
Connect the spool gun 9 pin control plug to its matching 9
pin socket located on the front panel of the machine.
Ensure the trailing lead is connected into the “+” socket on
the front panel of the machine and ghten clockwise.
Insert the cable plug for the work clamp into the “-” socket
on the front panel of the welding machine and ghten clockwise.
Connect the gas hose to the regulator/owmeter located on the shield gas cylinder and connect the other
end to the machine.
Before starng any welding acvity ensure that you have suitable eye protecon and protecve clothing.
Also take the necessary steps to protect any persons within the area.
Aer connecng the welding leads as detailed above you will need to switch the power switch on the
back panel to “ON”. Select MIG by switching to MIG on the MMA/MIG welding mode switch and
selecng spool gun via the standard/spool gun selector switch.
Set the voltage and wire feed speed on the machine suitable for the applicaon and wire size being used.
Ensure you have adequate welding current according to the thickness of the work and weld prep being
carried out.
Fit your 1Kg reel of welding wire to the spool holder and feed the wire through the drive rolls ensuring the
ed roller sizes matches your wire type and size, then connue to feed the wire through the contact p
again ensuring you have the correct size p ed.
Open the gas valve of the cylinder, press the torch trigger and adjust the gas regulator to obtain the
desired ow rate.
Adjust the “voltage control knob” and “wire feed speed control knob” on the front panel of the machine
to set the correct welding voltage and welding current.
Operate the torch trigger and welding can now be carried out.
 Loading...