46
sure the slideout has extended properly and has adequate clearance
from any outside obstructions.
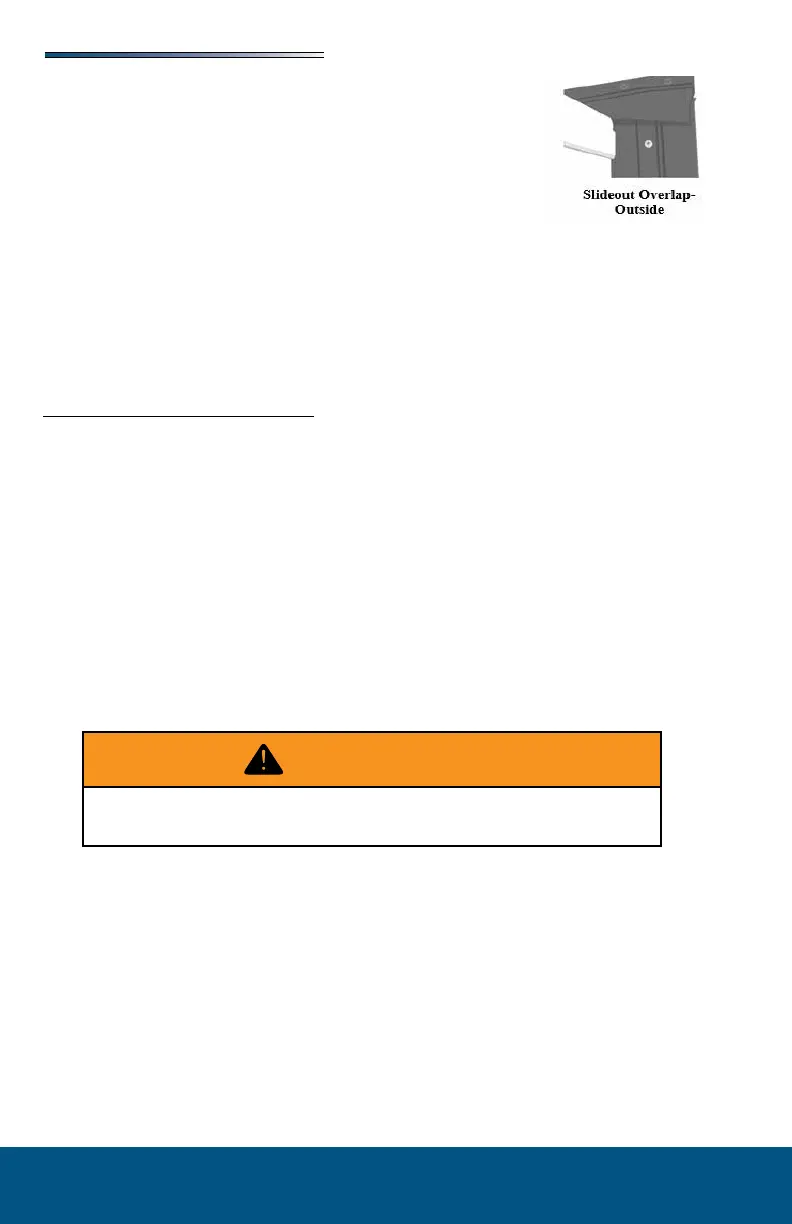
If the slideout is equipped with rubber seals, verify that the corners of
the black rubber seal are set up correctly. The seal corners are cut at
a 45° angle. The top of the outside seal must overlap the side of the
seal to avoid the possibility of water penetration. On the inside seal,
the side seal should overlap the top.
- Your RV may be equipped with one or more of the following slideout
systems.
The in-wall slideout system requires no maintenance or adjustments. This system has two
vertical columns with a drive motor located at the top of each column. The right and left
motors are synchronized by a circuit board.
To operate the slideout using a wireless remote (if so equipped):
Press the on/o button to power on the remote.
Press the corresponding button of the slideout you want to operate.
Press and hold the (extend/retract) arrow button to move the room in or out.
Press the on/o button once more to power o the remote.
allow the controller to stop both motors before releasing the switch button.
try to time the end of the stroke by releasing the button early.
This slideout system requires very little maintenance. It contains a pre-lubed bearing that is
lubricated when the room is moved in and out. Do not spray oil or grease on the rails while
the room is extended.
Checking Fuses: The in-wall slide requires a minimum 30-amp fuse. Check the load center
for blown fuses and replace any if necessary. If the fuse blows immediately upon replace-
ment, there is a problem with the wiring to the in-wall slide control box.
Obstructions: Check both inside and outside for possible obstructions. Also check for
smaller objects that may be wedged under the oor or in the sides of the unit. Remove any
obstructions before proceeding.
Do not work on your system unless the 12-volt DC (auxiliary battery) and 120-
volt AC electrical systems (shore line power cord) have been disconnected.