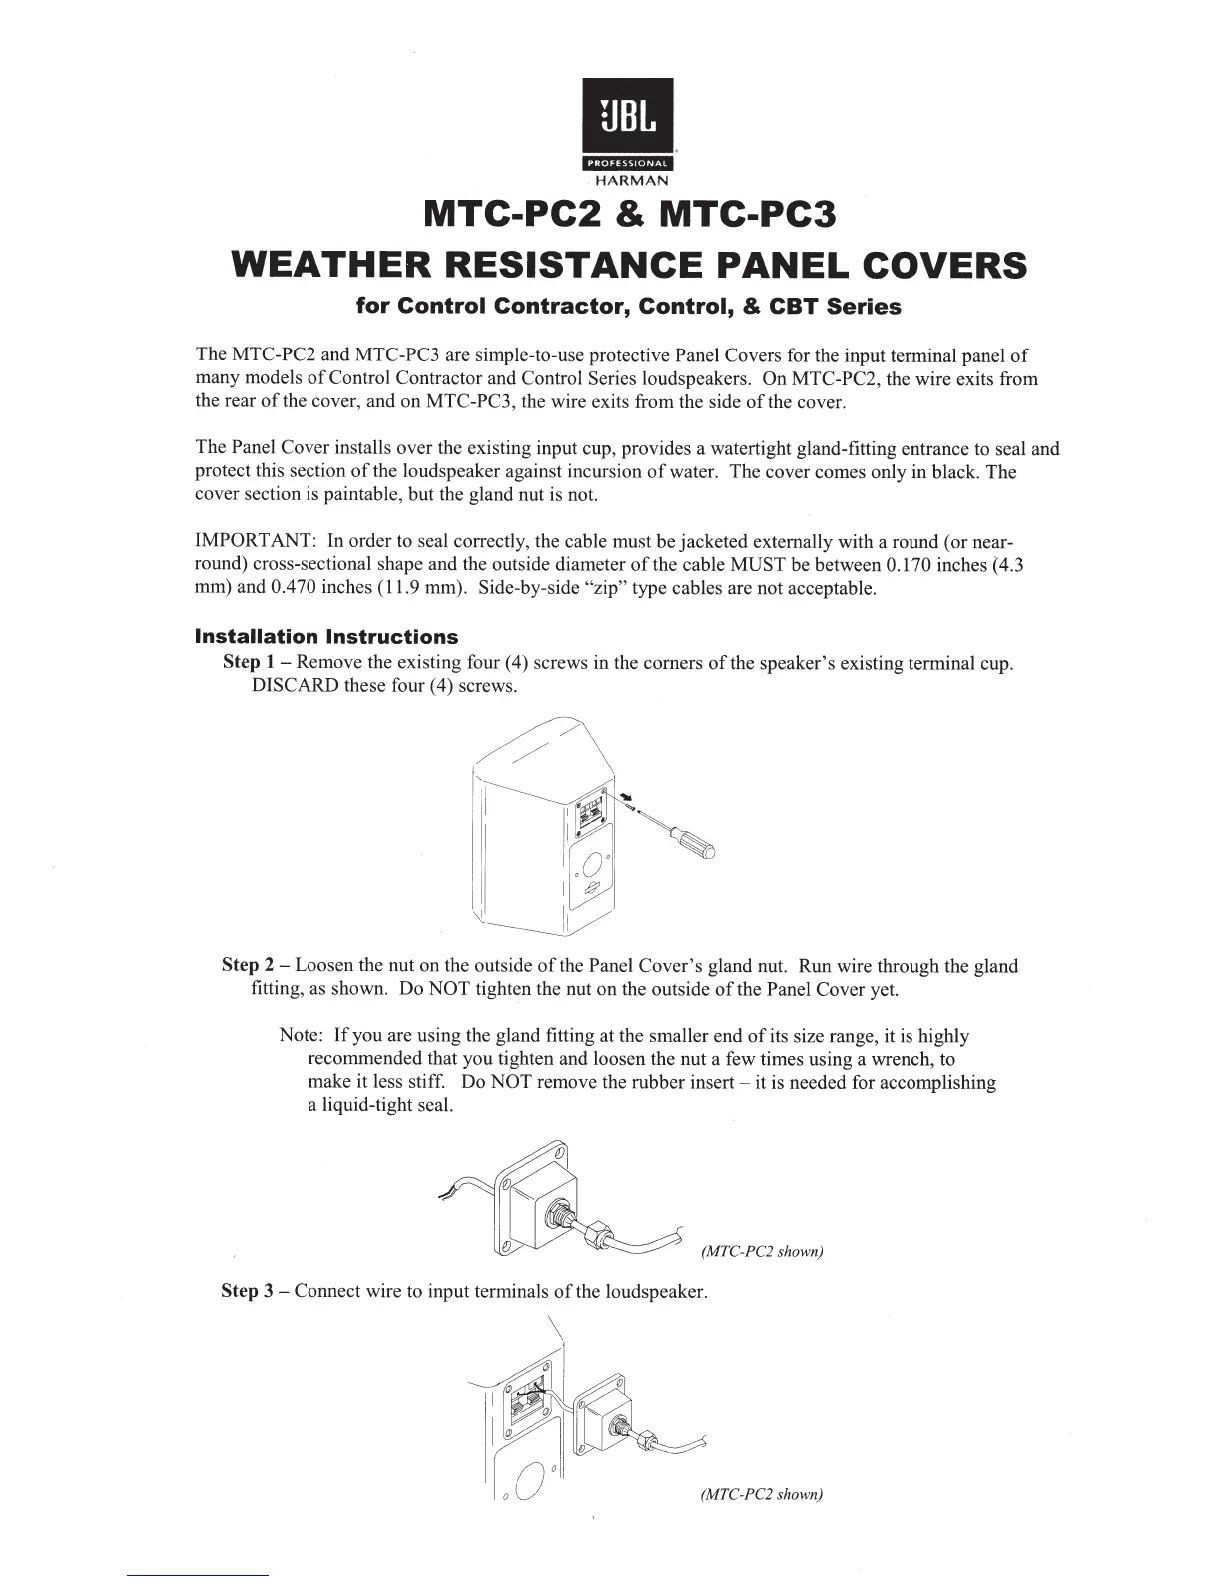
II
EQII.'IJijl·'fh*
HARMAN
MTC-PC2
&
MTC-PC3
WEATHER
RESISTANCE
PANEL
COVERS
for
Control
Contractor,
Control,
&
CBT
Series
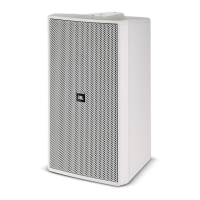
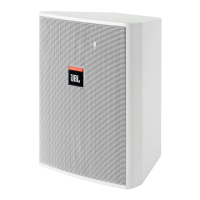
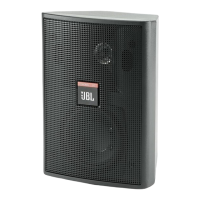
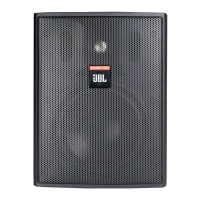
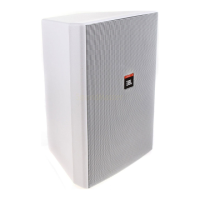
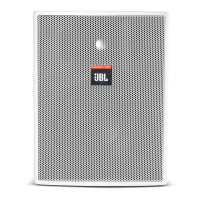
The
MTC-PC2
and MTC-PC3 are simple-to-use protective
Panel Covers for the input terminal panel
of
many models
of
Control Contractor and Control Series loudspeakers.
On
MTC-PC2, the wire exits from
the rear
of
the cover, and on MTC-PC3, the wire exits from the side
of
the cover.
The Panel Cover installs over the existing input cup, provides a watertight gland-fitting entrance to seal and
protect this section
of
the loudspeaker against incursion
of
water. The cover comes only in black. The
cover section is paintable, but the gland nut is not.
IMPORT
ANT: In order to seal correctly, the cable must be jacketed externally with a round (or near-
round) cross-sectional shape and the outside diameter
of
the cable
MUST
be between
0.170
inches
(
4
.3
mm) and
0.470 inches (11.9 mm). Side-by-side "zip"
type cables are not acceptable.
Installation
Instructions
Step
1-
Remove the existing four (4) screws in the comers
of
the speaker's existing terminal cup.
DISCARD these four ( 4) screws.
Step
2-
Loosen the nut on the outside
of
the
Panel
Cover's gland nut. Run wire through the gland
fitting, as shown. Do
NOT
tighten the nut on the outside
of
the
Panel
Cover yet.
Note:
Ifyou
are using the gland fitting at the smaller end
of
its size range, it is highly
recommended that you tighten and loosen the nut a few times using a wrench, to
make it less stiff. Do
NOT
remove the rubber insert - it is needed for accomplishing
a liquid-tight seal.
(MTC-PC2 shown)
Step
3 - Connect wire to input terminals
of
the loudspeake
r.
(MTC-PC2 shown)