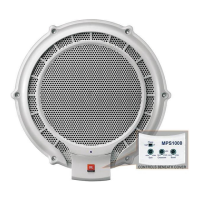
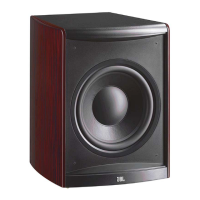
MPS1000 SERVICE PROCEDURE
Follow the instructions below to access the MPS1000 woofer or amplifier
Tools Needed:
• Philips screwdriver, small and medium
• Flat blade screwdriver
• Box Cutter or knife
• Silicon Seal
1) Turn the product upside-down to expose the (7) screws holding the Grille to the enclosure; remove the
screws.
2) Remove the Grille by lifting at the edge opposite the controls; there may be a small amount of adhesive
that must be overcome in the area of the controls. The Grille can be left dangling by the control cable.
3) With the woofer exposed, remove all (8) screws. If the black adherent prevents screw removal, it must
be scraped off the screw heads.
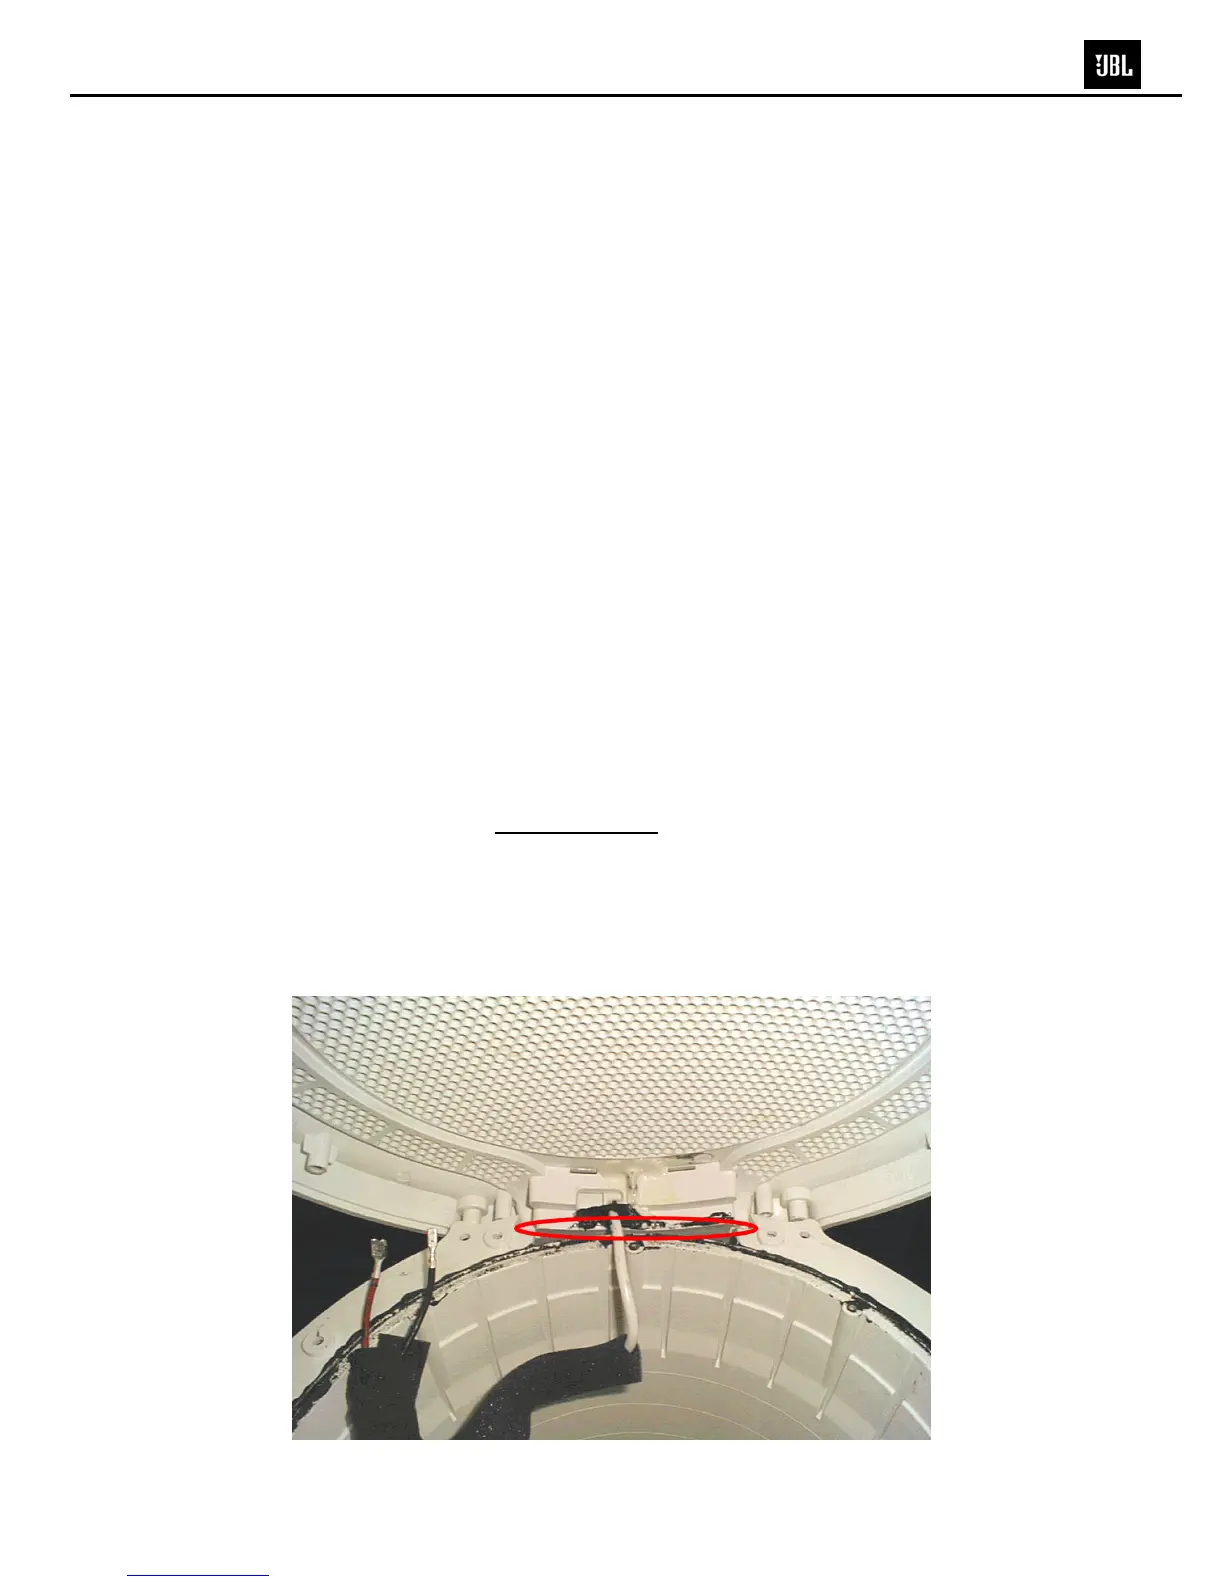
4) With a box cutter or knife, cut into the adherent and find the woofer edge.
5) Lift the woofer slightly with the Flat blade screwdriver. Now cut into the black adherent around the
perimeter of the woofer frame with box cutter, lifting the edge with the screwdriver as you progress.
6) Remove the woofer.
REASSEMBLY
Follow the above instructions in reverse order, noting that:
• Examine the woofer mating surface on the enclosure
carefully. If the raised ring anywhere around the
circumference has been damaged by your tools, during the woofer removal: RTV Sealant, or Silicon
Seal, should be added to that area. If in doubt, add sealant.
• A new bead of RTV Sealant, or Silicon Seal, should be added in one other area before the Grille is
attached.
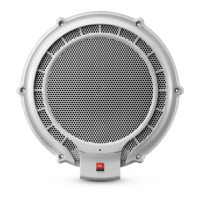
MPS1000 Subwoofer