7 - 14
Assembly (continued)
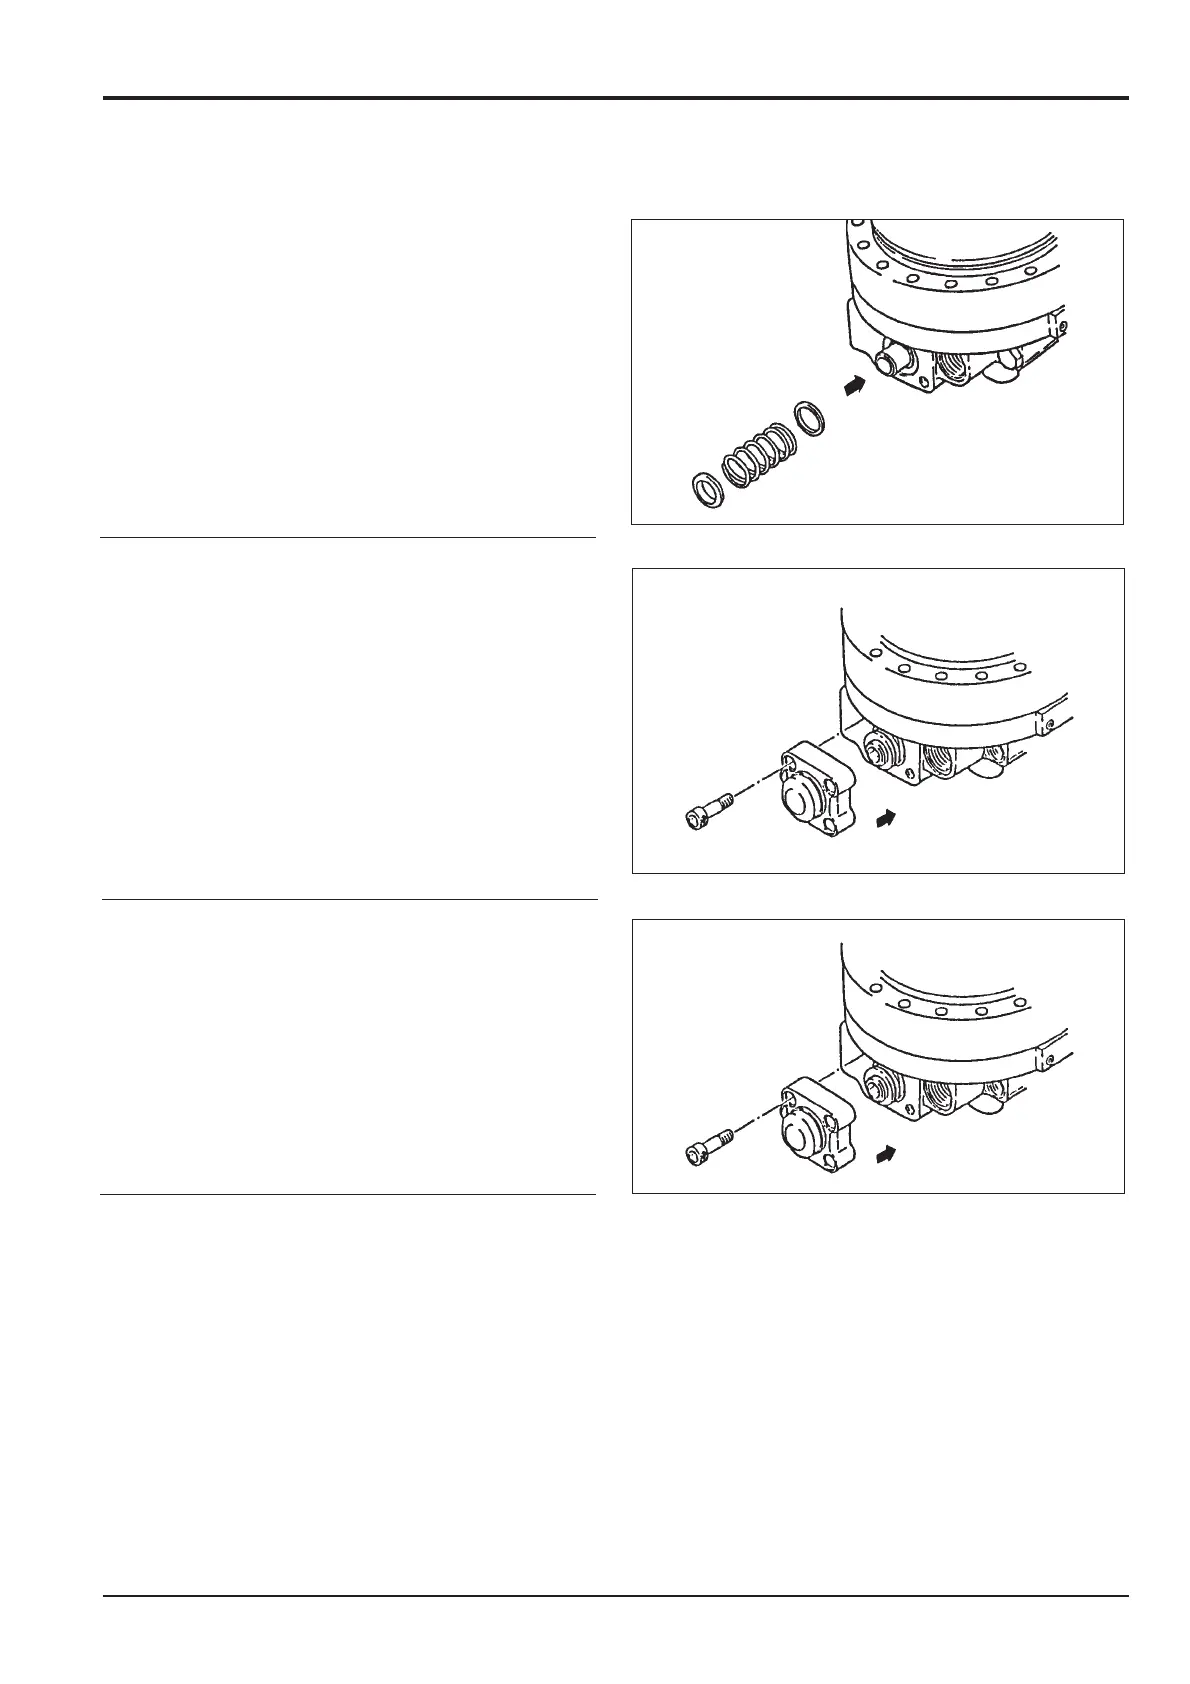
19. Assemble the (2-3) spring and (2-5) spring seat in
order.
20. Assemble the (2-6-1) cap to the (2-1) base plate
and fasten with (2-6-5) socket head bolts.
Note: Because it is pushed upwards by the spring, press
down by hand and tighten the socket head bolts to the
specified tightening torque.
108 ± 20 Nm (11 ±2 kgf/m, 79.5 ± 14.75 lb/ft).
21. Assemble the (2-7) relief valve (S/A) to the (2-1) base
plate and tighten to the specified torque. 373 ± 20
Nm (38 ± 2 kgf/m, 274.85 ± 14.47 lb/ft).
22. Assemble the (2-9) valve assembly to the (2-1) base
plate.
Note: Take care to assemble the valve in the correct order. If
assembled in reverse, the motor may become damaged.
23. After assembling the (2-14) plug, tighten to the
specified torque.
a. Next, assemble the (2-16) spring guide, (2-13) spring
to the (2-17) plug and then assemble it to the (2-1)
base plate.
Note: Tighten (2-17) plug to the specified torque. 118 ± 5.9
Nm (12 ± 0.6 kgf/m, 86.8 ± 4.27 lb/ft).
24. The motor can now be mated to the gearbox using a new
‘O’ ring in the groove on the motor and using the three
socket head screws.
Section F
Transmission
9803/6400
Section F
7 - 14
Issue 3*
Motor
*