Check Box When This Step is Complete
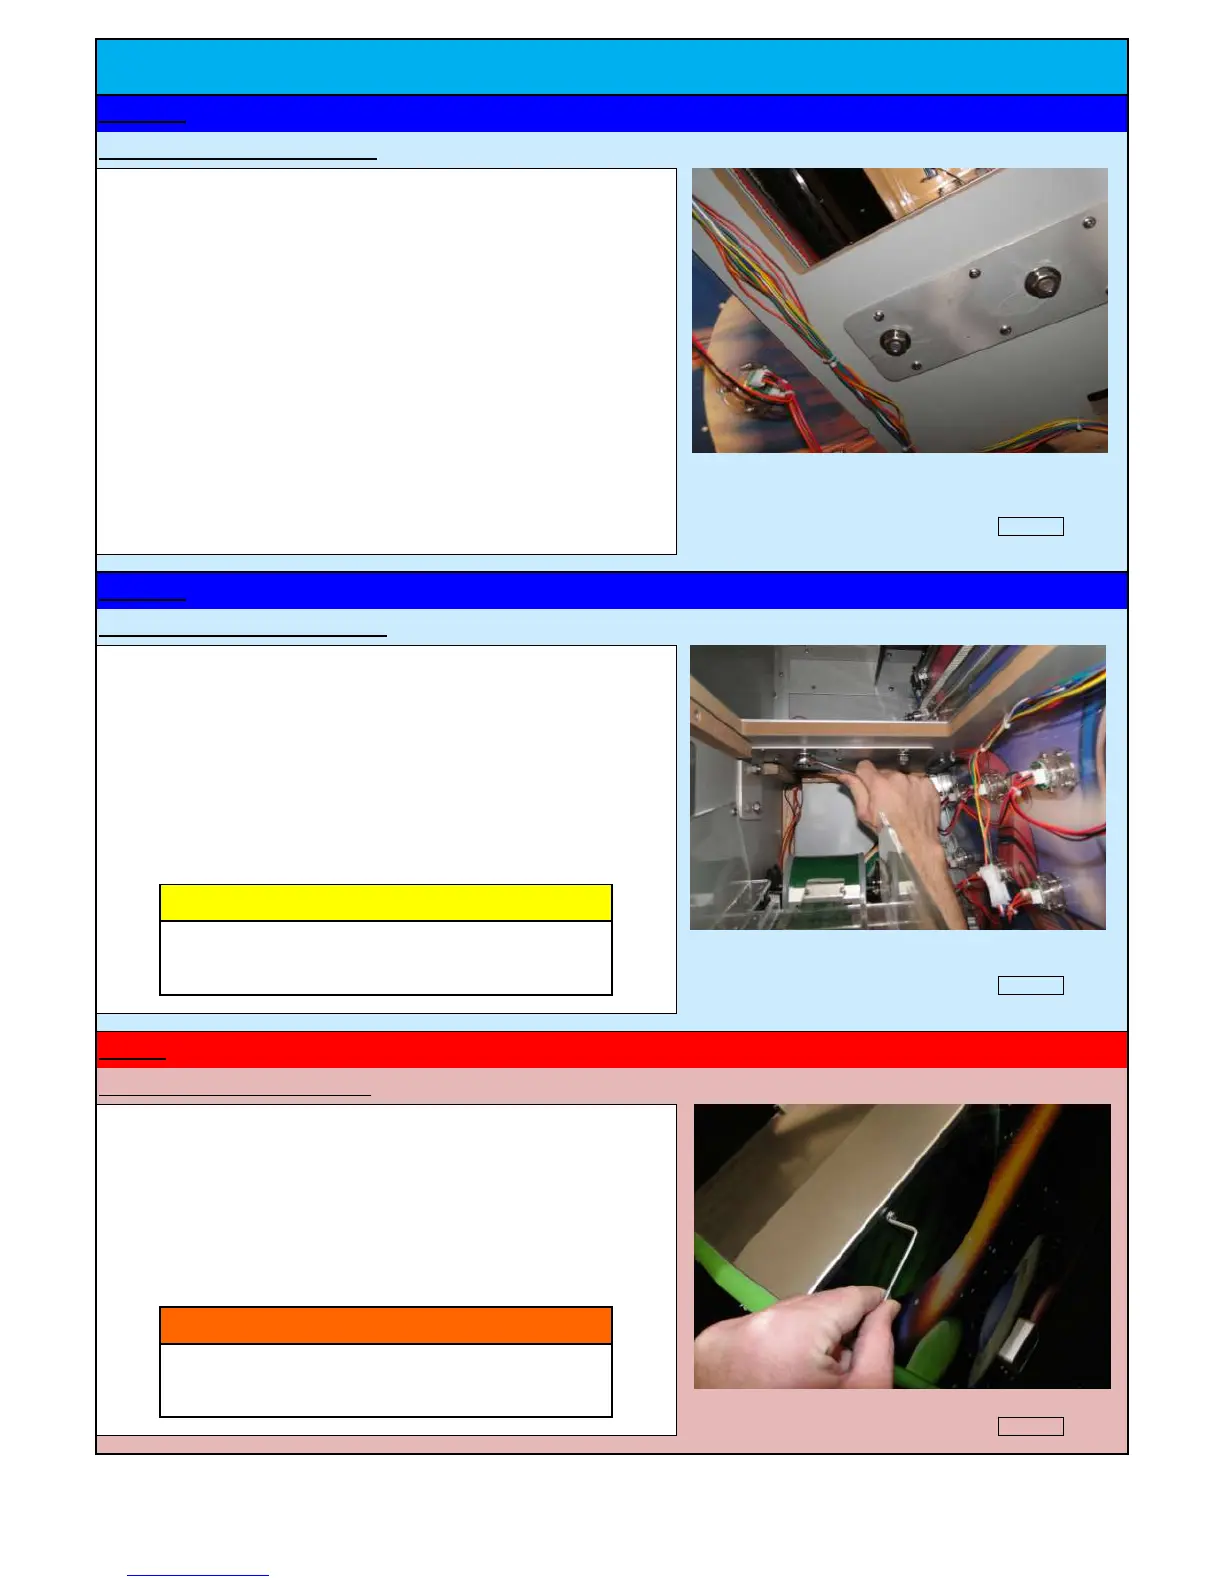
Tightening the nuts for section # 3
Use the provided tool (Metric # 17 Wrench) to tighten the nuts on all
four bolts.
WHEN USING A TOOL TO TIGHTEN THE NUTS - BE
CAREFUL OF THE LED LIGHT CONNECTORS LOCATED
ON THE ACRYLIC PLAYFIELD.
Check Box When This Step is Complete
Removing section # 4 from crate
Open the second crate containing Section # 4. Remove the unit from
the crate and carefully place it on the ground. Remove the foam
packaging. Use the provided tool and remove all the screws holding
the front acrylic. Be sure to keep these screws in a safe place and put
the acrylic panel somewhere where it wont get scratched.
SECTION # 4 CONTAINS A 32" FLAT SCREEN TV - DO
NOT DROP THIS SECTION
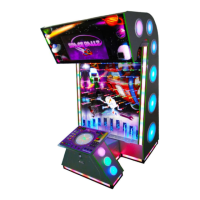
Installing nuts to hold section # 3
Locate the provided nuts, washers, and lock washers. Open the rear
access door and look up to your right. You will see the two bolts
from Section # 3 sticking through the mounting holes. Screw each
nut onto the bolts using both the washers and lock washers. Repeat
the same thing for the two bolts on the left side (from the rear) of
the cabinet.
Check Box When This Step is Complete
INSTALLATION INSTRUCTIONS
Jennison Entertainment Technologies Space Ballz Service Manual Page 20