Do you have a question about the JL Audio JX360/4 and is the answer not in the manual?
Critical safety warning regarding hearing damage from prolonged exposure to high sound levels.
Essential planning steps and considerations for a successful amplifier installation.
Guidelines for ensuring adequate airflow for optimal amplifier performance and longevity.
Important safety precautions for mounting the amplifier and routing wires within the vehicle.
Common installation errors and dangerous practices to prevent damage or injury.
A step-by-step guide outlining the typical process for installing the amplifier.
Information on selecting and installing the correct fuse for power wire protection.
Details on connecting the remote turn-on lead to activate the amplifier.
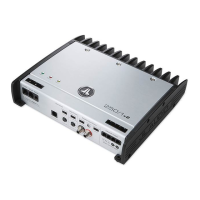
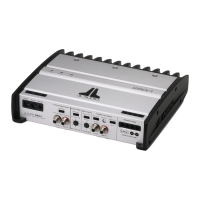
How to connect audio signals using low-level (RCA) or high-level (speaker) inputs.
Configuring input modes and understanding bridging for increased power.
Wiring details for high-level inputs and polarity importance.
How to adjust input sensitivity for optimal gain matching.
Using high-pass and low-pass filters to manage frequencies.
Understanding the pass-through preamp outputs for system expansion.
Information on connecting speakers and recommended impedance loads.
Guidelines for combining channels for increased power output and mono operation.
Understanding the Power and Protect indicator lights on the amplifier.
Instructions and contact information for seeking professional repair services.
Detailed procedure for setting input sensitivity for optimal audio performance.
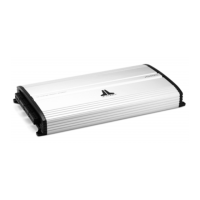
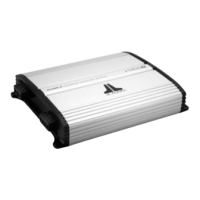
Technical specifications for the JX360/4 amplifier, including power ratings and dimensions.
Steps to diagnose and resolve issues where the amplifier fails to power on.
Troubleshooting steps for when the amplifier powers on but produces no sound.
| Product color | Black, Silver |
|---|---|
| Current | 50 A |
| Input sensitivity | 200 mV |
| High pass filter range | 50 - 200 Hz |
| Signal-to-Noise Ratio (SNR) | 100 dB |
| Number of amplifier channels | 4 channels |
| RMS power output per channel (2 Ohm) | 320 W |
| RMS power output per channel (4 Ohm) | 220 W |
| Maximum power output per channel (4 Ohm) | 280 W |
| Depth | 195 mm |
|---|---|
| Width | 391 mm |
| Height | 53 mm |
| Weight | 3450 g |