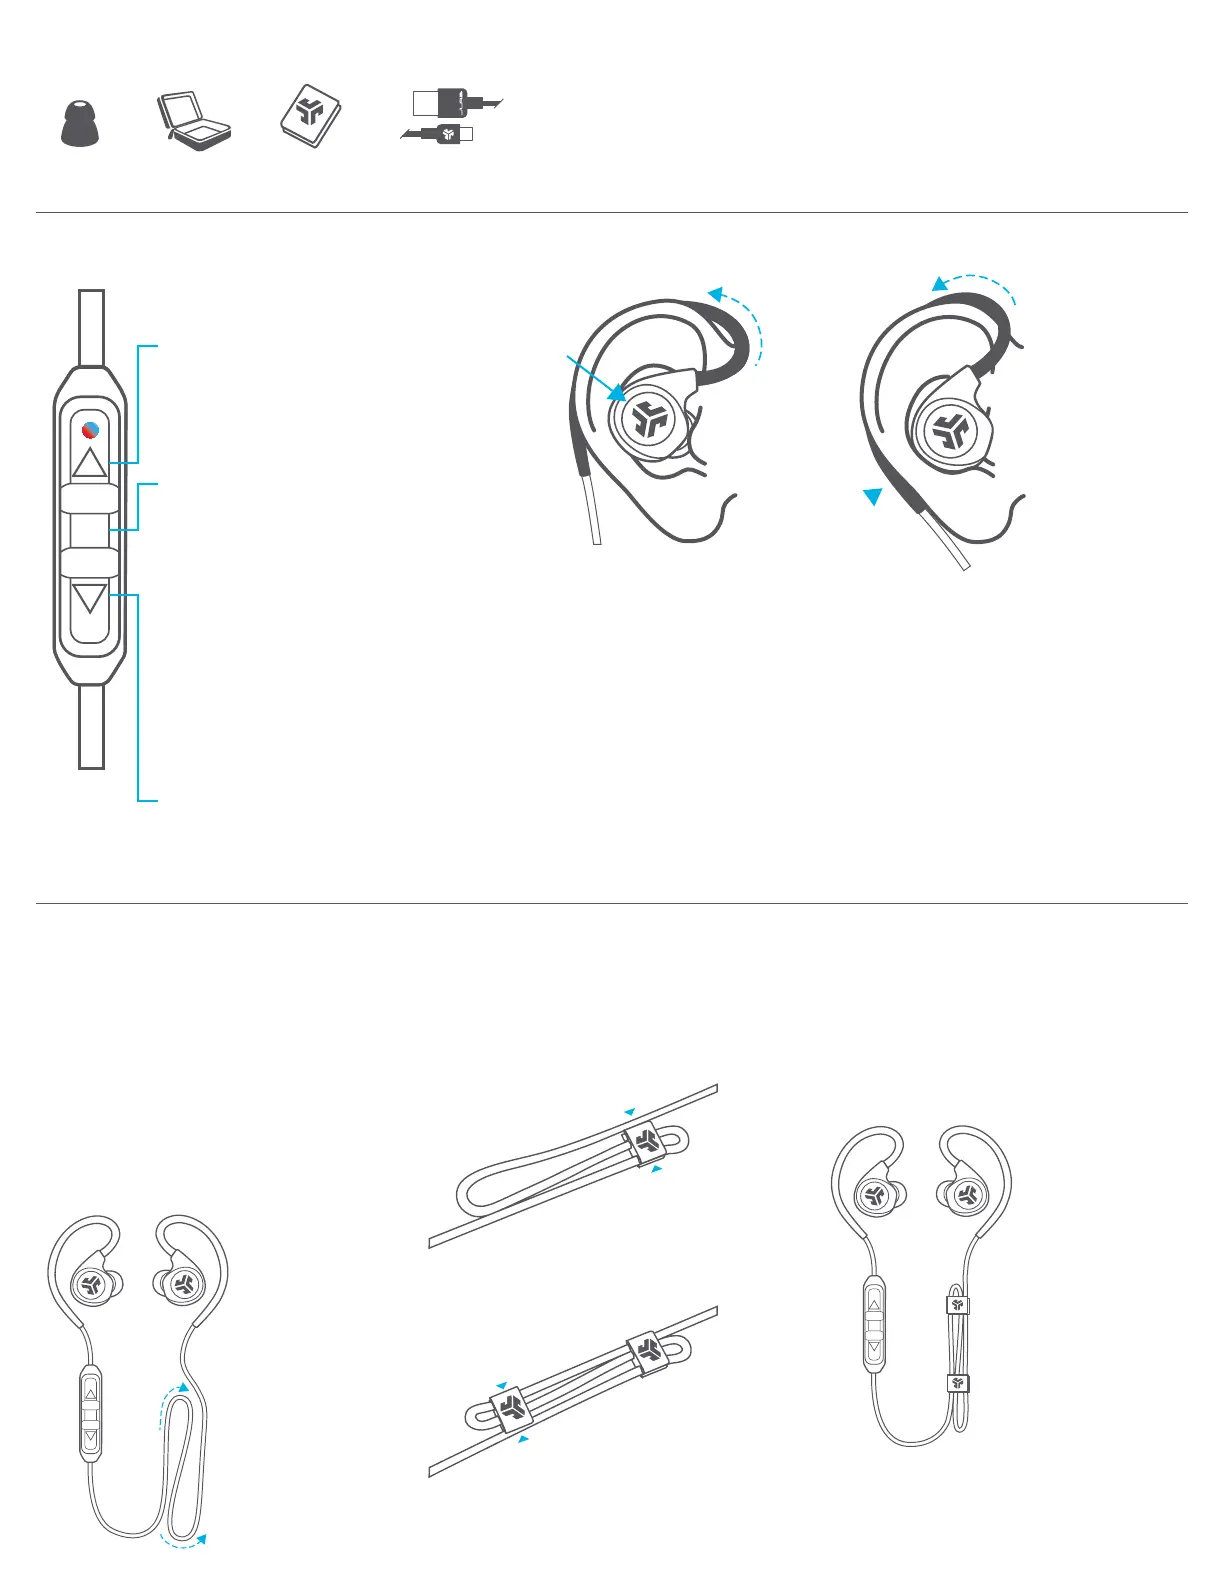
BUTTON FUNCTIONS FITTING
VOLUME UP:
Click once.
TRACK FORWARD:
Click and hold 2+ seconds.
VOLUME DOWN:
Click once.
TRACK BACKWARD:
Click and hold 2+ seconds.
POWER ON:
Click and hold 3 seconds.
POWER OFF:
Click and hold 5 seconds.
ANSWER/HANG UP CALLS:
Click once.
ACTIVATE SIRI (iOS) OR
“OK GOOGLE” (ANDROID):
Click twice.
BLUETOOTH PAIRING:
(Follow First Time Setup: Bluetooth Pairing)
Secure the second cable clip
on the other end of the
looped cable.
Cable clips should be secured
to both ends of cable.
4
3
Secure a cable clip on one end
of the loop by pushing in from
the top and bottom.
2
1 Create a desired length by looping
the cable.
For best connectivity: Make sure the
microphone doesn’t come in direct
contact with skin (leave the cord
loose around back of neck).
Note: Optional cable clips may affect your Bluetooth connectivity. Removing cable clips can improve connectivity.
For more info: jlab.audio/ClipsBT
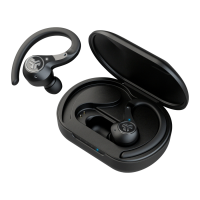
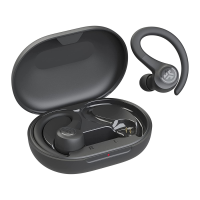
1 Place the earbud housing
to your ear while wrapping
the memory wire behind
the ear.
2 Rotate earbud in ear canal
and adjust memory wire to
your desired fit.
CABLE MANAGEMENT CLIPS
ACCESSORIES
8
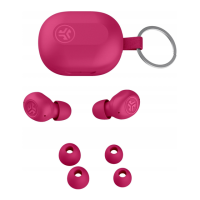
TIP SIZES
CABLE
MINI-CLIPS
TRAVEL
CASE
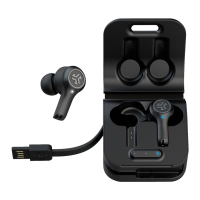
MICRO USB
CABLE