12
! To ensure your child’s safety, please make sure all parts are assembled
and fastened properly before using the stroller.
! To avoid strangulation, do make sure your child is clear from the hood.
! Always engage the brakes when parking the stroller.
! Discontinue using stroller if it is damaged or broken.
! Stroller to be used only at walking speed. This product is not intended for
use while jogging.
! To avoid suffocation, remove plastic bag and packaging materials before
using this product. The plastic bag and packaging materials should then
be kept away from babies and children.
! This product is not suitable for running or skating.
! Pushchair designed to be used from birth shall recommend the use of
the most reclined position for new born babies.
! The parking device shall be engaged when placing and removing chil-
dren.
! For car seats used in conjunction with a chassis, this vehicle does not
replace a cot or a bed. Should your child need to sleep, then it should be
placed in a suitable pram boby, cot or bed.
Stroller Assembly
Please read all the instructions in this manual before assembling and using this product.
Open Stroller
Separate storage latch from storage mount
1
, and then lift the handle upwards
2
, a click sound means the
stroller is open completely.
! Check that the stroller is completely open before continuing.
Assemble Front Wheel
Assemble front wheel to front leg. Check that the front wheel is securely attached by pulling on wheel assembly.
3
To disassemble front wheel, detach front wheel from front leg
4
- 2 while pressing the release tabs outwards.
4
- 1
Assemble Rear Wheels
Align the axle of the rear wheel with the rear wheel mount, and then insert to assemble the rear wheel
5
. Check
that wheels are securely attached by pulling on wheel assemblies.
To disassemble rear wheel, detach rear wheel from rear wheel mount
6
- 2 while pressing the release button.
6
- 1
Assemble Armbar
Align the armbar end slider with matching fixing slot, and then insert to lock.
7
To disassemble armbar, press armbar release button
8
- 1, and then pull up the armbar.
8
- 2
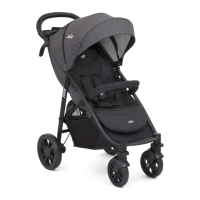
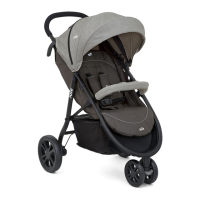
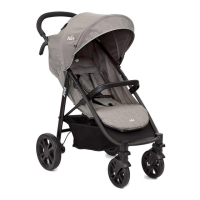
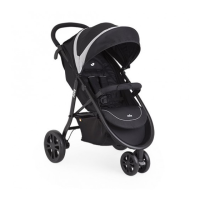
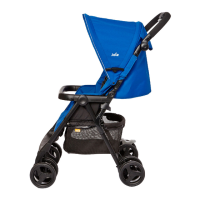
The completely assembled stroller is shown as
9

 Loading...