Inputs status
When the control unit is in standby. User can read inputs status on display:
_ _: No input active.
5t: Stop input active.
P5: Photo stop input active.
Pc: Photocells input active.
EO: Analogic edge opening input active.
EC: Analogic edge closing input active.
5B: Start input active.
5p: Pedestrian input active.
op: Open input active.
CL: close input active.
During pause, the display show the seconds countdown to closing.
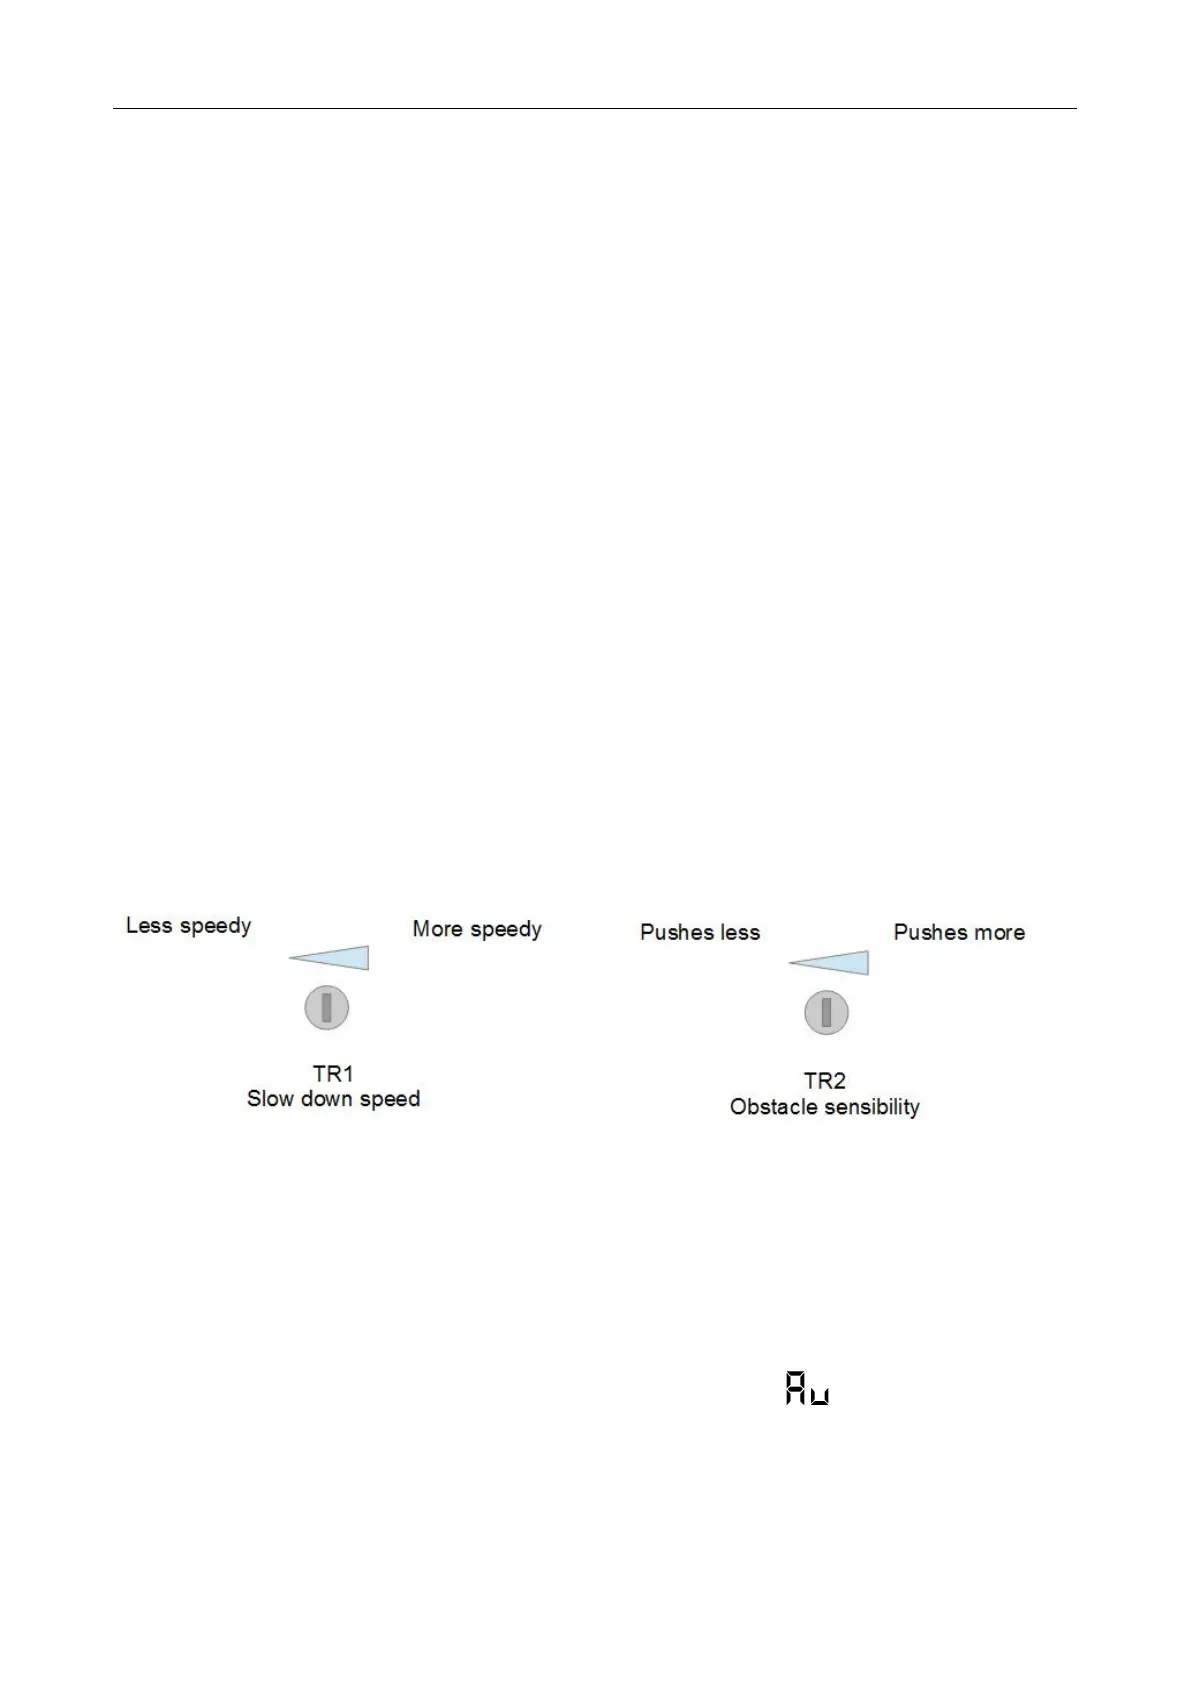
Trimmers setting
Slow down speed trimmer regulates the slowdown speed. Do not set speed to low(less than 10
cm/sec on the wing edge) to avoid that gate stops in too cold conditions.
Obstacle sensibility trimmer fine tunes the obstacle detection level learned by the control unit
during working times programming .This fine regulation must be do after working times learning.
Normally the trimmer goes in the center, in this position should be possible to respect rules in most
of installations. If it’s need to resolve problems related to norms or to environmental situations (ex.
Strong wind) is it possible to regulate this trimmer increasing or decreasing sensibility.
Figure 18
Quick installation
After the first time installation but before starting normal operation, one important step you have to
take it to set the opening and closing limit stop positions for the running travel.
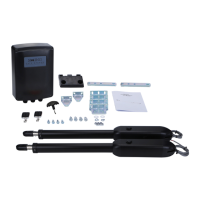
Please unlock the actuator first, manually swing the 2 doors to fully opened position then lock the
actuator. Press and hold ‘TS1’ button on the PC board till you read on the display. The door
will open and stop in the opened position for 5 seconds (PC board is learning the rotor-locked
current value), then door will close automatically. After the 2 swings are fully closed and display
showing ‘--’, running travel setting is finished. Please verify the correct installation by pressing the
opening/closing button on the remote transmitter.