8.4 Replacement of Major Parts
yyyy
yyyy
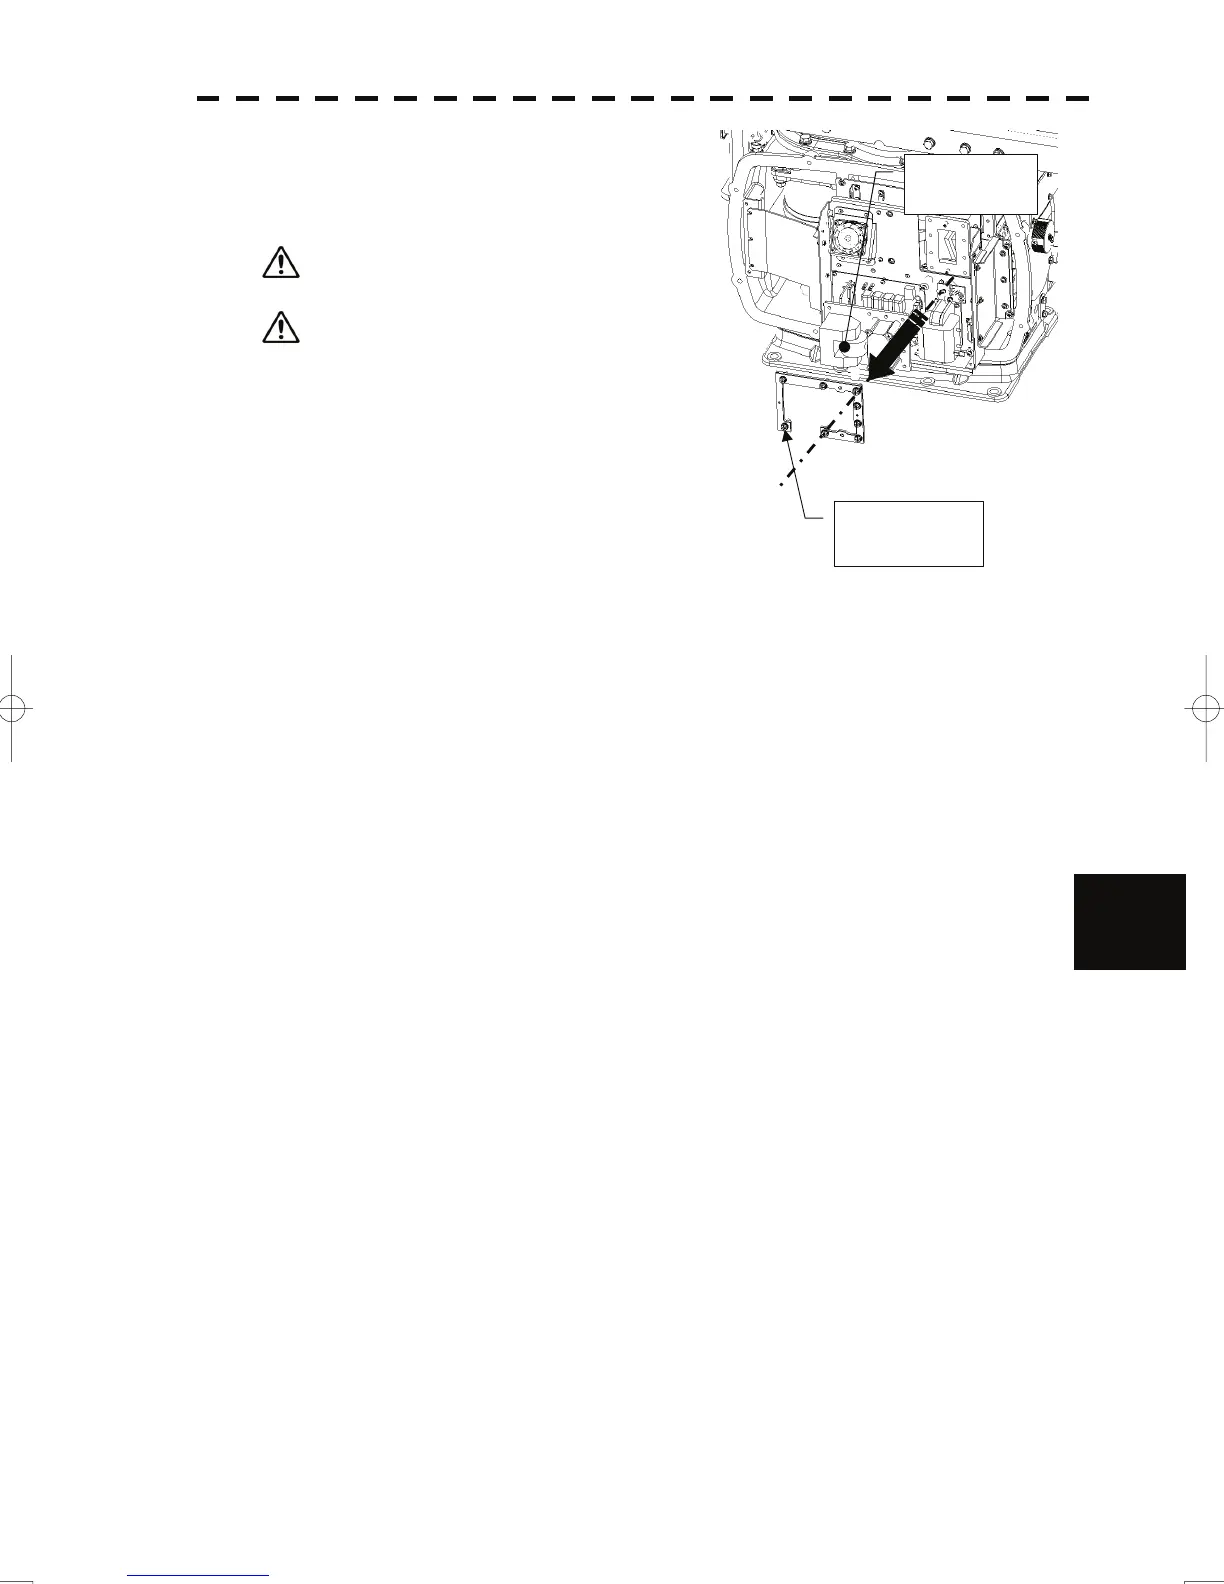
(4) Remove the eight screws (M6) to remove the fixture
holding the magnetron. The screws cannot be
removed from the fixture, so loosen the all eight screws
and remove the magnetron together with the fixture.
Remove the
magnetron.
Loosen the
eight screws.
The magnetron is held by a hook, but be careful
not to let it fall.
Use a shielded screwdriver. If the magnetron
comes into contact with any metal (tool), its
performance may deteriorate.
(5) Install the new magnetron together with the fixture and tighten the screws to hold the cables.
Follow the removal procedure in the reverse order.
Do not forget to tighten the screws and connect the cables.
8
8-16
 Loading...