15
Operation
General Operating Instructions
IMPORTANT: Always position the pitching machine so that two legs are
facing the pitching screen and batter, and one leg is facing back, towards
the operator, except as noted in Figure 12, page 19.
1. Be sure the control switch is in the “OFF” position.
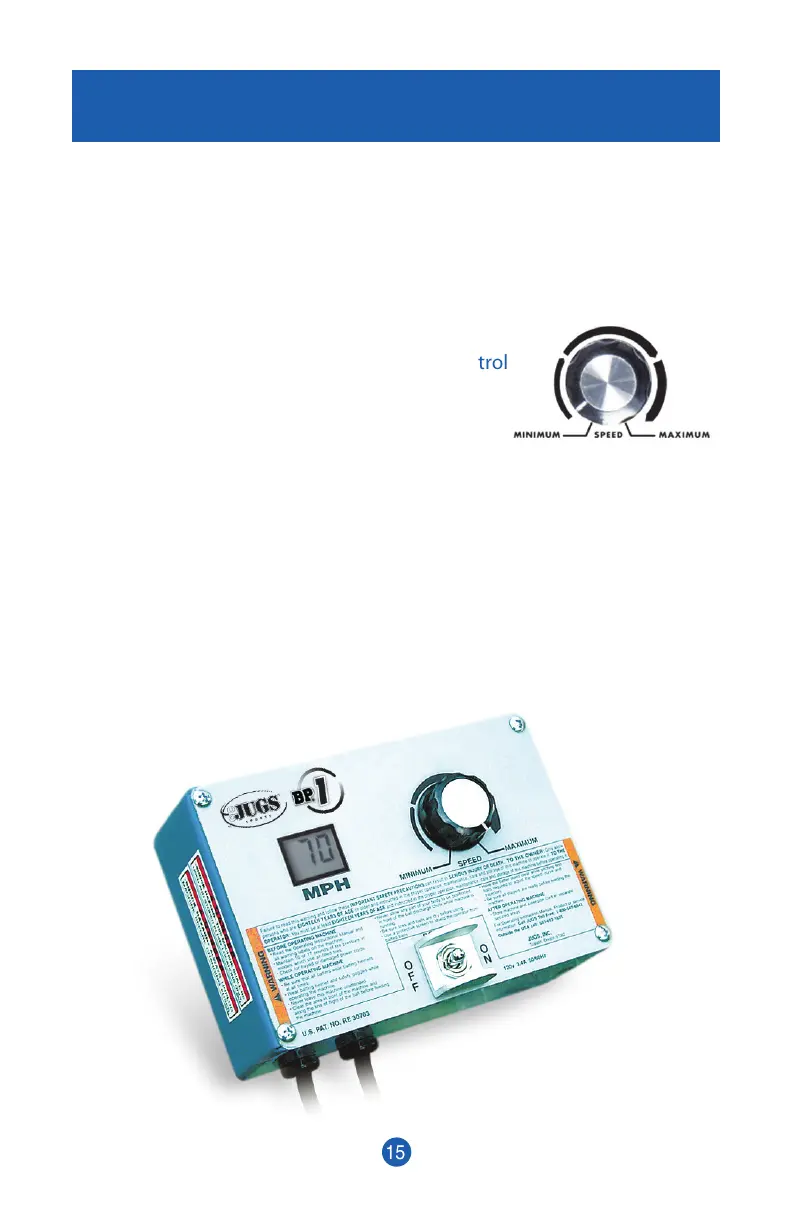
2. Position the speed dial pointer on the control
panel at MINIMUM (Figure 10.)
3. Install the curved set of legs (low profile)
for softball or field hockey.
4. Attach the softball feed chute (see number 4 on page 14.)
5. Position the rubber pad bracket until the bolt holes line up with the
upper bolt holes in the rotating plate for softball (Figure 9.)
6. Connect a 3-wire extension cord (3-prong) into a grounded (3-prong)
110 volt AC outlet (see Figure 2).
7. Move control switch to “ON” position.
Figure 10
Figure 11. Control Panel
 Loading...