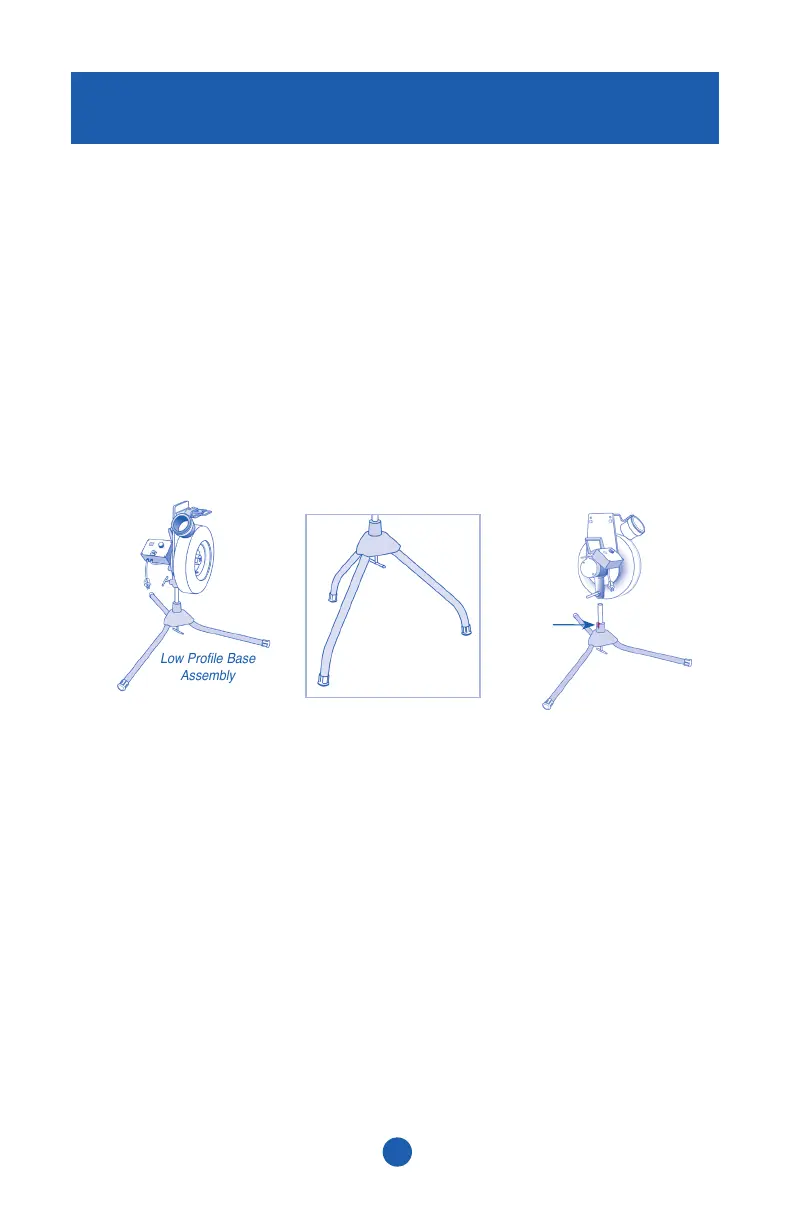
There are two ways to install the curved legs; the low profile position or the
high profile position.
Low Profile Position:
• Install the three legs with the curved part closer to the base
(Figure 6.) Use this position for softball or field hockey.
High Profile Position:
• Install the three legs with the curved part closer to the ground
(Figure 7.) Use this position for softball drop pitches.
NOTE: When using JUGS indoors, be sure the white rubber leg caps are
on the legs.
3. Re-connecting the “Top” of JUGS onto the Base Assembly:
a. Loosen the Horizontal T-Handle.
b. Place the “top” of JUGS onto the shaft of the base assembly.
(Figure 10).
c. Turn the “top” of JUGS so the Horizontal T-Handle is lined up
directly OVER the red dot at the base.
d. Hand tighten the Horizontal T-Handle.
IMPORTANT: The Horizontal T-Handle will fit snugly into the
indentation in the shaft only if you have the horizontal T-Handle lined
up directly over the RED DOT. This is important for maximum accuracy.
Assembly
13
High Profile Base
Assembly
Low Profile Base
Assembly
Red Dot
Figure 6 Figure 7 Figure 8
 Loading...