12
1
2
1
2
2
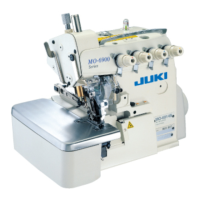
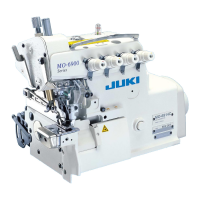
MO-6904C
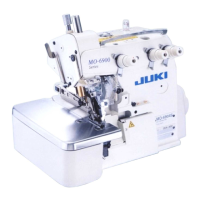
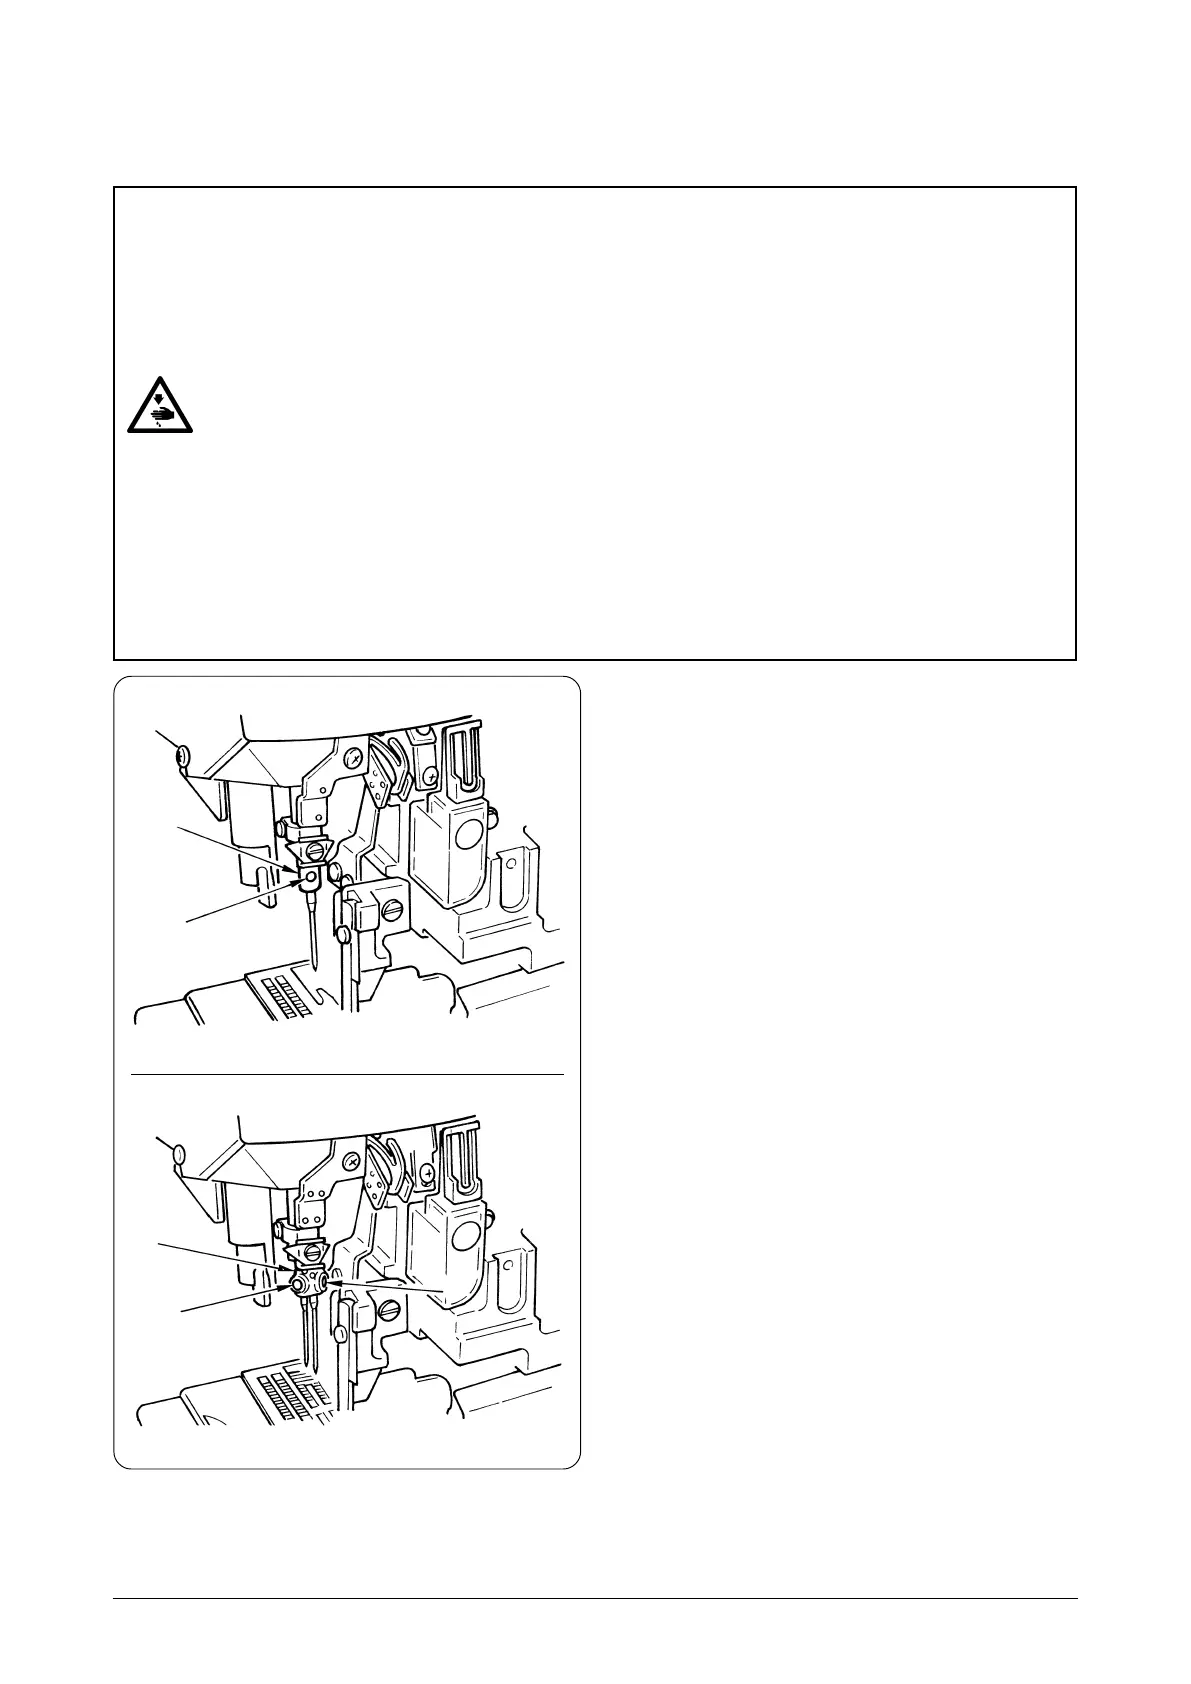
MO-6914C
3. 針の取り付け方 / Attaching needles / Anbringen der nadeln /
Pose des aiguilles / Modo de colocar las agujas /
Posizionamento aghi / 機針的安裝方法
注意:
ミシンの不意の起動による人身の損傷を防ぐため、電源を切り、モータの回転が止まったことを確認してから行なってください。
WARNING :
To protect against possible personal injury due to abrupt start of the machine, be sure to start the following
work after turning the power off and ascertaining that the motor is at rest.
WARNUNG :
Um durch plötzliches Anlaufen der Nähmaschine verursachte Verletzungen zu vermeiden, führen Sie die
folgende Arbeit erst aus, nachdem Sie den Netzschalter ausgeschaltet und sich vergewissert haben, daß
der Motor vollkommen stillsteht.
AVERTISSEMENT :
Pour ne pas risquer des blessures causées par une brusque mise en marche de la machine, toujours la
mettre hors tension et s’assurer que le moteur est au repos avant d’effectuer les opérations suivantes.
¡AVISO!
Para protegerse contra posibles lesiones personales debido a un arranque brusco de la máquina de coser,
cerciórese de comenzar el siguiente trabajo después de desconectar la corriente y de estar seguro que el
motor está completamente parado.
AVVERTIMENTO :
Per evitare possibili ferimenti causati dall’avvio improvviso della macchina per cucire, prima di effettuare
le seguenti operazioni spegnere l’interruttore dell’alimentazione ed assicurarsi che il motore abbia
completamente cessato di ruotare.
注意 :
為了防止突然啟動造成人身事故,請關掉電源,確認馬達確實停止轉動後再進行。
標準の針は、DC × 27 # 11 です。DC × 1 でも使用でき
ますが、ルーパとのすき間調整が必要となる場合もありま
す。縫い調子のきびしい条件では、DC ×27をご使用くだ
さい。
1) 針留め 1 を最上点に上げます。
2) 針止めねじ2をゆるめ、針のえぐり部が後向きになる
ように、針を一杯に差し込みます。
3) 針止めねじ 2 を締めます。
The standard needle is DC×27 #11. You can also use the
DC × 1 needle. In this case, however, the clearance
provided between the needle and the looper may be required
to be adjusted. If sewing need to be carried out with a finely
adjusted thread tension, use the DC × 27 needle.
1) Bring needle clamp 1 to the highest position.
2) Loosen needle clamp screw 2, and fully insert the
needle into the needle clamp hole with the needle recess
facing backwards as viewed from the operator’s side.
3) Tighten the needle clamp screw 2.
Die Standard-Nadel ist DC × 27 #11. Es kann aber auch
eine Nadel vom Typ DC × 1 verwendet werden. In diesem
Fall kann es jedoch notwendig sein, den Abstand zwischen
Nadel und Greifer einzustellen. Wenn mit fein eingestellter
Fadenspannung genäht werden muss, ist die Nadel vom
Typ DC × 27 zu verwenden.
1) Die Nadelklemme 1 in die Höchststellung bringen.
2) Die Schraube 2 der Nadelklemme lösen, und die Nadel
bis zum Anschlag so in die Nadelklemmenöffnung
einführen, dass die Nadelrinne vom Bediener aus
gesehen nach hinten zeigt.
3) Die Schraube 2 der Nadelklemme anziehen.
9
1) Quite la tapa 1 del aceite.
2) Suministre aceite JUKI Machine 18 en el depósito de aceite.
3) Suministre aceite hasta que la aguja indicdora llegue casi
hasta la línea demarcadora roja cuando el manómetro 2
del aceite se observa desde el lado.
4) Quite la tapa 3 de drenaje del aceite cuando drene el
depósito del aceite.
Fare attenzione a non superare la riga superiore
rossa; questo potrebbe causare inconvenienti
dovuti ad eccessiva lubrificazione.
Atten zione
Ponga cuidado en no sobrepasar la línea
demarcadora roja, porque puede resultar en
problemas por lubricación excesiva.
Preca ución
1) Togliere il tappo dell’olio 1.
2) Versare olio tipo JUKI Machine 18 nel serbatoio dell’olio.
3) Controllando il livello dell’indicatore dell’olio 2, continuare
a versare olio fino a quando l’ago dell’indicatore è appena
sotto la riga rossa superiore.
4) Per scaricare l’olio dalla vasca rimuovere il tappo 3 di
scarico.
1) 打開加油孔蓋 1 。
2) 加入 18JUKI 機油。
3) 從橫的方向看油尺 2 ,把縫紉機油加到紅線以下位置。
4) 放油時,請擰下放油螺絲 3 。
縫紉機油加到紅線以上的話,油量過多會發生漏油現象,因此加油請不要超過紅線。
オイルは、使いはじめてから、1ヶ月目と、そ
の後は、6ヶ月ごとに交換してください。
・ オイルゲージを横から見て指示棒が下側の
刻線より下っていたら、給油を行ってくだ
さい。
・ 新しいミシンを運転する時や、長時間使用
されなかったミシンを運転する時は、針
棒、上ルーパガイド部に2〜 3 滴注油して
ください。
Change oil when one month has passed after
the first set-up of the sewing machine. Then,
change oil every six months.
• If the pointer bar of the oil gauge comes down
under the lower marker line when observing
the oil gauge from sideward, supply oil.
• Apply two or three drops of oil to the needle
bar and upper looper guide when operating
the machine for the first time after setup of
after a long period of disuse.
Wechseln Sie das Öl einen Monat nach der
ersten Inbetriebnahme der Nähmaschine, und
dann alle sechs Monate.
• Falls sich der Zeiger des Ölstand-Schauglases
bei Seitenansicht unter der unteren
Markierungslinie befindet, füllen Sie Öl nach.
• Geben Sie zwei oder drei Tropfen Öl auf die
Nadelstange und die Obergreiferführung,
wenn Sie die Maschine zum ersten Mal oder
nach längerer Nichtbenutzung in Betrieb
nehmen.
Vor sicht
 Loading...