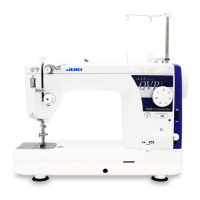
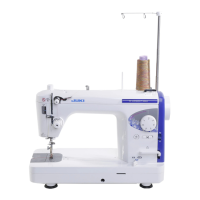
12
Winding the bobbin
Modo de bobinar la bobina
Bobinage de la canette
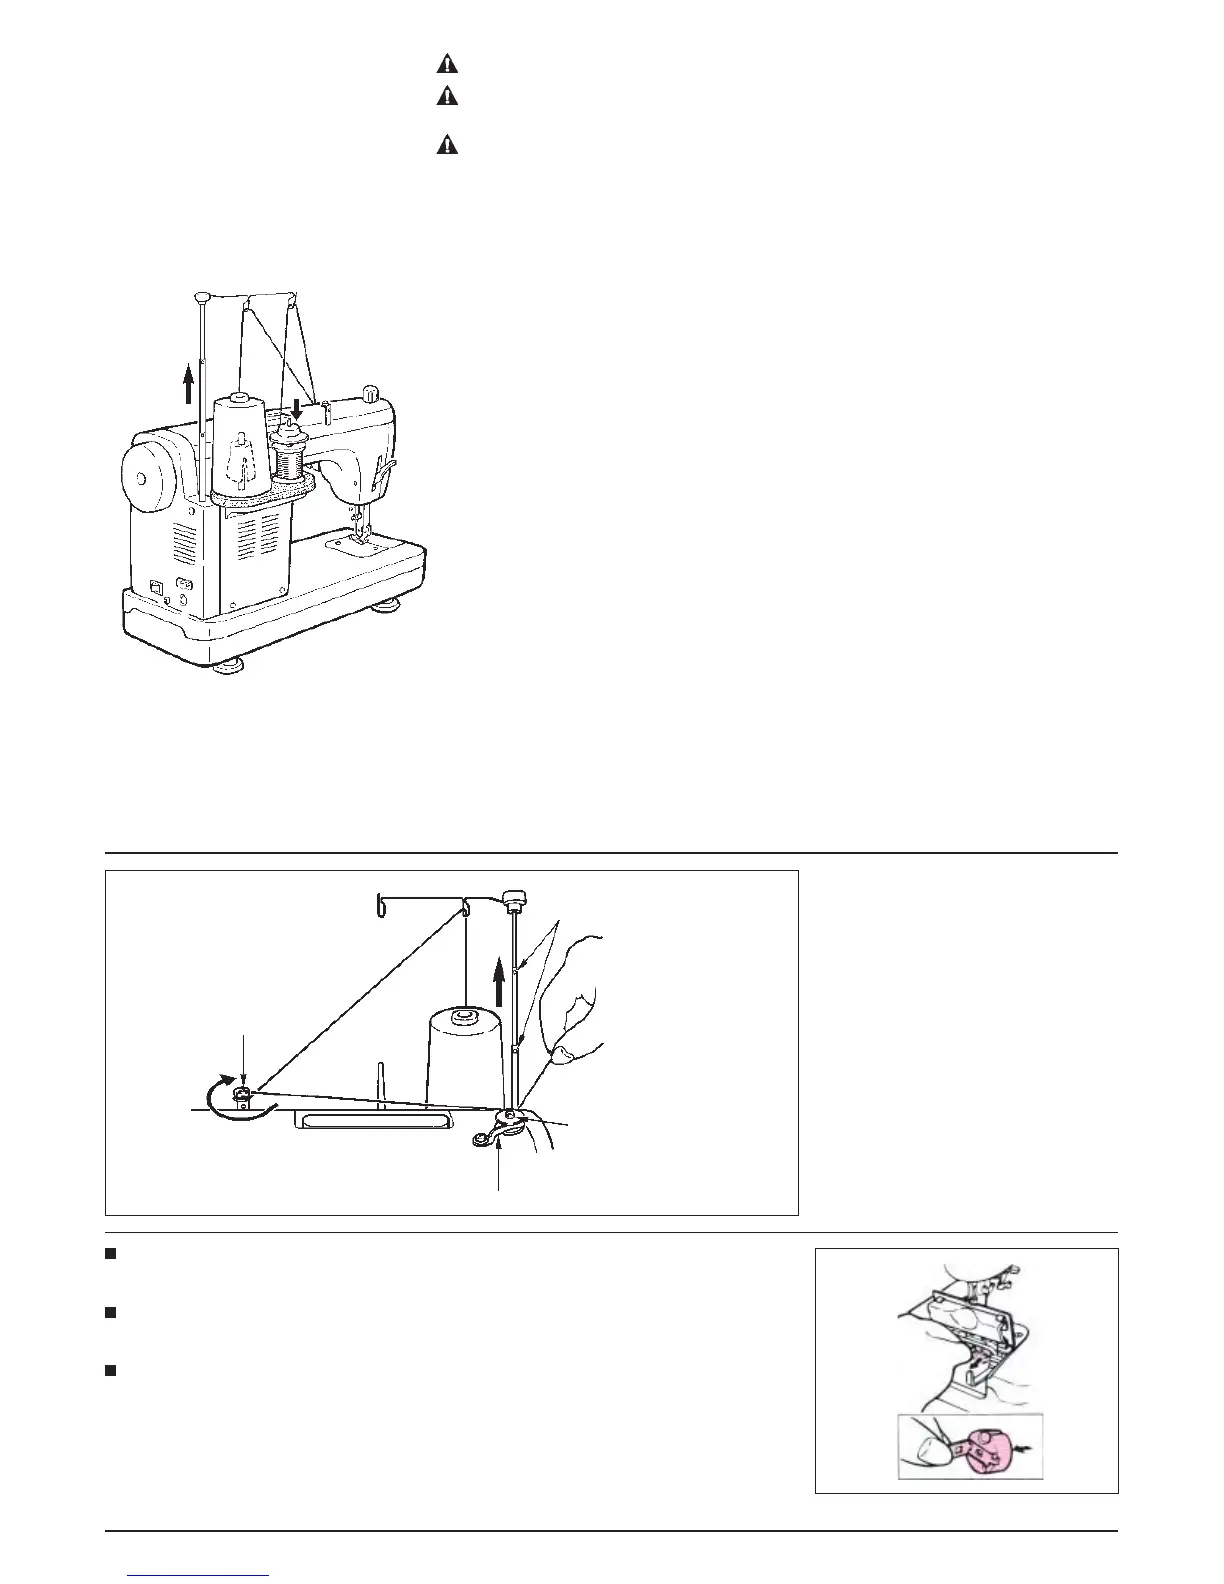
Installing the thread guide.
(1) Raise the support rod fully, turning slightly until the positioning latches engage.
(2) Set the large spool over the anti vibration cone, or
(3) Set the household-type thread onto the spool pin and then insert a spool cap in place.
(4) Pass the thread coming from the spool on the thread guide pin (rod) just above the spool.
Para instalar la guía del hilo.
(1) Suba completamente la varilla de soporte, girándola un poco hasta posicionarle en el dispositivo
de enganche.
(2) Fije la canilla grande sobre el cono amortiguador de vibraciones, o el presionador de bobina.
(3) Fiji el hilo tipo-hogar en la varilla sujetadora del carrete y luego inste una tapa de carrete en su
lugar.
(4) Pase el hilo que viene desde el carrete por el pasador (varilla) de la guía del hilo justamente por
encima del carrete.
Pose du guide-fil.
(1) Soulever complètement la tige de support en la tournant légèrement jusqu’à ce que le loquet de
positionnement s’engage.
(2) Placer la grande bobine sur le cône anti-vibrations ou
Presseur de canette
(3) Placer la bobine à usage domestique sur la tige du porte-bobine et mettre un chapeau de
bobine en place.
(4) Faire passer le fil de la bobine sur la tige du guide-fil juste au-dessus de la bobine.
Bobbin winder guide
Guía del bobinador de bobina
Guide du bobineur
Take out the bobbin case.
Bring up the needle. Opening the slide plate, take out the bobbin case.
Extraiga el portabobina.
Suba la aguja. Abra la placa deslizante para sacar el portabobina.
Retirer la boîte à canette.
Relever l’aiguille. Ouvrir la glissière et sortir la boîte à canette.
1
Bobbin thread winding shaft
Eje del bobinador de bobina
Tige du bobineur
Bobbin presser
Dedo posicionador
Doigt de positionnement
CAUTION: Turn OFF the power switch when opening the slide plate.
AVERTISSEMENT:
Avant d’ouvrir la glissière, placer l’interrupteur d’alimentation sur arrêt.
AVISO:
Posicione en OFF el interruptor de la corriente eléctrica siempre que abra la placa
lateral.
(3)
(4)
(2)
(1)
Positioning latches
Posicionamiento de sujetadores
Loquets de positionnement

 Loading...