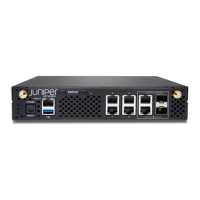
Have the following information ready before you begin customizing the switch:
•
Root authentication password
•
Management port IP address
•
Default gateway IP address
•
DNS server IP address
1. Verify that your laptop or desktop PC has the following default serial port settings:
•
Baud Rate—9600
•
Data—8
•
Flow Control—None
•
Parity—None
•
Stop Bits—1
•
DCD State—Disregard
2. Connect the console port (labeled CON) on the QFX5120 switch to a serial port on your laptop or desktop PC using
the Ethernet cable and RJ-45 to DB-9 adapter. If your laptop or desktop PC doesn't have a serial port, use a serial-to-USB
adapter (not provided).
3. At the Junos OS login prompt, type root to log in. You don't need to enter a password. If the software boots before
you connect your laptop or desktop PC to the console port, you might need to press the enter key for the prompt to
appear.
login: root
4. Start the CLI.
root@:RE:0% cli
root>
5. Enter the configuration mode.
root> configure
[edit]
root#
6. Add a password to the root administration user account. Enter a plain-text password, an encrypted password, or an
SSH public key string.
8
 Loading...


