Plug and Play
The SRX345 already has factory-default settings configured right out of the box to make it a plug-and-play device. So all
you have to do to get the SRX345 up and running is connect it to your LAN and WAN. Here’s how:
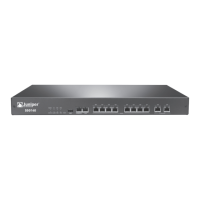
1. Connect the WAN to port 0/0.
2. Connect the LAN to any of the ports from 0/1 through 0/14.
3. Check whether the SRX345 is connected to the Internet. Go to http://www.juniper.net. If the webpage doesn’t load,
check the Internet connection.
After you complete these steps, you can start using the SRX345 on your network right away. You can go back and customize
settings anytime. The J-Web Setup wizard is always available to you.
Customize the Basic Configuration
Now that you’ve configured basic settings for the SRX345, let’s go ahead and customize those settings for your network.
You’ll need this information to do so:
•
Hostname
•
IP address for the NTP server
•
IP address for the DNS server
•
IP address for the management interface
8