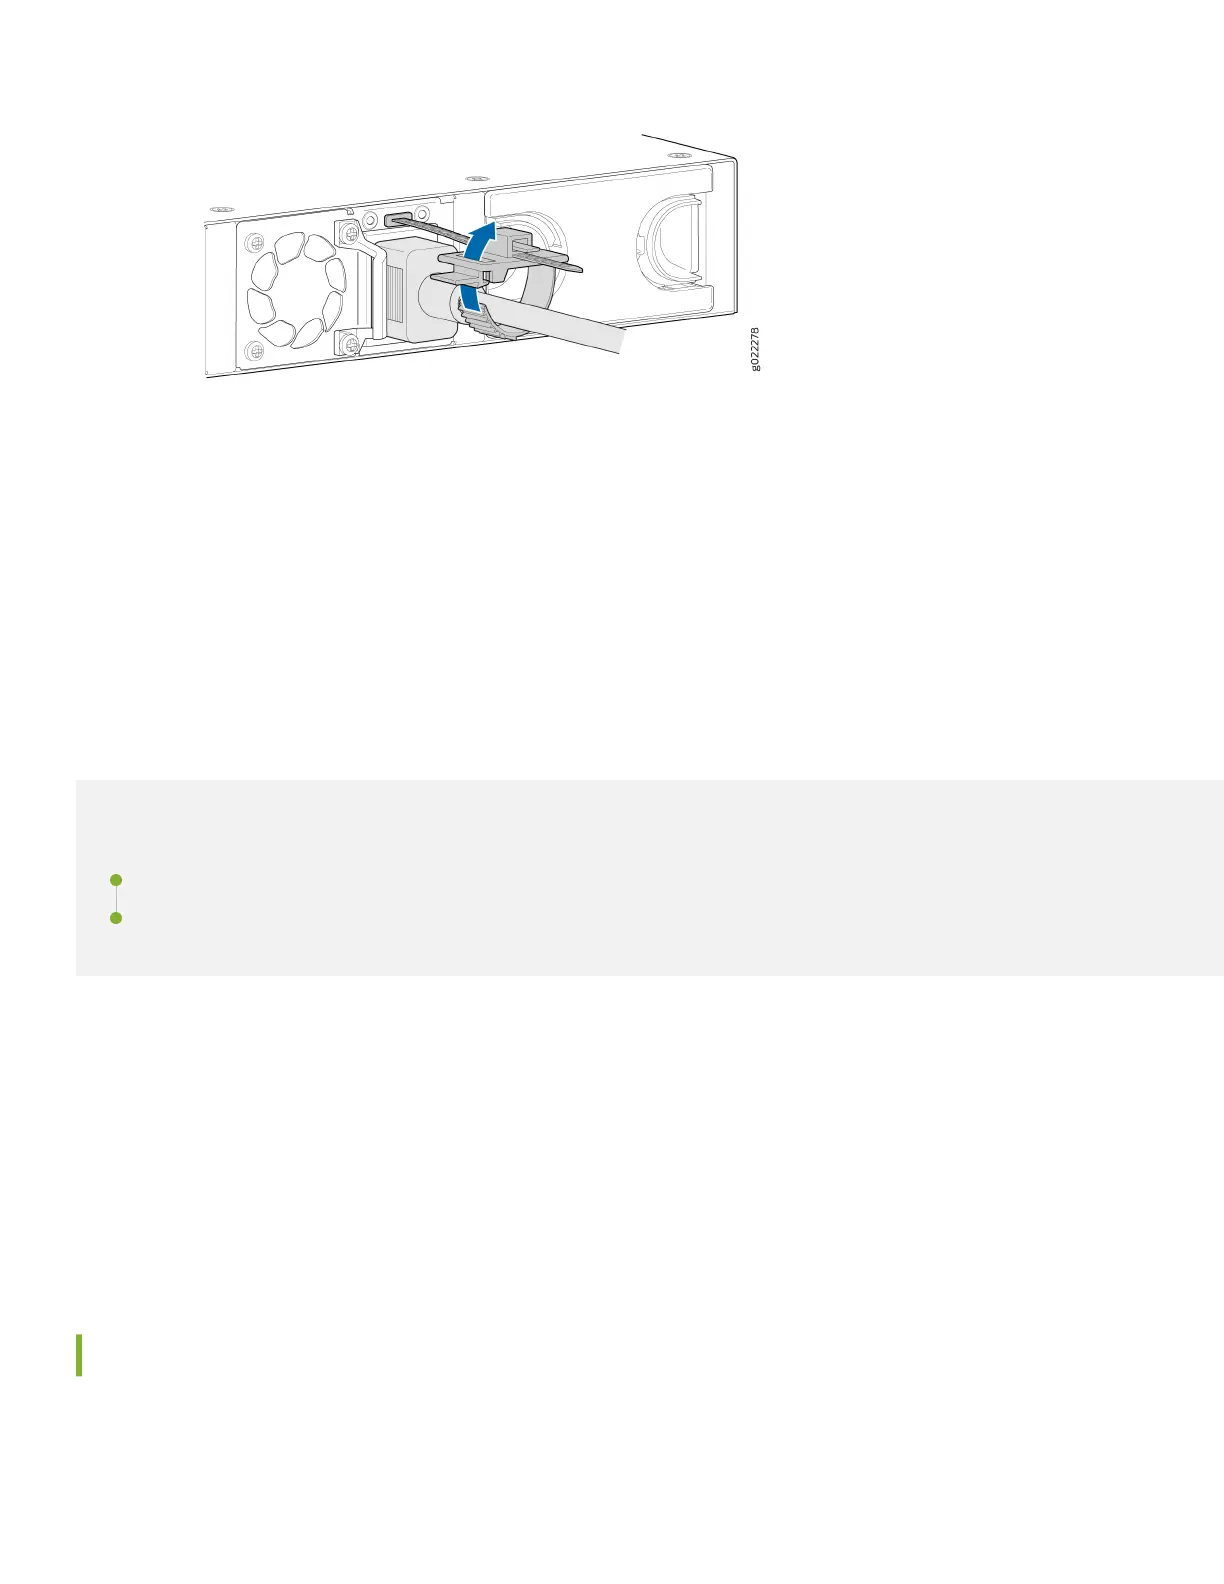
e. Press the tab on the loop and draw out the loop into a ght circle.
8. If the AC power source outlet has a power switch, turn it o.
9. Insert the power cord plug into an AC power source outlet.
10. If the AC power source outlet has a power switch, turn it on. The switch powers on as soon as you plug it in.
11. Check to see that the DC OK LED on the power supply is lit steadily green. If not, disconnect the power supply
from the power source. You’ll need to replace the power supply (see Maintain the EX4100 Power System in the
EX4100 Switch Hardware Guide).
Step 2: Up and Running
IN THIS SECTION
Plug and Play | 7
Customize the Basic Conguraon Using the CLI | 8
Now that the EX4100 switch is powered on, let’s do some inial conguraon to get the switch up and running on your
network. It’s simple to provision and manage the switch and other devices on your network. Choose the conguraon
tool that’s right for you:
• Juniper Mist. To use Mist, you’ll need an account on the Mist Cloud Plaorm. See Overview of Connecng Mist
Access Points and Juniper EX Series Switches.
• CLI commands
Plug and Play
EX4100 switches already have factory-default sengs congured right out of the box to make them plug-and-play
devices. The default sengs are stored in a conguraon le that:
7
 Loading...


