Install an AC Powe
r Sup ply
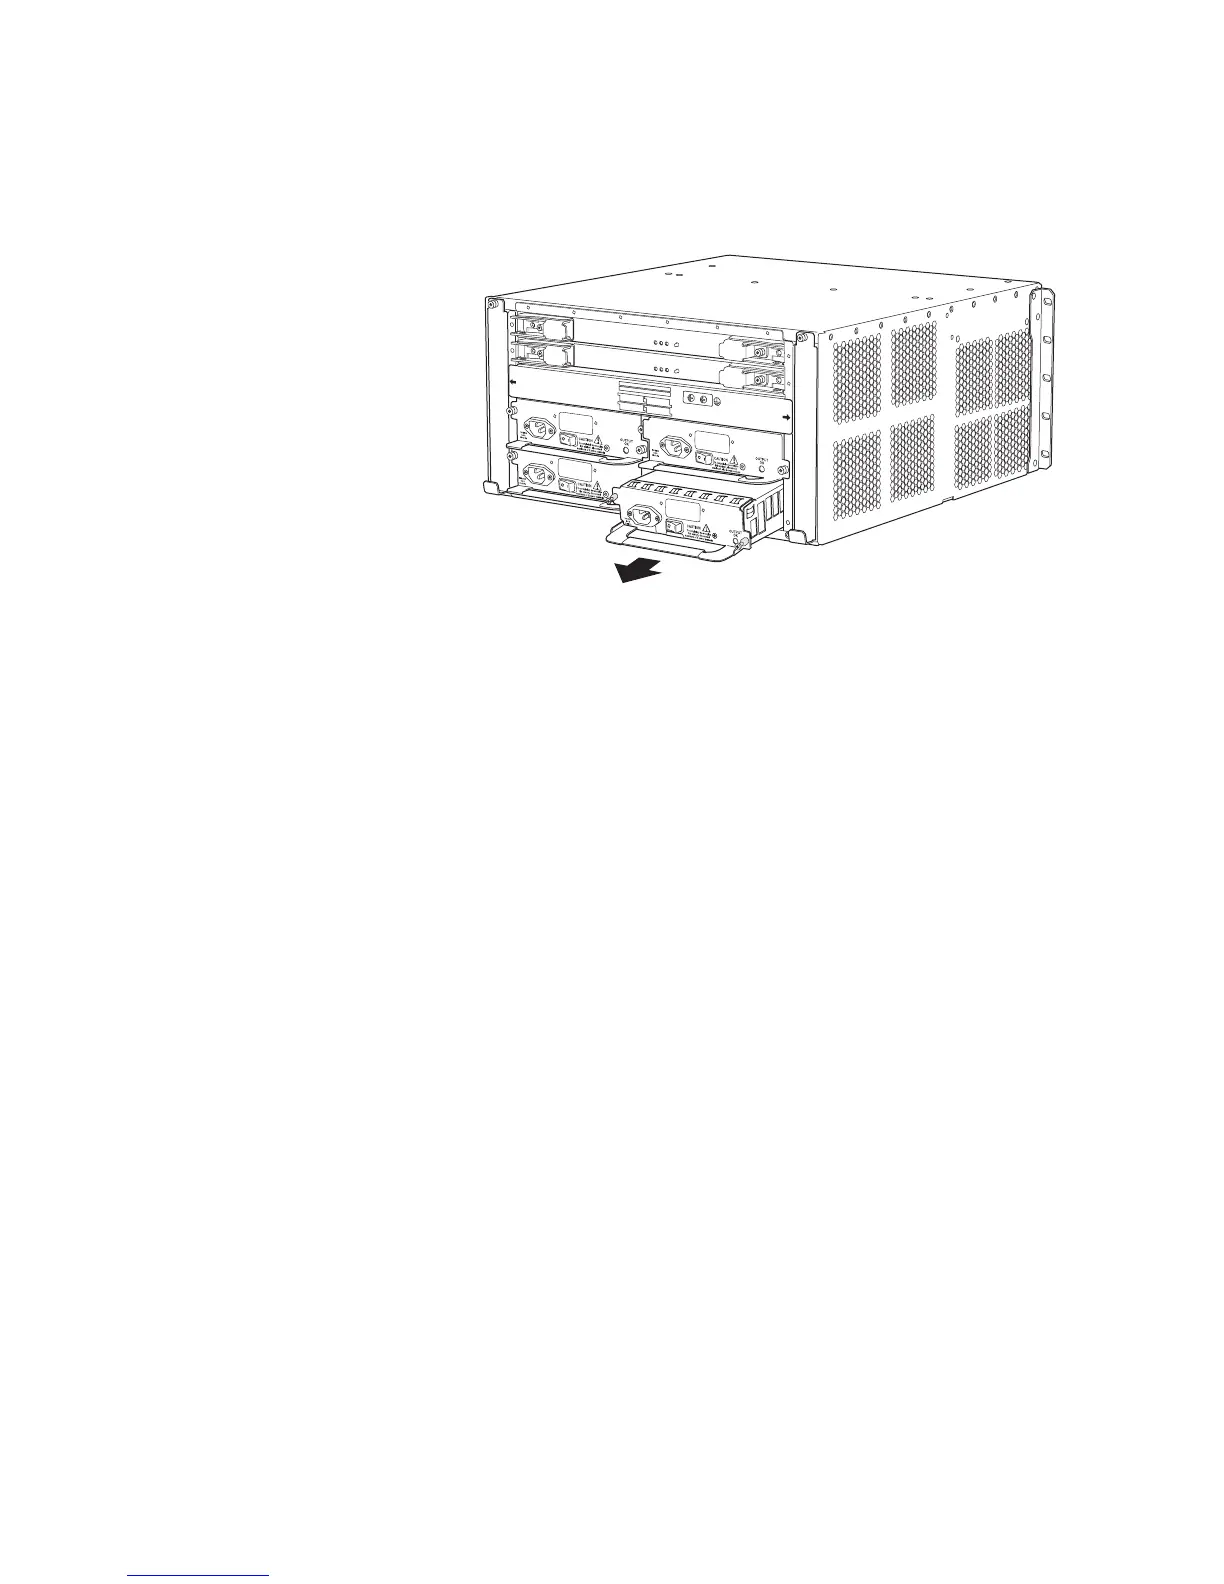
Figure 5: Remove an AC Power Supply from an M10i Router
FAN
TR
A
Y O
FA
NTRA
Y 1
NOTE:
C-FEB 0
C-FEB 1
P
/S
3
P/S
2
P/S 1
P/S 0
P/S 0 AND P/S 1 MUST BE PRESENT
FOR NORMAL OPERATION.
g003310
Install an AC Power Supply
To install
an AC power supply, follow this procedure (see Figure 6 and Figure 7):
1. Verify that the switch on the power supply faceplate is in the OFF (O)position.
2. Locate the power cord shipped with the router, which should be appropriate for your
geograph
ical location.
3. Attach an
electrostatic discharge (ESD) grounding strap to your bare wrist and connect
the strap to one of the ESD points on the chassis.
4. Place one hand under the power supply and grasp the handle on the faceplate with the
other hand. Slide the power supply into the chassis until it contacts the midplane.
5. Starting with the bottom screw, tighten (but do not overtighten) the thumbscrews at
each co
rner of the power supply faceplate.
6. Insert
the appliance coupler end of the power cord into the appliance inlet on the power
supply faceplate and insert the plug into an AC power source receptacle. Verify that
the power cord does not block access to router components or drape where people
could
trip on it.
7. Press
the power switch on the faceplate to the ON ( | ) position.When the power supply
has powered on successfully, the green OUTPUT OK LED lights steadily.
8 M7iandM10iInternetRoutersPowerSupplyInstallationInstructions