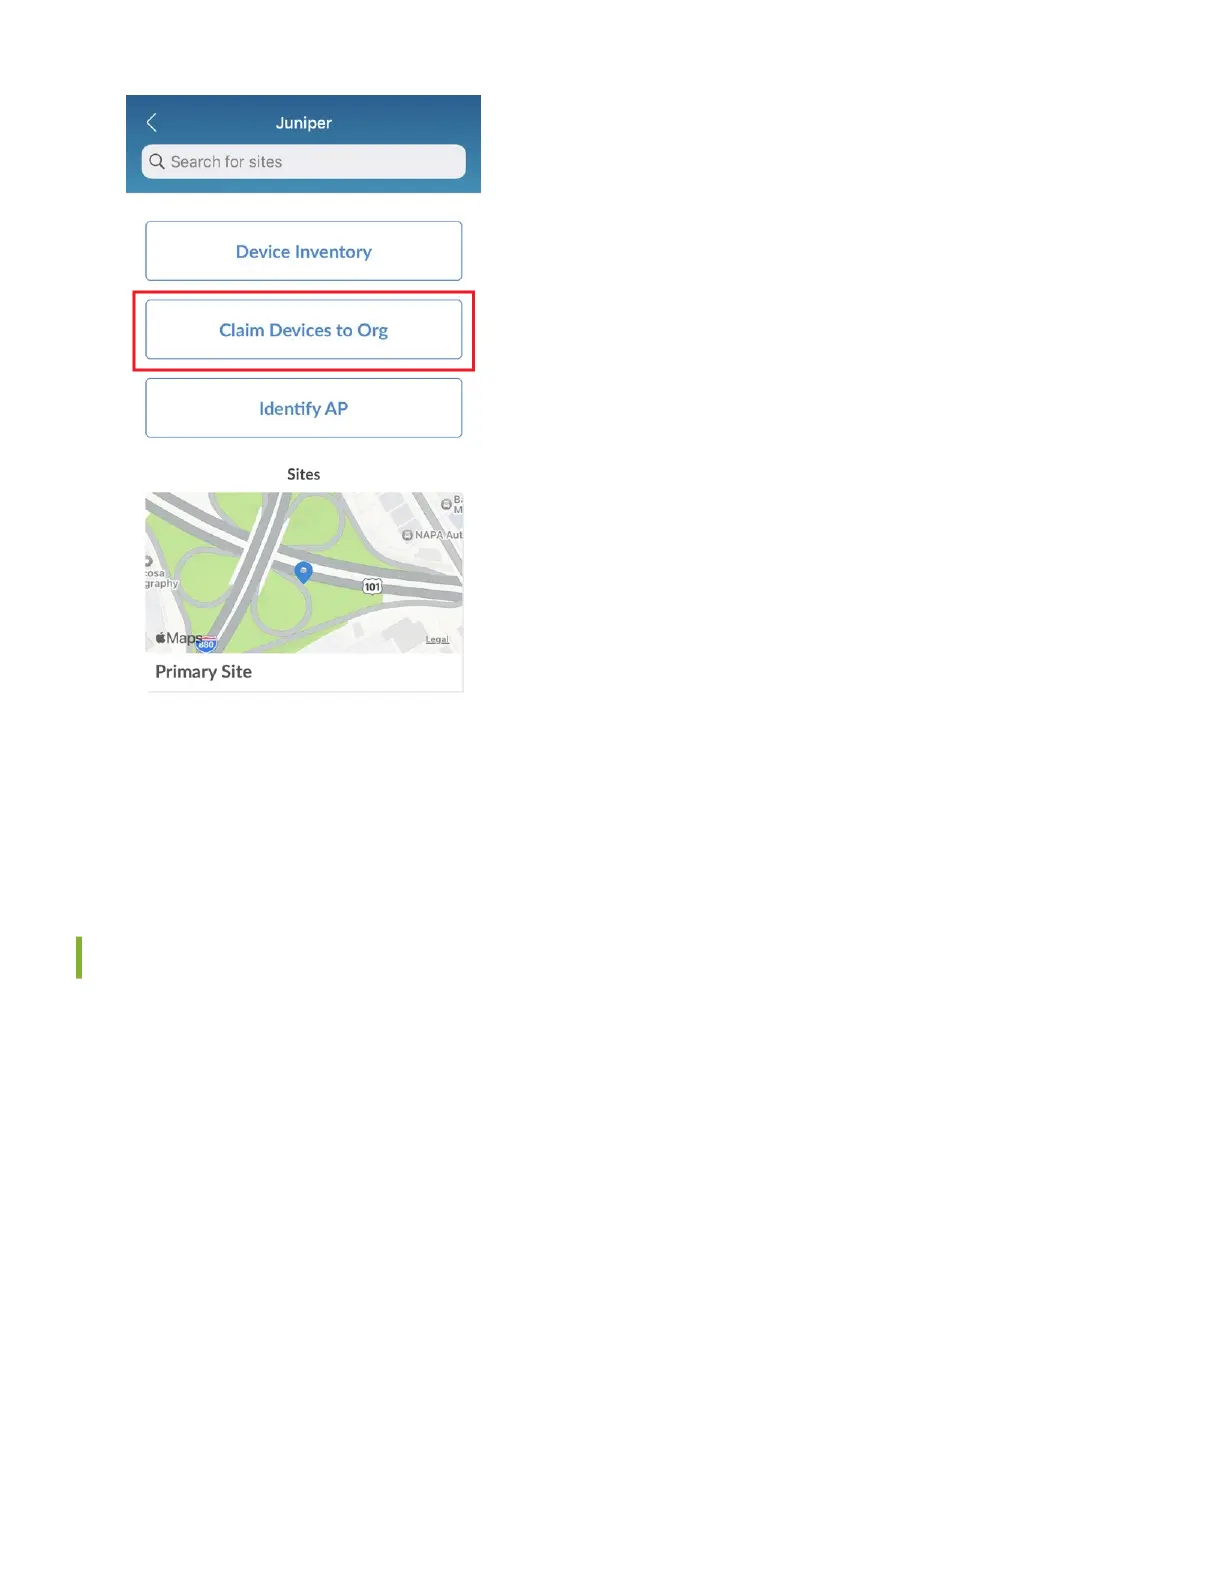
5. On the Organizaon screen, tap Device Inventory → WAN Edges → Unassigned.
6. Select the new SRX rewall. Then tap Primary Site and tap Assign.
To connue onboarding, proceed to "Step 2: Up and Running" on page 5 .
Onboard One or More SRX Series Firewalls Using a Web Browser
Onboarding mulple SRX Series rewalls—When you purchase mulple SRX Series rewalls, we provide you with an
acvaon code along with your PO informaon. Make a note of this code.
Onboarding a single SRX Series rewall—Locate the QR code on your SRX Series rewall and jot down the alphanumeric
claim code directly above it.
1. Log in to your account at hps://manage.mist.com/.
You can also link your Juniper support account to your organizaon to view details of all Juniper devices associated
with your account. See "Integrate Your Juniper Support Account With Your Mist Organizaon" on page 4 .
2. Go to Organizaon → Inventory → WAN Edges and click Claim WAN Edges.
3. Enter the Acvaon code or Claim code.
3

 Loading...


