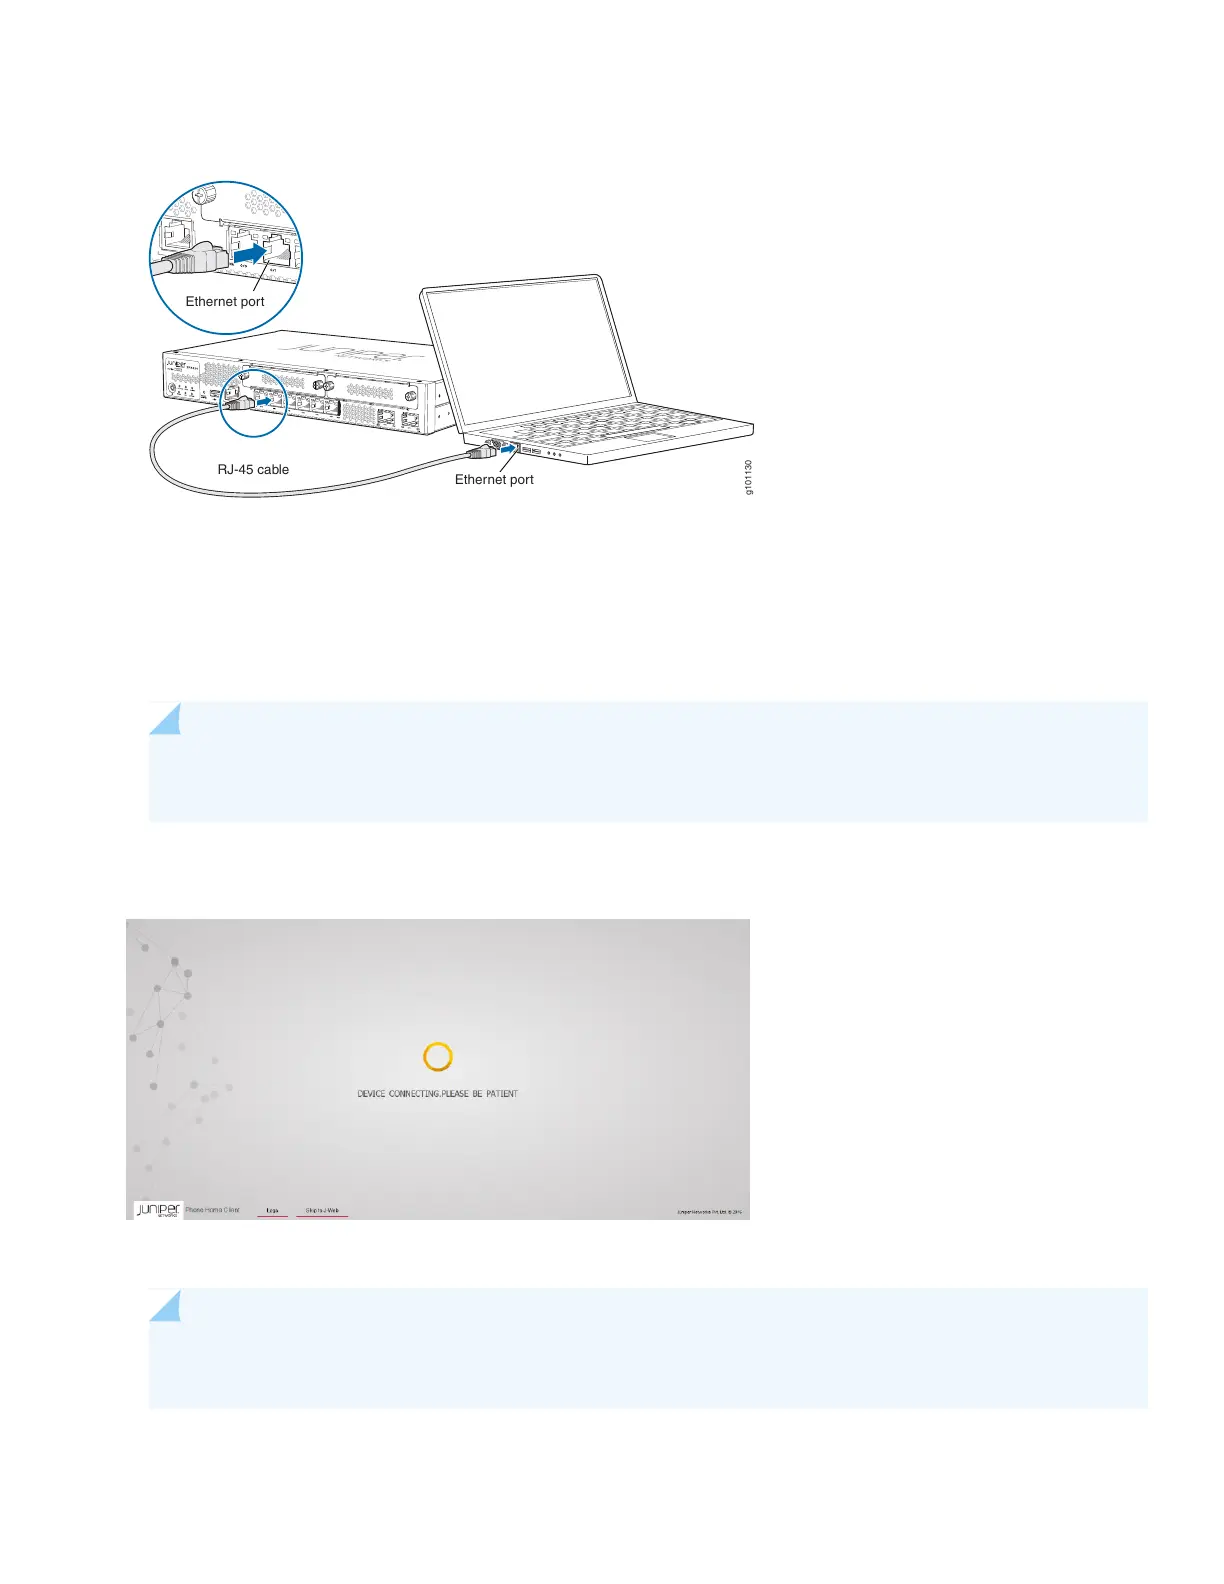
Figure 8: Connect the SRX320 to a Management Device
g101130
Ethernet port
Ethernet port
RJ-45 cable
The SRX320 functions as a DHCP server and automatically assigns an IP address to the laptop.
3. Ensure that the management device acquires an IP address on the 192.168.1.0/24 network from the device.
If an IP address is not assigned to the management device, manually configure an IP address in the 192.168.1.0/24
network.
NOTE: Do not assign the 192.168.1.1 IP address to the management device, as this IP address is assigned
to the SRX320.
4. Open a browser and type https://192.168.1.1. The Phone Home Client screen appears.
5. Click Skip to J-Web.
NOTE: To configure the device using zero-touch provisioning (ZTP), see Configure the Device Using ZTP
with Juniper Networks Network Service Controller.
6. Set a root authentication password in the Skip to J-Web screen and click Submit.
10