EN89
ON
OFF
DISPLAY
TIMECODE
END
SOUND1
0 . 0
ON
FULL SOUND48kHz MODE
32kHz MODE
INDICATION
SYNCHRO
4
ON
OFF
DISPLAY
TIMECODE
END
SOUND1
0 . 0
ON
FULL SOUND48kHz MODE
32kHz MODE
INDICATION
SYNCHRO
4
P
L
A
Y
/
P
C
O
F
F
C
A
M
E
R
A
5
S
D
S
C
D
S
C
P
L
A
Y
ADJUSTMENT OF VCR’S AGAINST
CAMCORDER TIMING
4
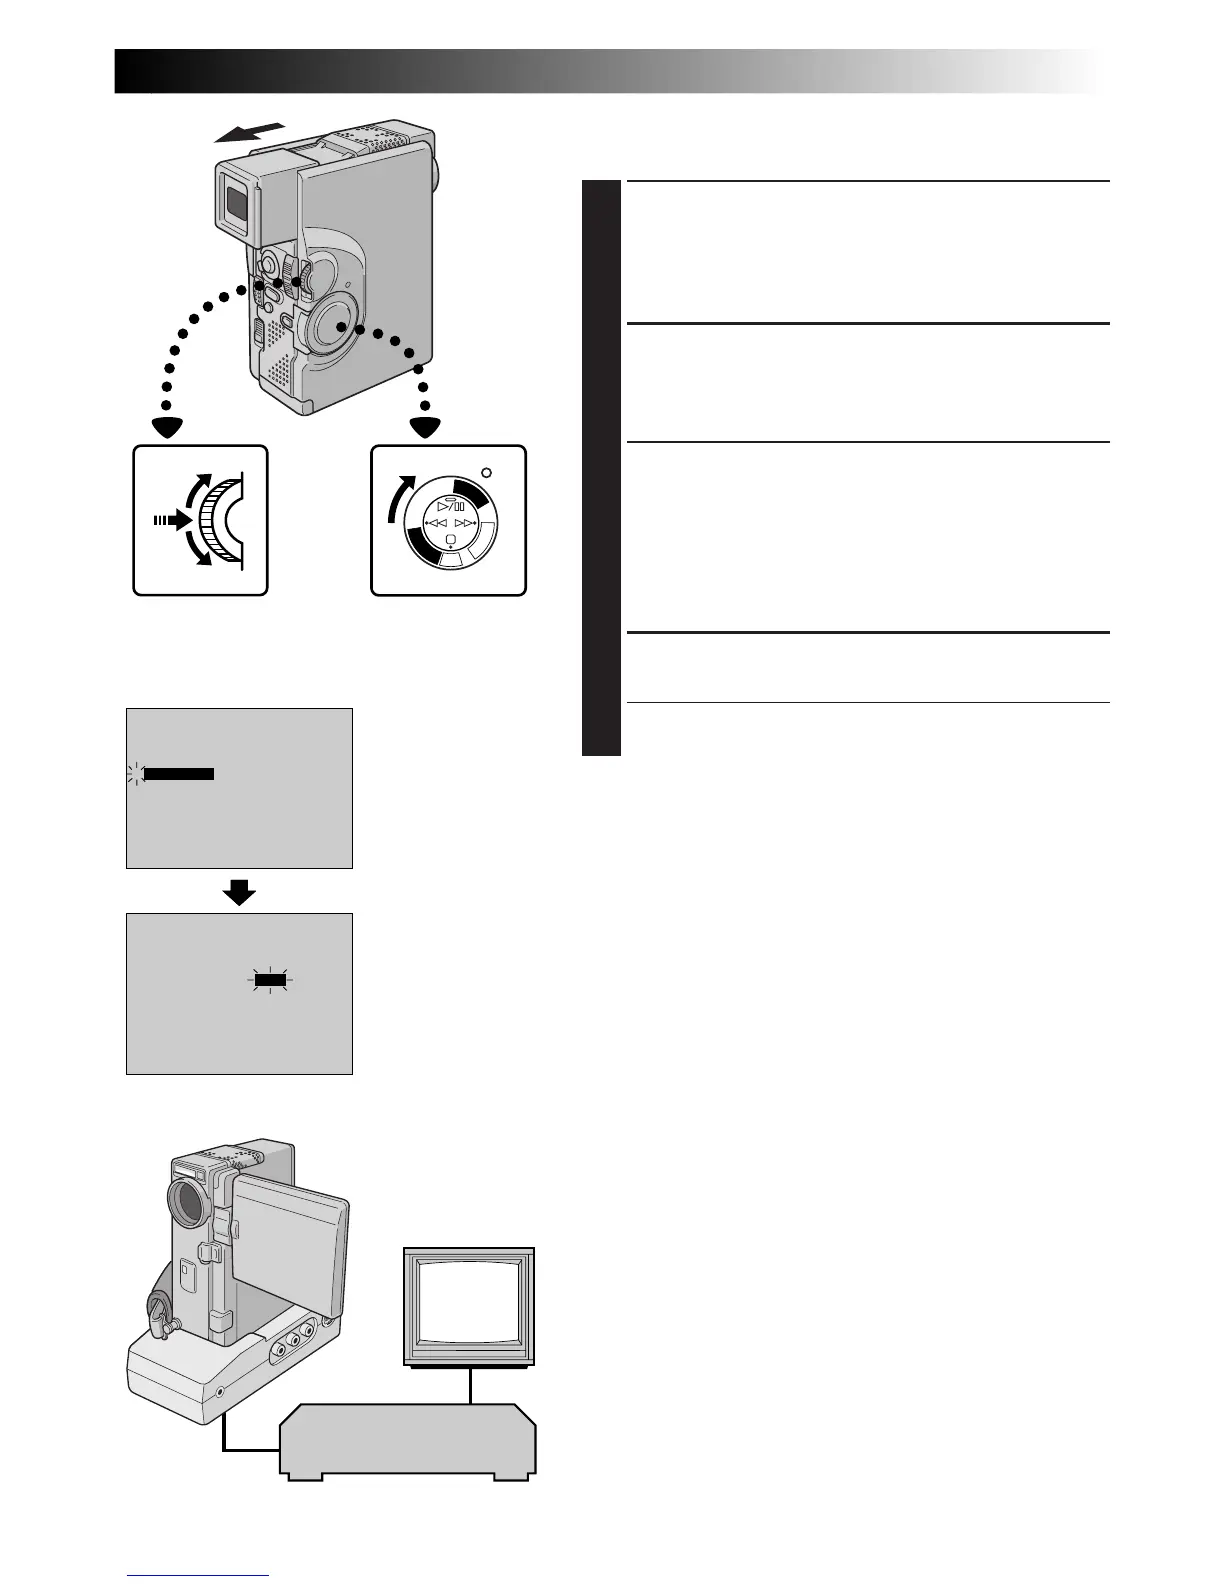
ACCESS PLAYBACK MENU
Point the remote control at the camcorder’s remote
sensor and press R.A.EDIT ON/OFF to make the
Random Assemble Editing menu disappear, then
press MENU/SET. The Playback Menu appears.
5
SELECT FUNCTION
Move the highlight bar to “SYNCHRO” by rotating
MENU/SET, then press it. The value for “SYNCHRO”
is highlighted.
6
INPUT CORRECTION DATA
Based on the diagnostics performed (Z pg. 88), you
can now increase the VCR’s speed by rotating
MENU/SET upward. You can also slow down the
VCR’s speed by rotating MENU/SET downward. The
adjustment range is from –1.3 to +1.3 seconds, in
0.1-second increments.
7
CLOSE MENU
Press MENU/SET twice.
•Now perform Random Assemble Editing beginning
with step 4 on page 85.
NOTES:
●
Before performing actual Random Assemble Editing, do
a few Random Assemble Editing trial runs to check
whether the value you have input is appropriate or not,
and make adjustments accordingly.
●
Depending on the recorder, there may be situations
where the timing difference cannot be fully corrected.
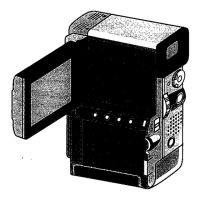
Playback Menu
Power Switch
Display
MENU/SET Dial
VCR
(Recording deck)
TV