EN5
A
B
3
1
2
3
2
1
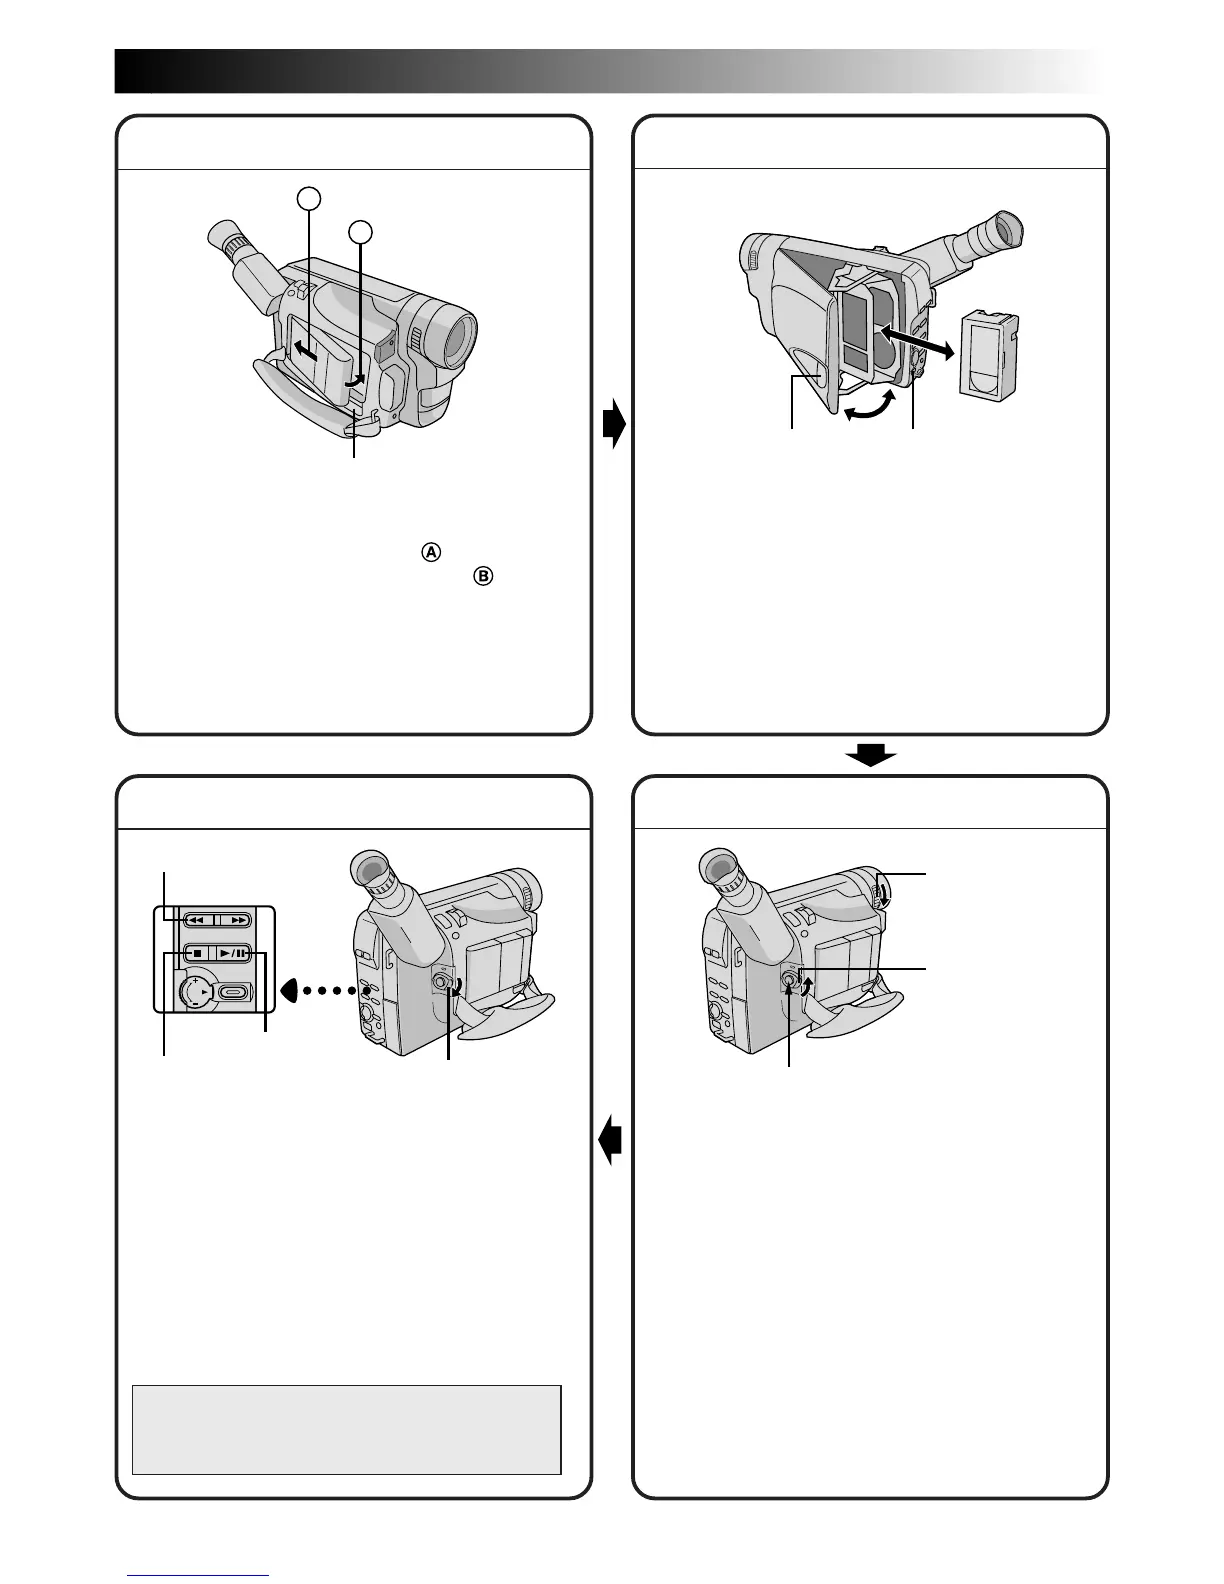
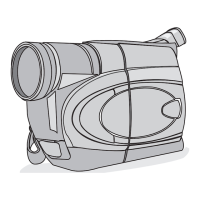
Using the battery pack
Hook its end to the camcorder ( ) and push the
battery pack in until it locks in place ( ).
(Charging procedure, Z pg. 6)
To remove the battery pack
Slide BATTERY RELEASE and pull out the battery
pack.
QUICK OPERATION GUIDE
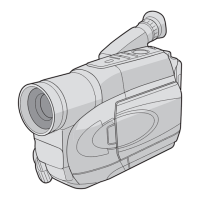
1 Set the Power Switch to “PLAY”.
2 Press
2
.
— The tape will automatically stop at the
beginning of the tape.
3 Press
4
/6.
— Playback starts and the playback picture
appears.
•To stop playback, press 5.
(For more details, Z pg. 34)
Or simply play back the tape on a VHS VCR
using the Cassette Adapter (optional)
Z pg. 37
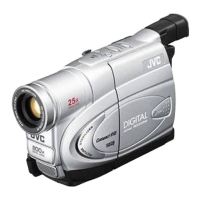
1 Turn the LENS COVER Open/Close Ring to
open the lens cover.
2 Set the Power Switch to “AUTO” or “PRO.”.
— The power lamp will light and an image
will appear.
3 Press the Recording Start/Stop Button.
— Recording starts.
•To stop recording temporarily, momentarily
press the Recording Start/Stop Button once
again.
(For more details, Z pgs. 14, 15)
SUPPLY POWER
INSERTING A VIDEO CASSETTE
PLAYBACK
SHOOTING
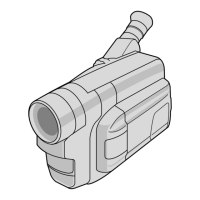
1 Slide EJECT to open the cassette holder.
2 Insert a video cassette.
3 Press the Close button to close the cassette
holder.
(For more details, Z pg. 11)
Set to “PLAY”
Close Button
EJECT Switch
Hook on.
Push in.
BATTERY RELEASE
LENS COVER
Open/Close Ring
Set to “AUTO”
or “PRO.”
Recording Start/Stop Button
Rewind (
2
)
Button
Play/Pause
(
4
/6) Button
Stop
(5) Button



 To Next Page