V
Virginia MejiaSep 9, 2025
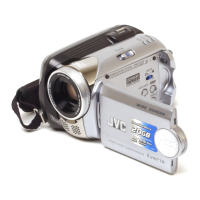
How to display date and time during recording on JVC GZ-MG345?
- EEthan LynchSep 9, 2025
If the date/time does not appear during recording on your JVC Camcorder, touch the DISP button once.
How to display date and time during recording on JVC GZ-MG345?
If the date/time does not appear during recording on your JVC Camcorder, touch the DISP button once.
What to do if the CREATE DVD screen is stuck on my JVC GZ-MG345 Camcorder?
If the [CREATE DVD] screen is displayed on the LCD monitor of your JVC Camcorder and no other operations can be performed, it means another operation is being attempted while a DVD burner that is turned on is connected. Turn off the camcorder connected to the DVD burner, or disconnect the USB cable.
Why aren't the touch sensors working on my JVC Camcorder?
If the touch sensor or sensor button on your JVC Camcorder does not function, ensure you are touching the sensors with your finger. The sensors will not function if touched with a fingernail or while wearing gloves.
How to remove a microSD card that is stuck in JVC GZ-MG345 Camcorder?
If the microSD card cannot be removed from the JVC Camcorder, push the microSD card in a few more times.
| Recording Format | MPEG-2 |
|---|---|
| Sensor Type | CCD |
| Digital Zoom | 800x |
| LCD Screen Size | 2.7 inches |
| Storage Type | Hard Drive |
| Camcorder Media Type | HDD |
| Optical Sensor Size | 1/6 inch |
| Focus Adjustment | Automatic, Manual |
| Image Stabilizer | Electronic |
| Microphone Operation Mode | Stereo |
| Hard Drive Capacity | 30 GB |
| Sensor | CCD |
| Still Image Format | JPEG |
| Interface | USB 2.0 |
| Shooting Programs | Auto, Sports, Portrait, Spotlight |
| White Balance | Auto |
| Connector Type | USB |
| Effective Pixels | 680, 000 pixels |
| Lens | JVC lens |
| LCD Screen Pixels | 123, 000 |
| Battery | BN-VF808 |
Steps for initial camera setup and readiness, including battery and monitor.
Instructions for capturing video footage using the camcorder.
How to review recorded video and still images on the camcorder.
Essential safety advice for preventing hazards like fire and electric shock.
Guidelines for battery handling and environmental considerations.
Warnings to prevent physical damage to the camera and user.
Precautions for electrical connections and handling AC adapters.
Information on product trademarks and intended consumer use.
Guide to navigating menus using the touch sensor.
How to interact with on-screen buttons via the touch sensor.
Instructions for connecting and using the Everio Dock accessory.
Guide to attaching the core filter for interference reduction.
Icons and indicators shown during video and still image recording.
Specific indicators for video recording mode.
Specific indicators for still image recording mode.
Icons and indicators displayed during video playback.
Icons and indicators displayed during still image playback.
How to change the information displayed on the LCD.
Instructions for charging the camera's battery.
Guide to setting the camera's date and time.
Instructions for attaching the shoulder strap.
How to check the battery level and recordable time.
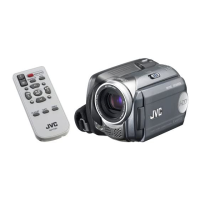
Guide to setting up and using the remote control.
Step-by-step guide to begin recording video.
Settings for stopping, viewing, aspect ratio, and picture quality.
Step-by-step guide to begin capturing still images.
Settings for viewing, picture quality, continuous shooting, and image size.
Steps to select video or still image mode and begin playback.
Controls for navigating and managing playback of video and images.
Preparation steps for connecting the camera to a TV.
How to display camera output and adjust aspect ratio on TV.
Procedures for deleting or protecting individual files.
Procedures for deleting or protecting all files at once.
Overview of copying methods and compatible devices.
Detailed steps for copying files to a DVD burner.
Hardware and software specifications for Windows PC backup.
Guide to installing the provided backup software on Windows.
Steps for connecting the camera to a PC via USB.
Using the software to back up files from the camera to the PC.
Method for backing up files manually via drag-and-drop.
Tips for utilizing the provided PC software features.
Overview of camera file and folder organization.
Hardware and software specifications for Macintosh backup.
Guide for backing up files from the camera to a Macintosh.
Contact information for JVC product support.
Contact information for CyberLink software support.
Solutions for common operational problems and errors.
Troubleshooting steps for power supply and recording failures.
Solutions for playback errors and data processing problems.
Instructions for cleaning the camera exterior, LCD, and lens.
Meaning of battery indicator symbols and behavior.
Explanations of various warning and status messages.
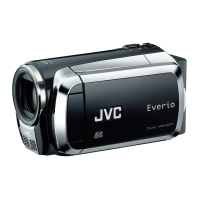
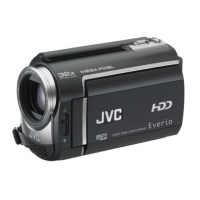
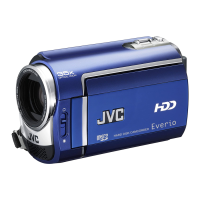
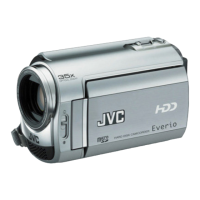
Technical details of the camera's hardware and features.
Technical details for video and audio recording formats.
Details on image formats, sizes, and connectivity ports.
Technical details of the remote control's dimensions, power, and operating range.
Approximate recording times for video and image storage capacity.
Warnings and precautions for handling battery packs.
Precautions to prevent data corruption on recording media.
Guidelines for preventing damage to the LCD monitor.
Safety warnings for the camera's main unit regarding use and environment.