S
Sheila SimsSep 9, 2025
What to do if my JVC KD-G245 Car Receiver is not working?
- CChristopher NguyenSep 9, 2025
If your JVC Car Receiver is not working, reset the unit.
What to do if my JVC KD-G245 Car Receiver is not working?
If your JVC Car Receiver is not working, reset the unit.
Why are album names displaying incorrectly on my JVC KD-G245?
If the correct characters are not displayed on your JVC Car Receiver (e.g. album name), note that this unit can only display alphabets (upper case), numbers, and a limited number of symbols.
How to fix JVC Car Receiver when there is no sound from the speakers?
If you cannot hear sound from the speakers of your JVC Car Receiver, first, make sure that the volume is at an audible level. If the sound is still not audible, check the cords and connections to ensure they are properly connected.
Why does my JVC KD-G245 Car Receiver play tracks in the wrong order?
If tracks are not played back in the order you have intended on your JVC Car Receiver, note that the playback order is determined when the files are recorded.
Why does my JVC Car Receiver take so long to read a disc?
If your JVC Car Receiver requires a longer readout time, do not use too many hierarchical levels and folders.
What does 'PLEASE EJECT' mean on my JVC KD-G245?
If “PLEASE” and “EJECT” appear alternately on the display of your JVC Car Receiver, it means the disc cannot be played back.
What to do if JVC Car Receiver disc cannot be played or ejected?
If the disc in your JVC Car Receiver can neither be played back nor ejected, unlock the disc or eject the disc forcibly.
Why won't my JVC KD-G245 play a CD-R/CD-RW?
If your JVC Car Receiver cannot play back a CD-R or CD-RW, make sure you insert a finalized CD-R/CD-RW.
Why does my JVC KD-G245 say 'NO DISC'?
If “NO DISC” appears on the display of your JVC Car Receiver, insert a playable disc into the loading slot.
What to do if my JVC KD-G245 Car Receiver won't play a disc?
If your JVC Car Receiver cannot play back a disc, ensure that the disc is inserted correctly.
Covers cautions regarding laser radiation, opening the unit, and not viewing with optical instruments.
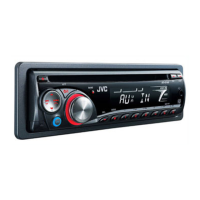
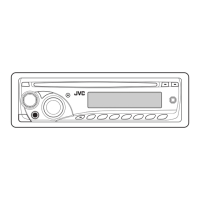
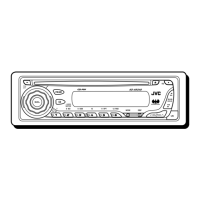
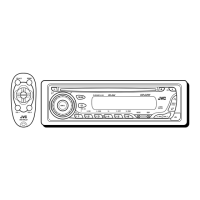
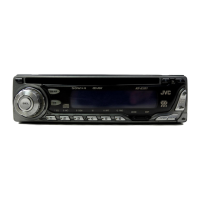
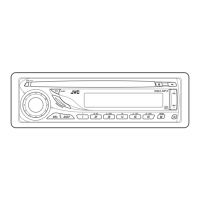
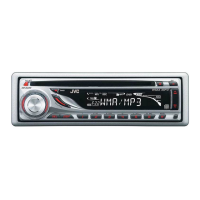
Identifies and describes the various buttons, indicators, and components of the main unit's control panel.
Details the functions and layout of the remote control buttons and their operations.
Covers fundamental operations such as turning the unit on/off, adjusting volume, and basic sound settings.
Guides on initial setup like canceling display demonstrations and setting the current clock time.
Explains how to store radio stations using automatic SSM presetting and manual presetting methods.
Provides step-by-step instructions for manually saving specific radio frequencies to preset numbers.
Covers the initial steps for playing audio CDs, including powering on and inserting a disc.
Details how to navigate through tracks and folders on CDs and MP3/WMA discs.
Enables fast skipping of tracks during playback, including skipping by 10 tracks.
Explains how to display album, artist, track title, and folder/file names for MP3/WMA discs.
Allows locking a disc in the loading slot to prevent accidental ejection.
Describes how to change the information displayed on the unit during CD playback.
Details various playback modes like Repeat Play (track, folder) and disabling repeat.
Allows selection of genre-specific sound modes (iEQ) like Jazz, Rock, Classical, etc.
Enables adjustment of Bass, Mid-range, Treble, Fader, Balance, Loudness, and Volume.
Guides on connecting external audio sources via the AUX input jack.
Introduces the PSM feature and refers to the selectable settings table on the next page.
Provides instructions on cleaning unit connectors and addressing moisture condensation issues.
Offers guidance on handling, cleaning, and using discs, including warnings about specific disc types.
Details basic operations like turning the unit on/off and tuner station storage methods.
Covers compatibility with DualDisc, CD-Text, and general CD-R/CD-RW playback information.
Lists supported MP3/WMA file formats, bit rates, sampling frequencies, and character limits.
Details specific MP3 and WMA file types, formats, and copy-protected files that the unit cannot play.
Provides a table of common symptoms, their potential causes, and recommended remedies for various operational issues.
Lists technical specifications for the audio amplifier section and the CD player capabilities.
Details technical specifications for the tuner section and general unit parameters like dimensions and power.
Outlines essential safety warnings, general notes, and specific precautions for power and speaker connections.
Lists all the components provided with the unit for installation and connection purposes.
Provides illustrated steps for removing the existing unit and installing the new one into the dashboard.
Includes important notes regarding installation angles, screw usage, and fuse protection.
Illustrates the standard wiring connections for power, antenna, speakers, and accessories.
Highlights crucial checks and precautions to take before making electrical connections to prevent damage.
| Type | CD Receiver |
|---|---|
| Max Power Output | 50W x 4 |
| Tuner | AM/FM |
| Bluetooth | No |
| USB Port | No |
| Aux Input | Yes |
| Display Type | LCD |
| Remote Control | No |
| CD Player | Yes |
| MP3 Playback | Yes |
| WMA Playback | Yes |
| Detachable Faceplate | Yes |
| Preset EQ | Yes |
| Rotary Encoder Volume | Yes |
| Detachable Face Security | Yes |
| Channels | 4 |
| RMS Power | 22W x 4 |