ENGLISH
FRANÇAIS
GET0705-003A
[E/EU]
EN, FR
1010DTSMDTJEIN© 2010 Victor Company of Japan, Limited
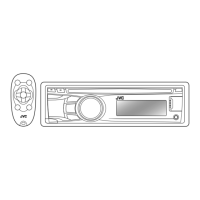
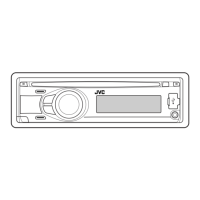
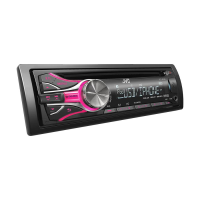
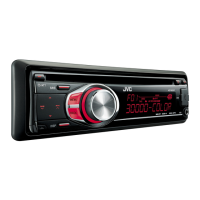
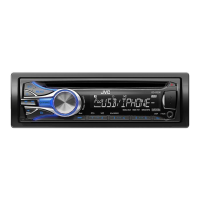
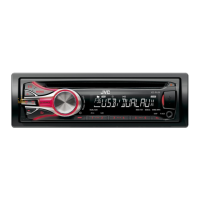
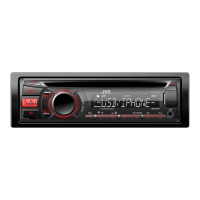
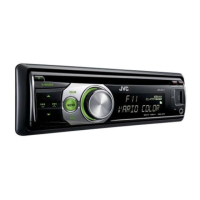
KD-R521/KD-R422/
KD-R421/KD-R45
CD RECEIVER / RÉCEPTEUR CD
For canceling the display demonstration, see page 4. / Pour annuler la démonstration des
affichages, référez-vous à la page 4.
INSTRUCTIONS
MANUEL D’INSTRUCTIONS
For installation and connections, refer to the separate manual.
Pour l’installation et les raccordements, se référer au manuel séparé.
Dear Customer,
This apparatus is in conformance with the valid
European directives and standards regarding
electromagnetic compatibility and electrical safety.
European representative of Victor Company of
Japan, Limited is:
JVC Technical Services Europe GmbH
Postfach 10 05 04
61145 Friedberg
Germany
Cher(e) client(e),
Cet appareil est conforme aux directives et
normes européennes en vigueur concernant la
compatibilité électromagnétique et à la sécurité
électrique.
Représentant européen de la société Victor
Company of Japan, Limited:
JVC Technical Services Europe GmbH
Postfach 10 05 04
61145 Friedberg
Allemagne
Having TROUBLE with operation?
Please reset your unit
Refer to page of How to reset your unit
Vous avez des PROBLÈMES de fonctionnement?
Réinitialisez votre appareil
Référez-vous à la page intitulée Comment réinitialiser votre appareil
CoverRear_KD-R521_003A_1.indd 1-2CoverRear_KD-R521_003A_1.indd 1-2 9/7/10 5:20:05 PM9/7/10 5:20:05 PM