34
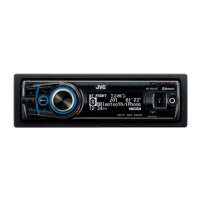
ENGLISH
Data Size: B6L (182 mm x 128 mm)
Book Size: B6L (182 mm x 128 mm)
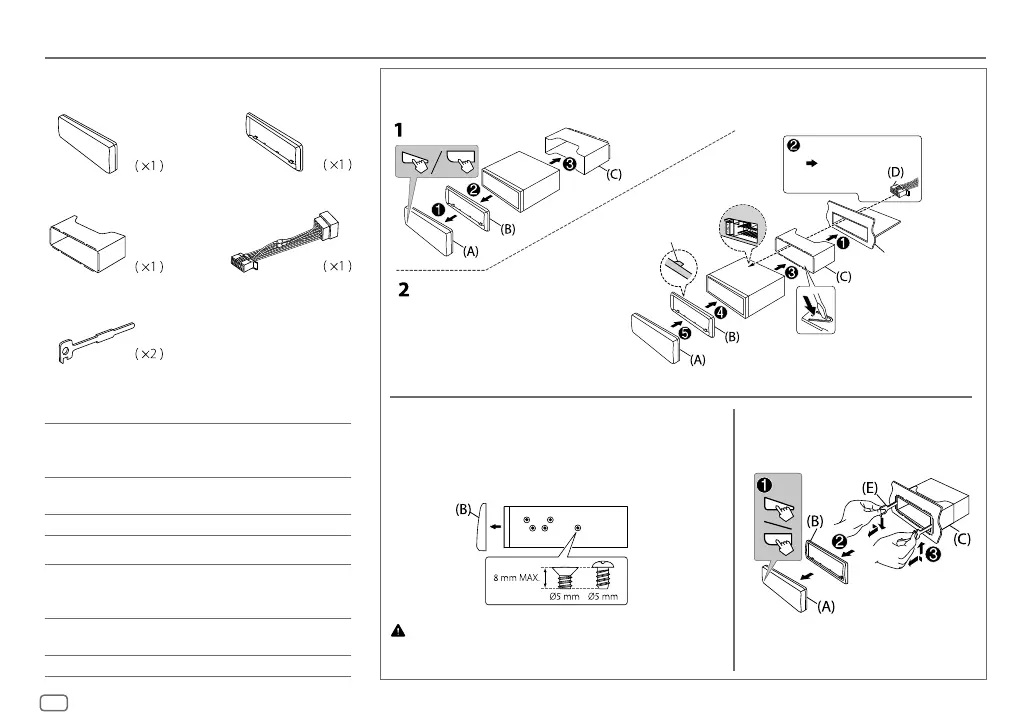
Part list for installation
(A)
Faceplate
INSTALLATION/CONNECTION
How to remove the unitWhen installing without the mounting sleeve
1
Remove the mounting sleeve and trim plate from the unit.
2
Align the holes in the unit (on both sides) with the
vehicle mounting bracket and secure the unit with screws
(commercially available).
Use only the specified screws. Using wrong screws might damage
the unit.
Installing the unit (in-dash mounting)
Do the required wiring.
( 35)
Bend the appropriate tabs to
hold the sleeve firmly in place.
Hook on the top side
Orientate the trim plate
as illustrated before
fitting.
Dashboard of
your car
(C)
Mounting sleeve
(B)
Trim plate
(D)
Wiring harness
(E)
Extraction key
Output terminals
For 2-way crossover setting
3 pairs REAR
FRONT
SW
:
Rear output
:
Front output
:
Subwoofer output
2 pairs FRONT
REAR/SW
:
Front output
:
Rear/subwoofer output
1 pair REAR/SW
:
Rear/subwoofer output
For 3-way crossover setting
3 pairs REAR
FRONT
SW
:
Tweeter output
:
Mid Range output
:
Woofer output
2 pairs FRONT
REAR/SW
:
Mid Range output
:
Woofer output
1 pair REAR/SW
:
Woofer output
JS_JVC_KD_R992BT_E_EN_3.indd 34JS_JVC_KD_R992BT_E_EN_3.indd 34 7/27/2017 9:47:23 AM7/27/2017 9:47:23 AM