M
Mario CastanedaSep 8, 2025
Why is radio reception poor on my JVC KD-X168M Car Receiver?
- PPamela SmithSep 8, 2025
If the radio reception on your JVC Car Receiver is poor, connect the antenna firmly.
 Loading...
Why is radio reception poor on my JVC KD-X168M Car Receiver?
If the radio reception on your JVC Car Receiver is poor, connect the antenna firmly.
Why does “READING” keeps flashing on my JVC Car Receiver?
If “READING” keeps flashing on your JVC Car Receiver, avoid using too many hierarchical levels and folders. You can also try reattaching the device.
Why is playback order not as intended on my JVC Car Receiver?
If the playback order on your JVC Car Receiver is not as intended, note that the playback order is determined by the file name.
Why elapsed playing time is not correct on my JVC KD-X168M?
If the elapsed playing time is not correct on your JVC Car Receiver, this depends on the recording process earlier.
Why does “NOT SUPPORT” appears and track skips on my JVC Car Receiver?
If “NOT SUPPORT” appears and the track skips on your JVC Car Receiver, check whether the track is a playable format.
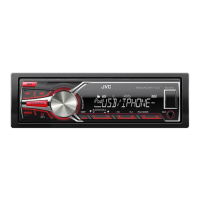
| Brand | JVC |
|---|---|
| Model | KD-X168M |
| Category | Car Receiver |
| Language | English |
Read manual, observe warnings/cautions, keep manual accessible for future reference.
Do not operate distracting functions; battery ingestion hazard (Chemical Burn).
Adjust volume for external sounds; lower for digital sources to protect speakers.
Avoid hindering devices, back up data, prevent short circuits, power off in low areas.
Avoid hot places; battery replacement hazard.
Explains manual structure, button references, and page indicators.
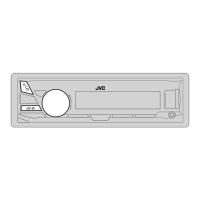
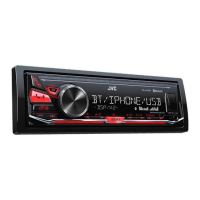
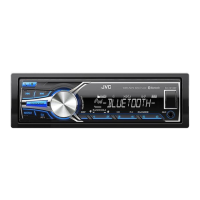
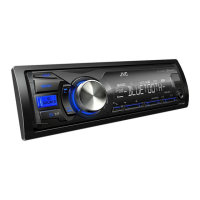
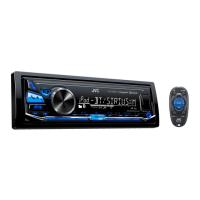
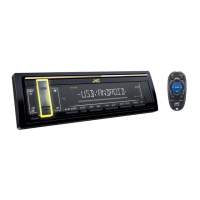
Identifies faceplate buttons, display window, and USB input terminal.
Shows remote sensor, insulation sheet, and battery replacement guide.
Step-by-step instructions for replacing the battery in the remote control.
Details on power, volume, source selection, and display changes on unit and remote.
Steps to exit demonstration mode and initiate the first-time setup.
Guide for adjusting clock time, date, and display format (12H/24H).
Configuring key beep, source selection options, and firmware update.
Options to sync clock time with FM data and display clock when unit is off.
How to choose the language for menu and information displays.
Automatic and manual methods to find FM and AM radio stations.
Procedures to save up to 18 FM and 6 AM stations using preset buttons.
How to recall saved radio stations using number buttons or volume controls.
Configuration options like [LOCAL SEEK], [IF BAND], [MONO SET], [NEWS SET], [REGIONAL], [AF SET], [TI], [PTY SEARCH].
Setting the unit to turn on automatically at a scheduled time for radio playback.
A comprehensive list of PTY codes for radio station searching.
Enabling the built-in AUX source via the source select menu.
Steps to connect a portable audio player and listen to music through the AUX input.
How the unit automatically switches to USB/Android and starts playback.
Location of the USB input and connection requirements for USB 2.0 cables.
Guide for connecting Android devices using a USB cable for playback.
Operations for reverse, fast-forward, track selection, folder browsing, repeat, and random playback.
Choosing the specific drive (internal/external) for music playback on USB.
Steps to navigate and select music files or folders from connected USB/Android devices.
Method to quickly search through large music libraries on USB devices.
Boosting audio frequencies to reduce noise using drive equalizer settings.
Storing personalized equalizer settings into the [USER] profile.
Accessing and configuring additional audio parameters.
Selecting genre-based presets and customizing sound via PRO EQ.
Adjusting Bass Boost, Loudness, Subwoofer, Fader, and Balance settings.
Setting initial volume levels for each source relative to FM volume.
Adjusting amp gain to match speaker power and prevent damage.
Restoring high-frequency audio components lost during compression.
Selecting speaker output based on lineout or speaker lead connection methods.
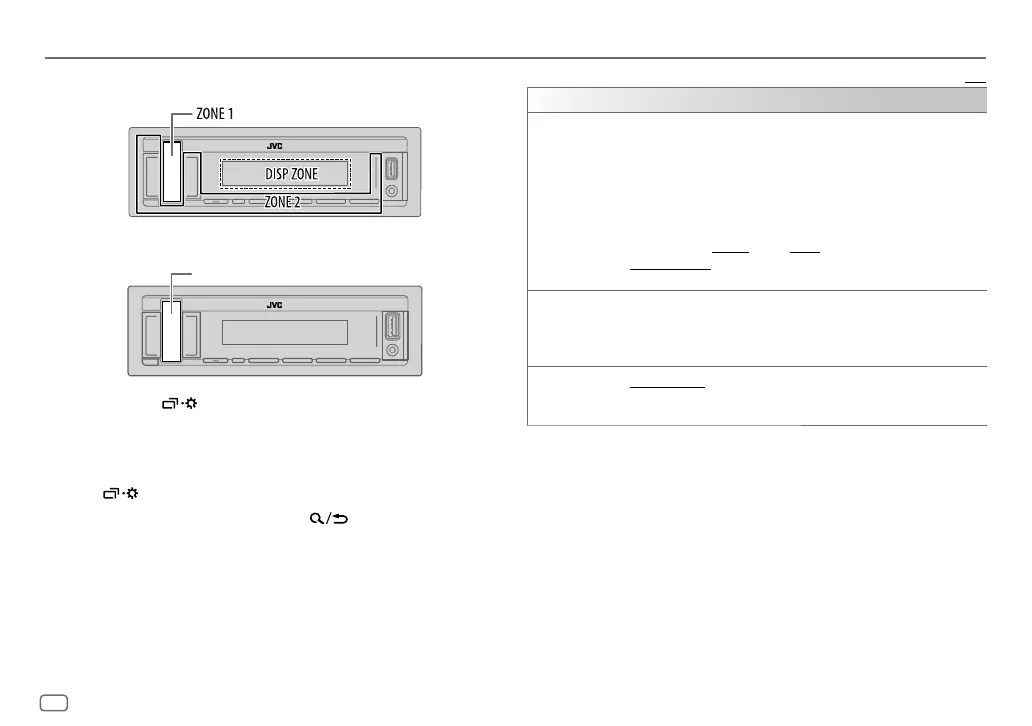
Turning dimmer on/off, setting time, and enabling automatic dimmer by headlights.
Setting separate brightness levels for different display zones and times.
Controlling display text scrolling behavior (once, auto, off).
Choosing preset colors or creating custom illumination colors for buttons.
Storing custom colors and automatic switching based on headlights.
Setting white illumination for menus and list search screens.
Cycling through available information like station name, song title, and time.
Instructions for cleaning the unit's faceplate and connector gently.
Accessing firmware updates, compatible lists, and product information online.
Lists playable audio file types for USB and supported file systems.
Notes on USB hub usage, cable length limits, and power requirements for devices.
Information on Android OS support and AOA 2.0 priority for device integration.
Solutions for no sound, miswiring, service errors, and display character issues.
Addressing poor radio reception, static noise, and incorrect character display.
Troubleshooting playback order, time, unsupported tracks, and device reading errors.
Resolving "CANNOT PLAY", "NO DEVICE", and sound output problems for USB.
Solutions for Android device detection, playback, and sound output issues.
Essential safety precautions for power, battery, wiring, and short circuit prevention.
Precautions for professional installation, speaker connection, and fuse replacement.
Inventory of components required for mounting the unit in a vehicle.
Step-by-step guide for installing the unit into the dashboard console.
Instructions for installing the unit when a mounting sleeve is not used.
Steps to detach the faceplate and remove the unit from its mounting.
Detailed diagram showing how to connect the wiring harness wires.
Advice on using custom harnesses and seeking professional installation for safety.
Detailed technical data for FM and AM radio frequency ranges and sensitivity.
Technical details for USB connectivity, compatible devices, and file systems.
Technical data for the auxiliary audio input jack.
Specifications for maximum output power, speaker impedance, and preout levels.
Overall specifications including operating voltage, dimensions, and weight.