EN 59
NOTE:
If you use an auxiliary input to connect a cable box or DBS
receiver, make sure that the correct AUX INPUT ("VIDEO" or "S-
VIDEO") is selected after you have finished editing (
Z
steps
5 – 7, page 57).
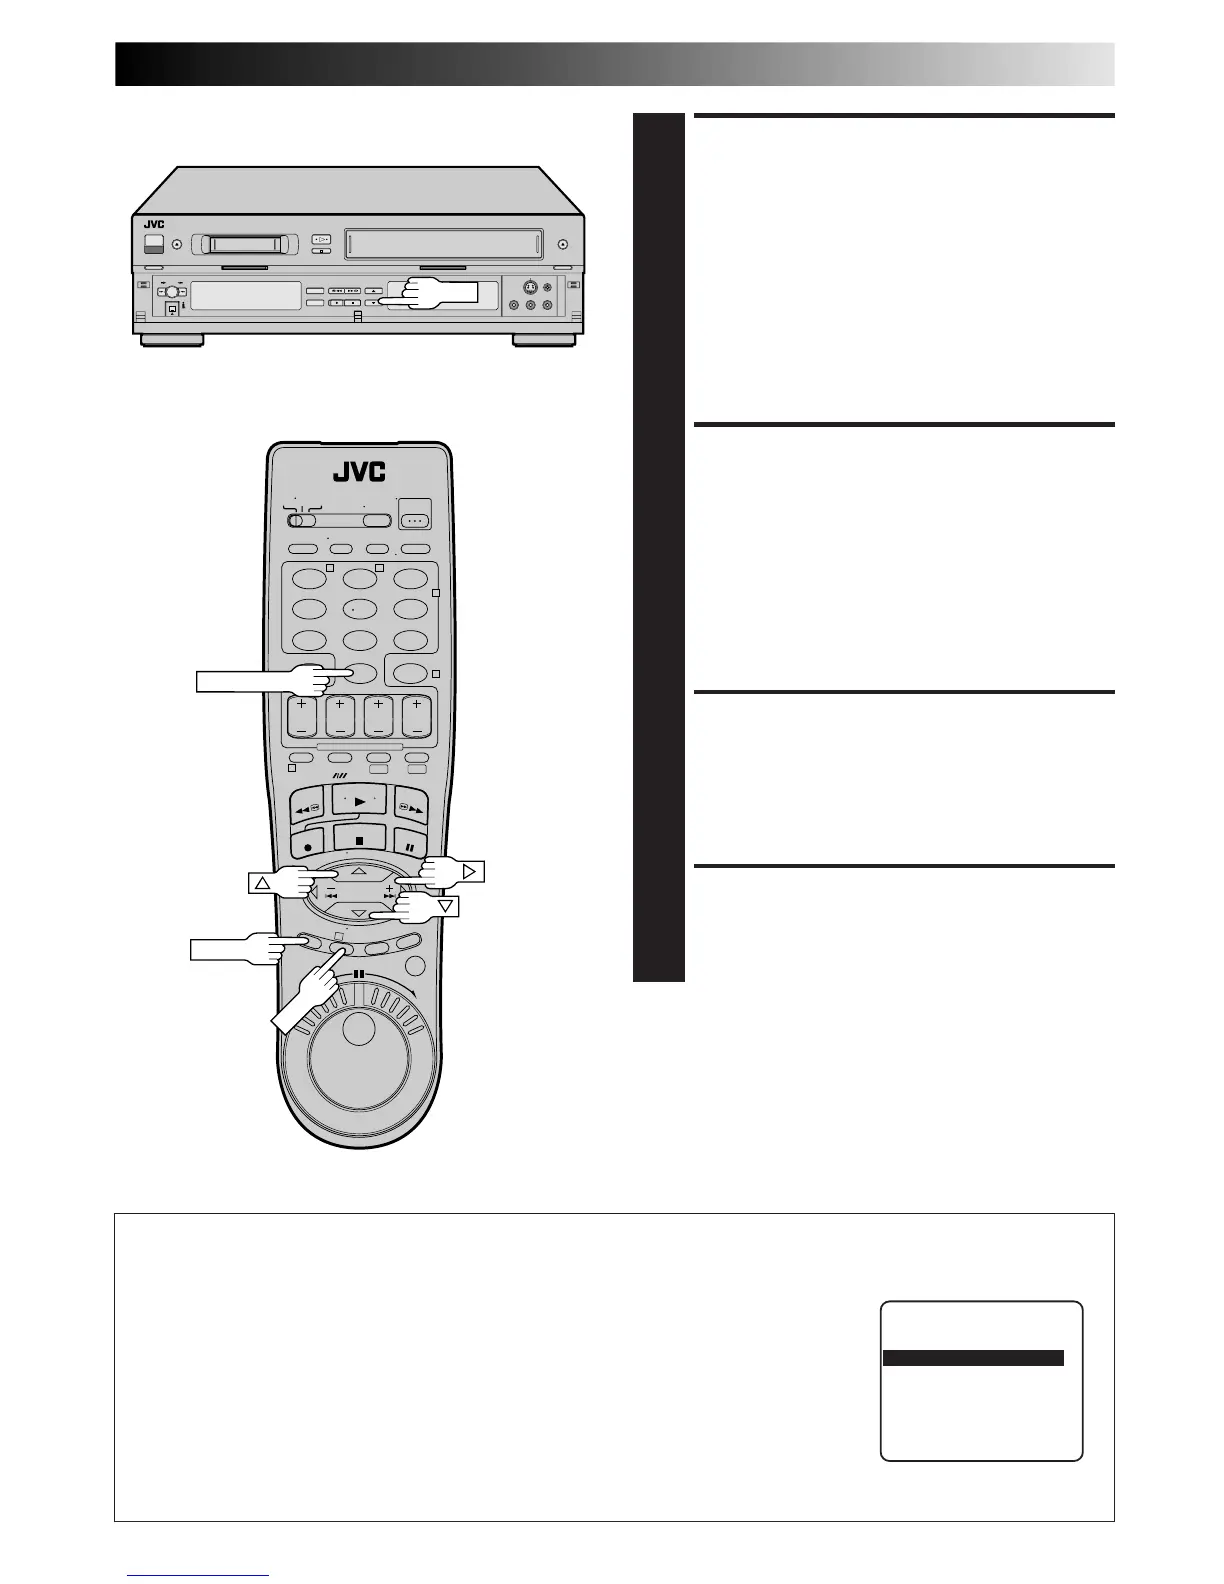
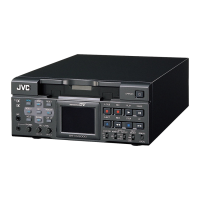
SET RECORDER’S INPUT
MODE
4
Set to "AUX". With this VCR, press the NUMBER key "0"
and/or CH to select depending on the connector being
used – "L-1" for the rear AUDIO/VIDEO IN connector,
or "L-2" for the front AUDIO/VIDEO IN connector.
NOTE:
If you use your VCR as the recorder and have connected
another VCR to your VCR's S-VIDEO IN connector, you
need to set "REAR AUX INPUT" to "S-VIDEO" at the
Mode Set screen. Follow steps 5 – 7 from the "Edit From
A Camcorder" section (
Z
pg. 57).
SELECT “EDIT” FOR PIC-
TURE CONTROL SET MODE
(VHS DECK ONLY)
5
Follow the “Picture Control” section on page 28, then
select “EDIT.”
NOTE:
When you select “EDIT” to dub tapes, be sure to select
“AUTO” or (“NORM” when “VIDEO CALIBRATION” is
set to “OFF”) after you finish dubbing the tapes.
START PLAYER
6
Set to its play mode.
NOTE:
If the player is equipped with a superimpose/OSD
disable feature then set "SUPERIMPOSE" to "OFF"
before pressing PLAY (
Z
pg. 25).
START RECORDER
7
Set to its record mode.
123
456
7
89
0
2
4
1
3
T W
DV VHS
NUMBER "0"
CH
OUTPUT1 Setting
Set "OUTPUT1" to the appropriate mode depending on the selection of the playing deck (VHS or DV) for editing.
1 Press MENU to access the Main Menu screen.
2 Press CH 5∞ or %fi to move the highlight bar (arrow) to "MODE SET", then press OK or
#
.
3 Press CH 5∞ or %fi to move the highlight bar (arrow) to "OUTPUT1".
4 Press OK or
#
to select "AUTO", "VHS" or "DV".
a–AUTO : The VCR outputs the signals from the deck being used automatically. The
superimposed indication is also output.
b–VHS : The VCR outputs only the signals from the VHS deck. The superimposed
indication is not output.
c–DV : The VCR outputs only the signals from the DV deck. The superimposed
indication is not output.
5 Press MENU to return to normal screen.
MODE SET
REAR AUX INPUT VIDEO
FRONT AUX INPUT VIDEO
= OUTPUT1 AUTO
2ND AUDIO RECORD OFF
AUTO TIMER OFF
SUPERIMPOSE ON
SELECT WITH (5,∞) AND (OK)
PRESS (MENU) TO END
MENU