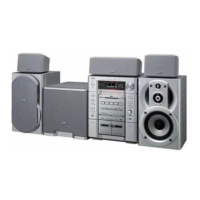
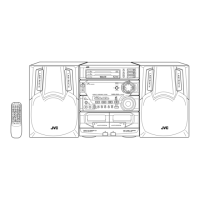
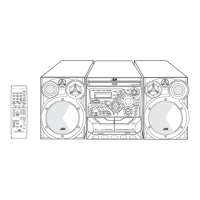
MX-GA3V
1-11
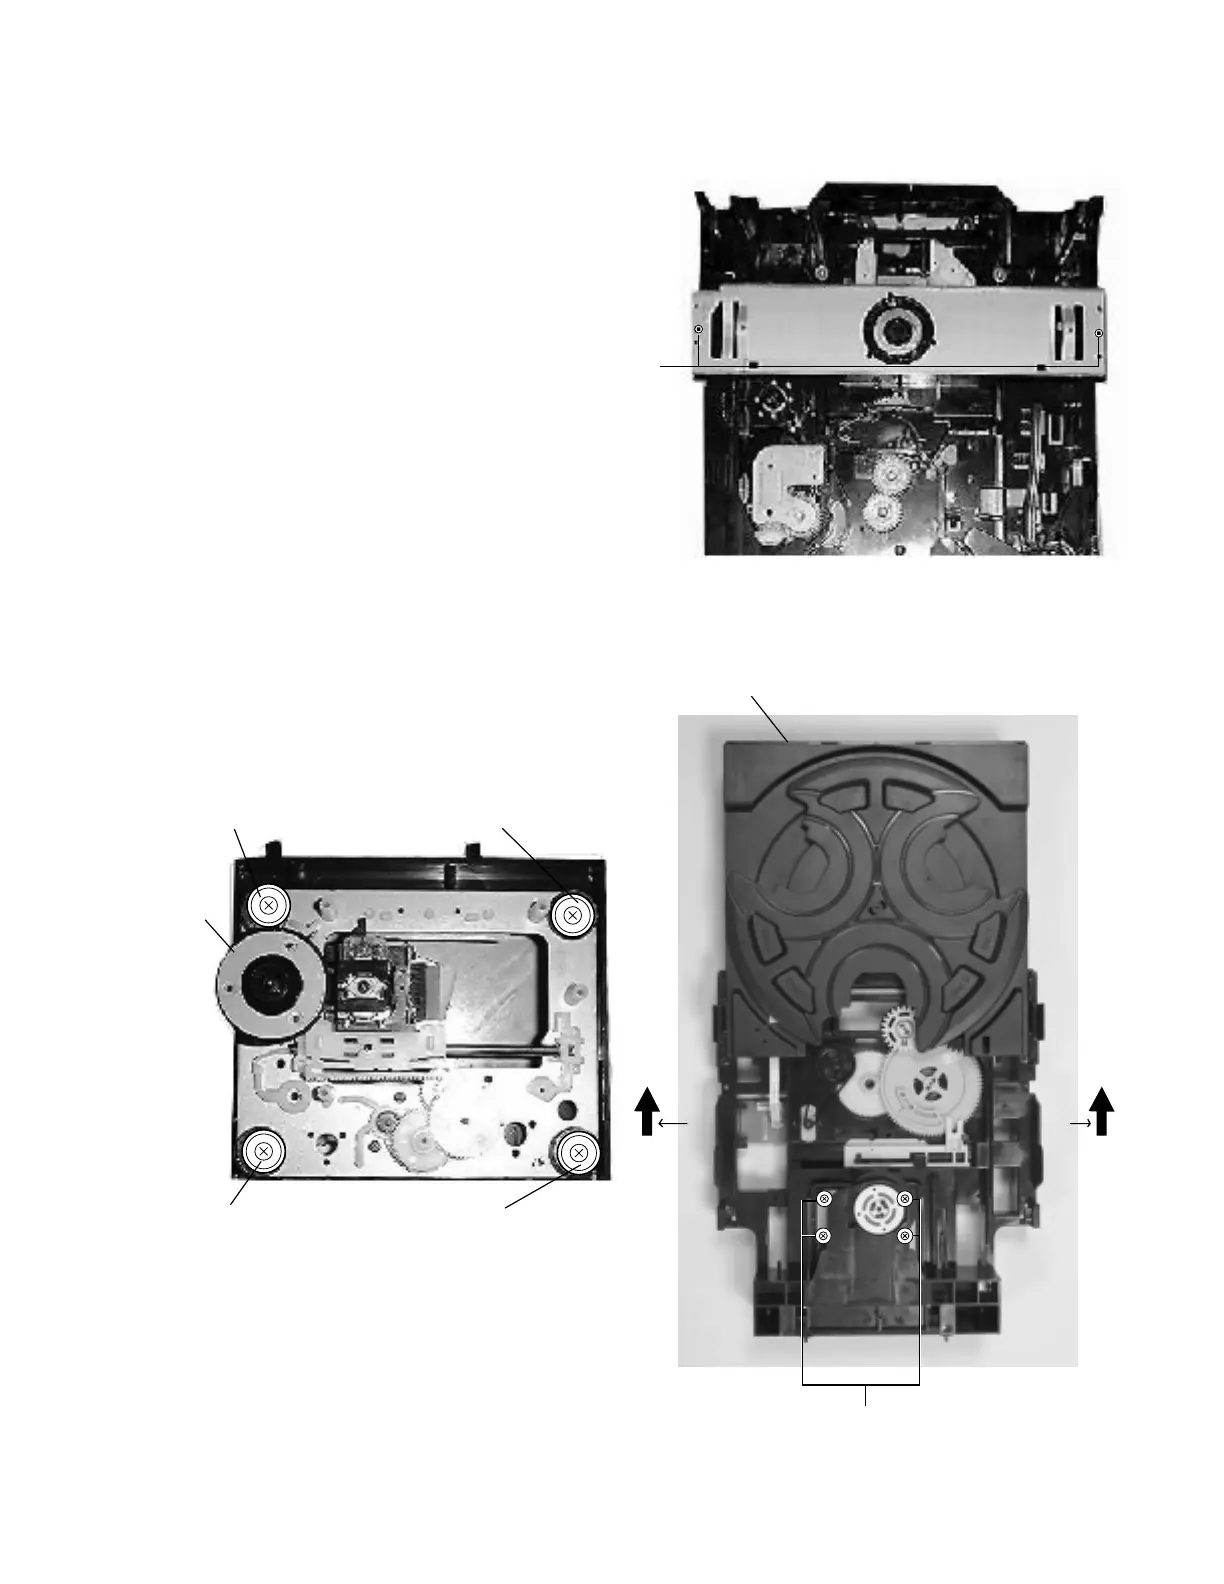
Fig.14
D
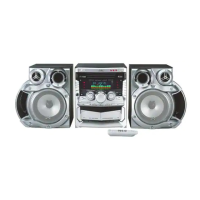
Fig.16
K
( Silver color)
K
( copper color)
K
( Silver color)
K
( copper color)
CD changer
mechanism
assembly
Removing the CD changer mechanism
assembly (See Fig.14 to 15)
Prior to performing the following procedures, remove
the top cover and both sides board.
Also remove the CD changer unit.
1. Removing screws
D
from the front chuck base of the
CD changer mechanism unit.
2. Turn the CD changer mechanism cover base and
remove screws
E
connecting the unit to the CD
changer mechanism assembly.
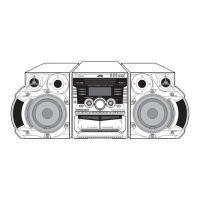
3. Removing four screws
K
retaining the CD mechanism
holder assembly.
[Caution]
When replacing the CD changer mechanism
assembly, be sure not to mistake the positions
of the silver color and copper color spring.
Fig.15
E
CD changer
unit