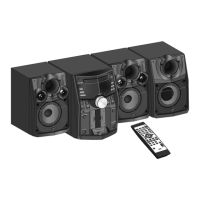
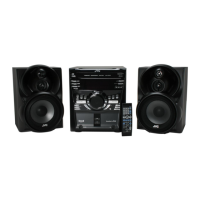
1-10 (No.MB664<Rev.002>)
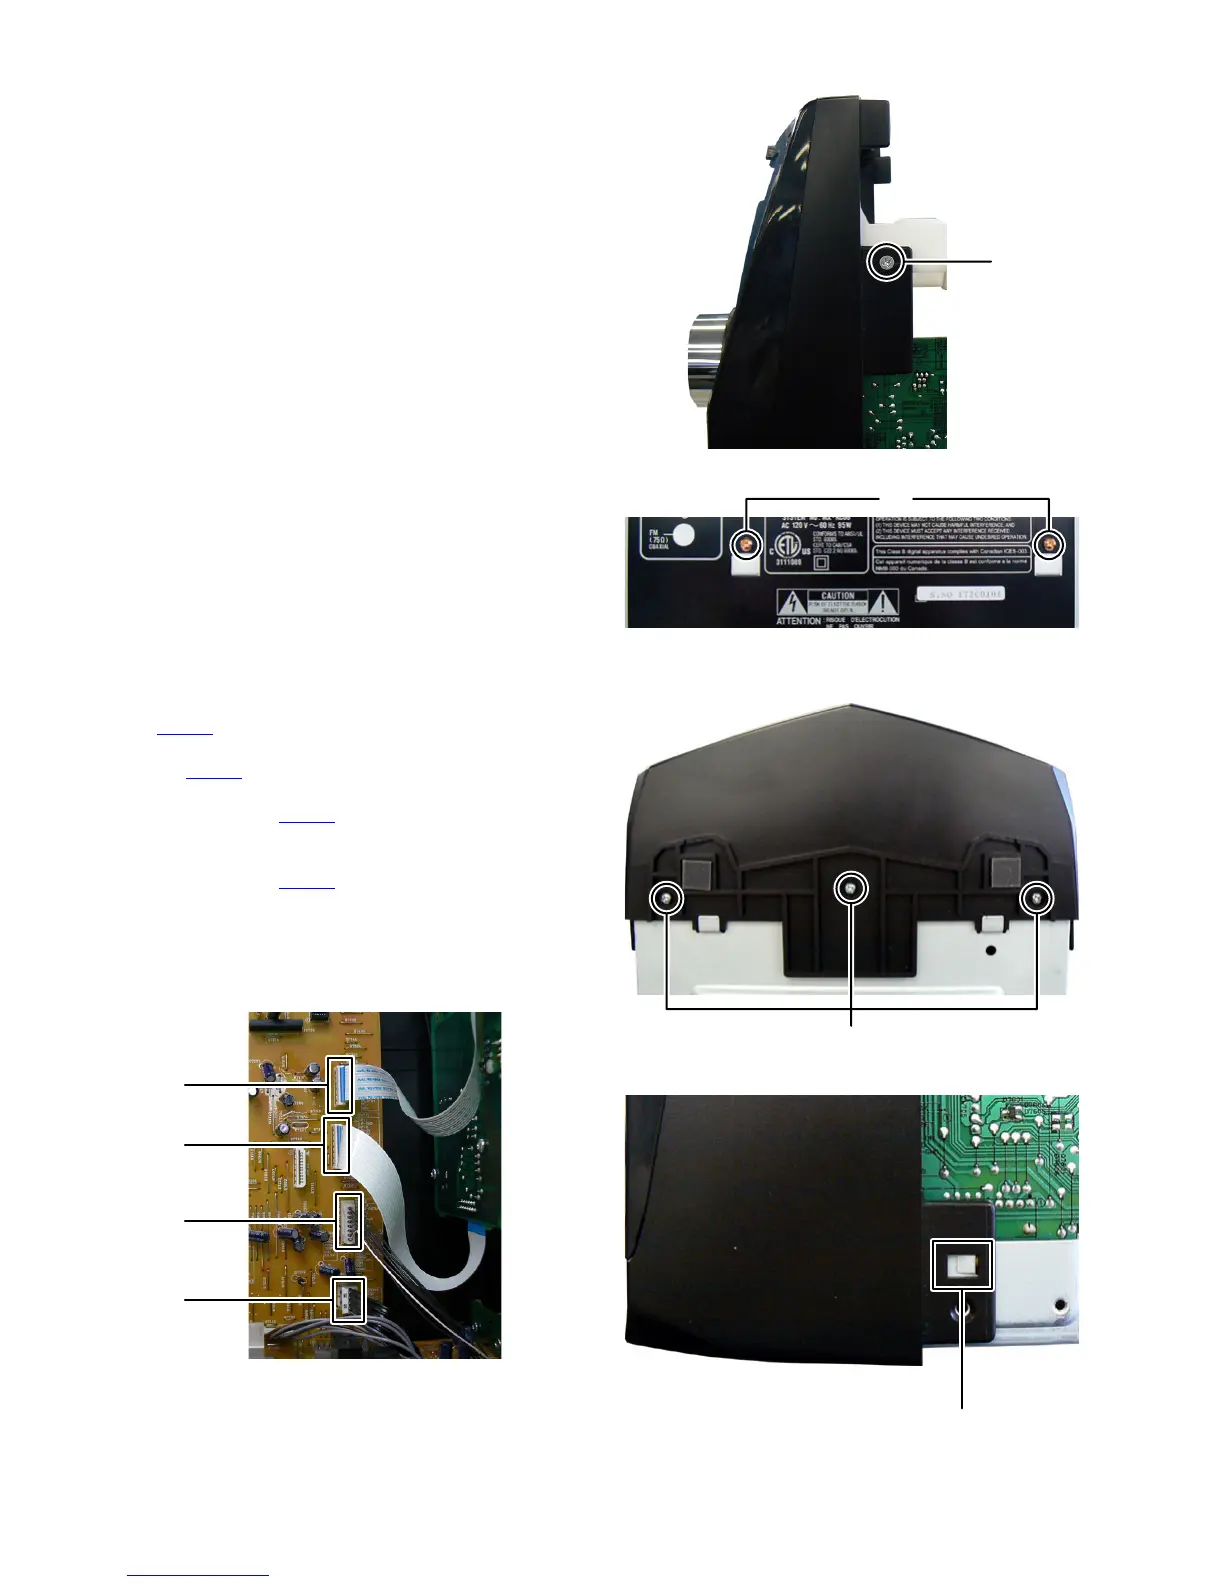
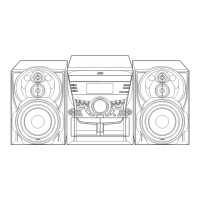
3.1.4 Removing the CD chassis (See Fig.7, 8)
(1) Remove the two screws E attaching the both side of the
Front panel. (See Fig.7)
(2) Remove the two screws F attaching the CD chassis. (See
Fig.8)
Fig.7
Fig.8
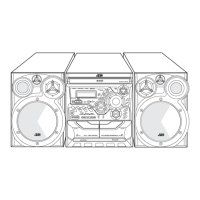
3.1.5 Removing the Front panel (See Fig.9 to 11)
(1) Disconnect he card wire from FL board connected to con-
nector CN700
of the Micom board. (See Fig.9)
(2) Disconnect the card wire from Volume board connected to
connector CN701 of the Micom board. (See Fig.9)
(3) Disconnect the connector wire from iPod jack board con-
nected to connector CN702
of the Micom board. (See
Fig.9)
(4) Disconnect the flat cable wire from Audio input board con-
nected to connector CN705
of the Micom board. (See
Fig.9)
(5) Remove the three screws G attaching the Front panel.
(See Fig.10)
(6) Disengage two hooks a engaged both side of the Front
panel. (See Fig.11)
Fig.9
Fig.10
Fig.11
E
F
CN700
CN701
CN702
CN705
G
hook a