Note: The indicator of the meter may make excessive
deflections (from right to left) when starting the
turntable or changing the rotation speed, or when
the PITCH CONTROL knob is quickly turned.
However, this does not mean a malfunction exists
with the unit.
How to make adjustments if the pitch control meter should
indicate incorrectly (when the meter does not display "0"
in the QUARTZ LOCK operation). (See Fig. 16)
1. Disconnect the power cord from the outlet.
2. Remove the platter from the motor shaft.
3. Turning the "0" position adjusting screw clockwise moves
the indication to the right.
Turning this screw counterclockwise moves the indication
to the left.
Generally, there is no need for adjustment since proper
adjustment has been performed at the factory. Should the
indication of the meter be incorrect, adjust it in the manner
above.
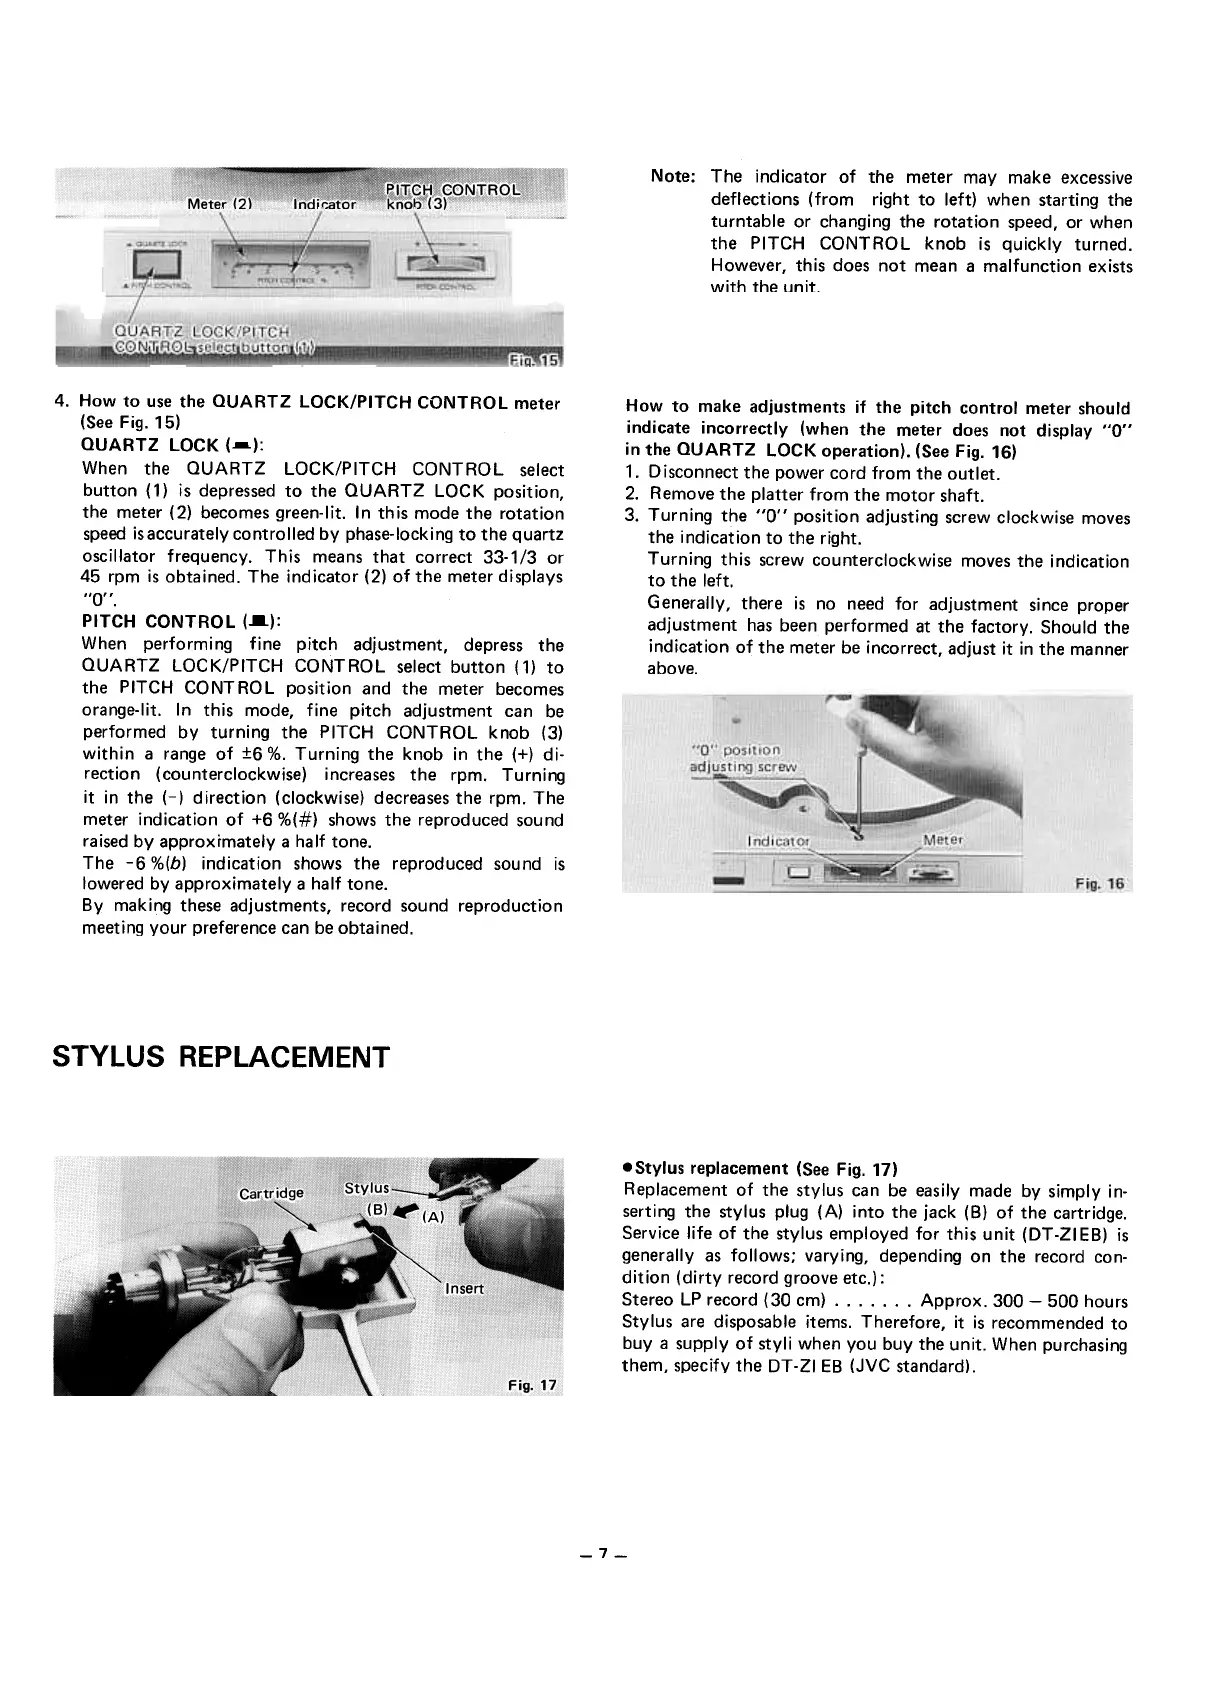
4. How to use the QUARTZ LOCK/PITCH CONTROL meter
(See Fig. 15)
QUARTZ LOCK (--):
When the QUARTZ LOCK/PITCH CONTROL select
button ( 1) is depressed to the QUARTZ LOCK position,
the meter (2) becomes green-Iit. In this mode the rotation
speed is accurately controlled by phase-Iocking to the quartz
oscillator frequency. This means that correct 33-1/3 or
45 rpm is obtained. The indicator (2) of the meter displays
"0".
PITCH CONTROL (..):
When performing fine pitch adjustment, depress the
QUARTZ LOCK/PITCH CONTROL select button (1) to
the PITCH CONTROL position and the meter becomes
orange-lit. In this mode, fine pitch adjustment can be
performed by turning the PITCH CONTROL knob (3)
within a range of :!:6 %. Turning the knob in the (+) di-
rection (counterclockwise) increases the rpm. Turning
it in the (-) direction (clockwise) decreases the rpm. The
meter indication of +6 %(#) shows the reproduced sound
raised by approxrmately a half tone.
The -6 %(b) indication shows the reproduced sound is
lowered by approximately a half tone.
By making these adjustments, record sound reproduction
meeting your preference can be obtained.
STYLUS REPLACEMENT
.Stylus replacement (See Fig. 17)
Replacement of the stylus can be easily made by simply in-
serting the stylus plug (A) into the jack (8) of the cartridge.
Service life of the stylus employed for this unit (DT -21 E8) is
generally as follows; varying, depending on the record con-
dition (dirty record groove etc.) :
Stereo LP record (30 cm) Approx. 300- 500 hours
Stylus are disposable items. Therefore, it is recommended to
buy a supply of styli when you buy the unit. When purchasing
them, specify the DT -21 E8 (JVC standard) .
-7-
 Loading...