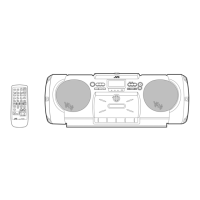
Using the microphone/guitar
Using a microphone or a guitar (not supplied), you can mix its
sound with a source soLIl]d.
_ Adjust the VOLUME +/- control and the
MIC/GUITAR LEVEL control, as you play the
mJcPophone or the guitar.
suretheMlC/CUIVARLEVELcontrol
on the rear of the system is properly set.
• When using a microphone, make sure the knob is pressed in
(-).
. When using a guitar, make st]re the knob is released (J).
2.Set the MIC/GUITAR LEVEL control to MIN
by turning it fully counterclockwise,
_ Connect a microphone or a guitar into the
MIC/GUITAR INPUT jack on the rear of the
system.
a source: disc, tape, tuner, or other
equipment.
CAUTION: DO NOT connect a bass guitar to the
MBC/GUBTAR iNPUT jack, as it ,nay damage the
system.
Fo|Jew the above steps -_.
2.1"o record, fellow the steps in "Standard
recording." (See page 14.)
Note: If"howling" occurs when using the microphone, keep the
microphone away from the speaker.
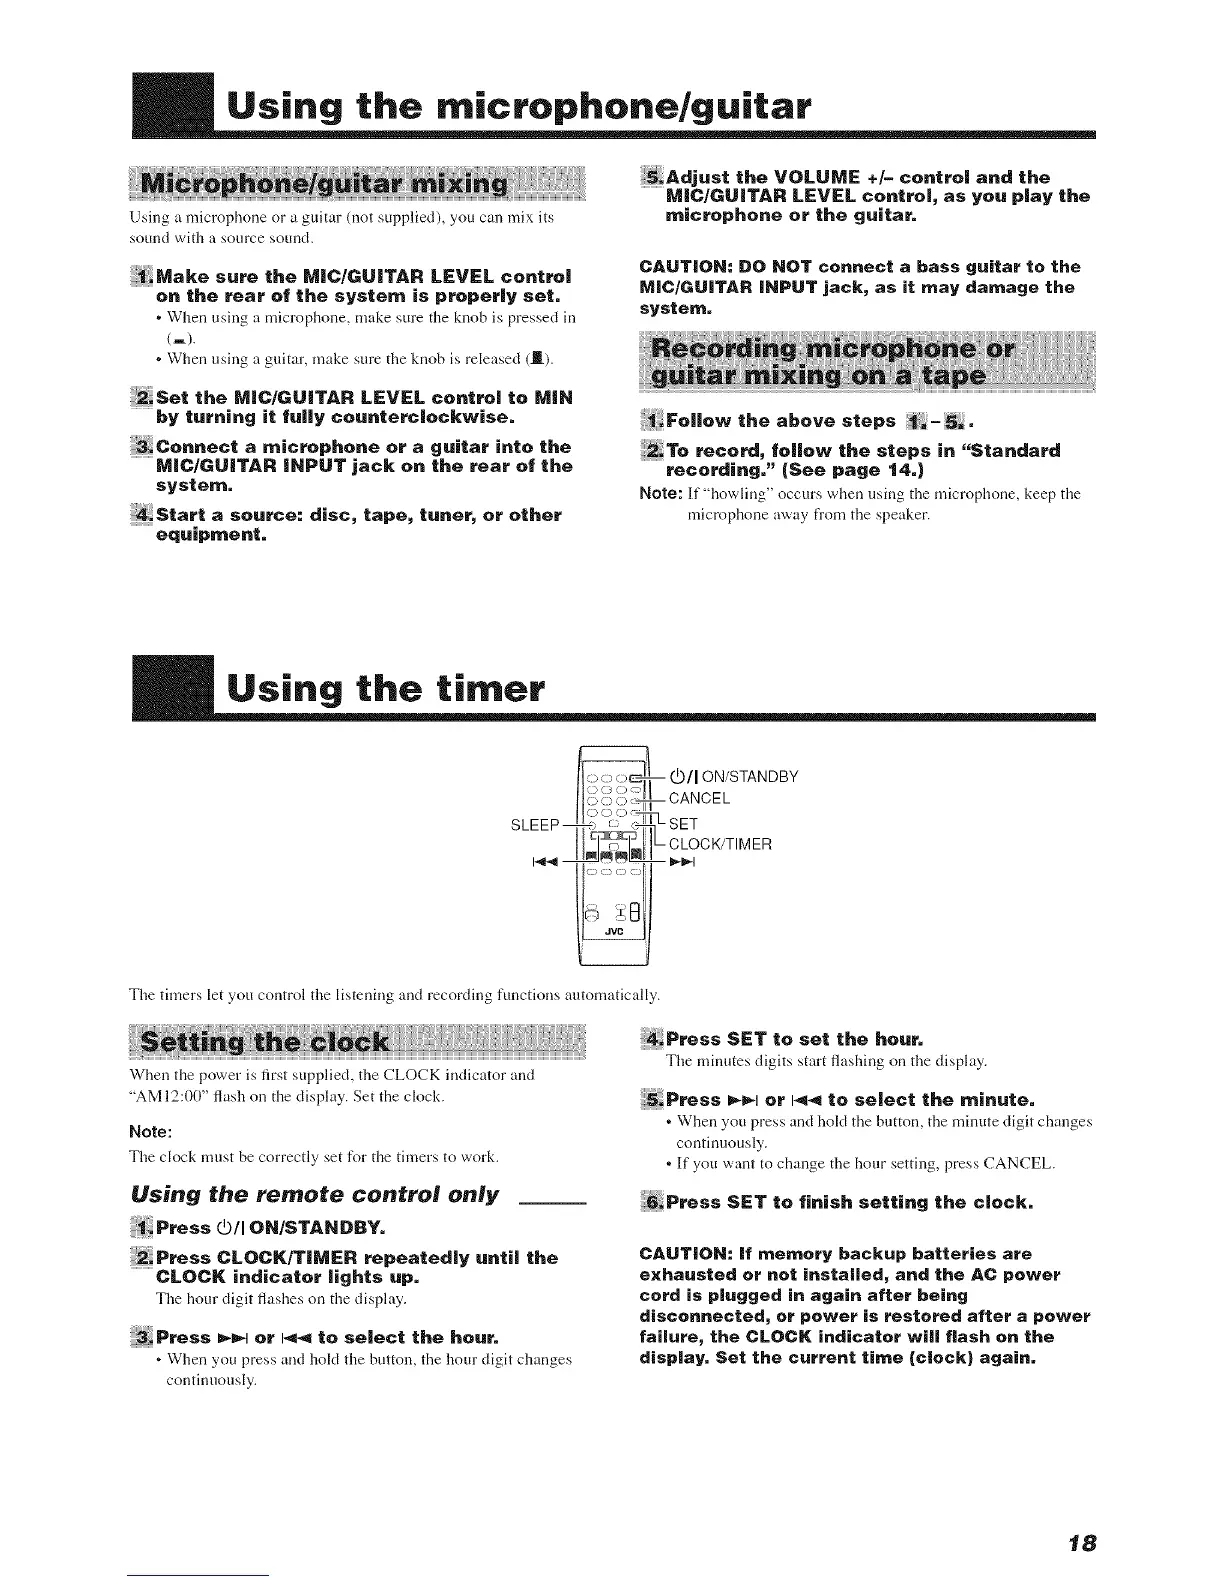
Using the timer
__/I ON/STANDBY
..... ]i__ CLOCK/TIMER
The timers let you control the listening and recording functions amomatically.
When the power is first supplied, the CLOCK indicator and
"AM 12:0(Y' flash on the display. Set the clock.
Note:
The clock must be correctly set for the timers to work.
Using the remote control only
Press _/I ON/STANDBY.
2:Press CLOCR/TIMER repeatedJy unti| the
CLOCK indicator |ights up.
The hour digit flashes on the display.
_._or,.. to selectthehour.
. When you press and hokl the button, the hour digit changes
continuously.
Pressssvtosett.e hour,
The minutes dUts start flashin_ on the display.
,_,-_or,._ to selecttheminute,
o • _ /TWhen you press and hold the button, the minute digit chan_es
continuously.
• If you want to change the hour setting, press CANCEL.
e.PressSETtofinishsettingtheclock.
CAUTION: If memory backup batteries are
exhausted or not installed, and the AC power
cord is plugged in again after being
disconnected, or power is restored after a power
failure, the CLOCK indicator will flash on the
display. Set the current time (clock) again.
18
 Loading...