1-6 (No.MB082)
SECTION 3
DISASSEMBLY
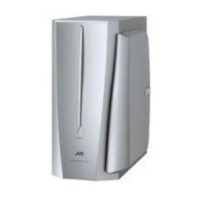
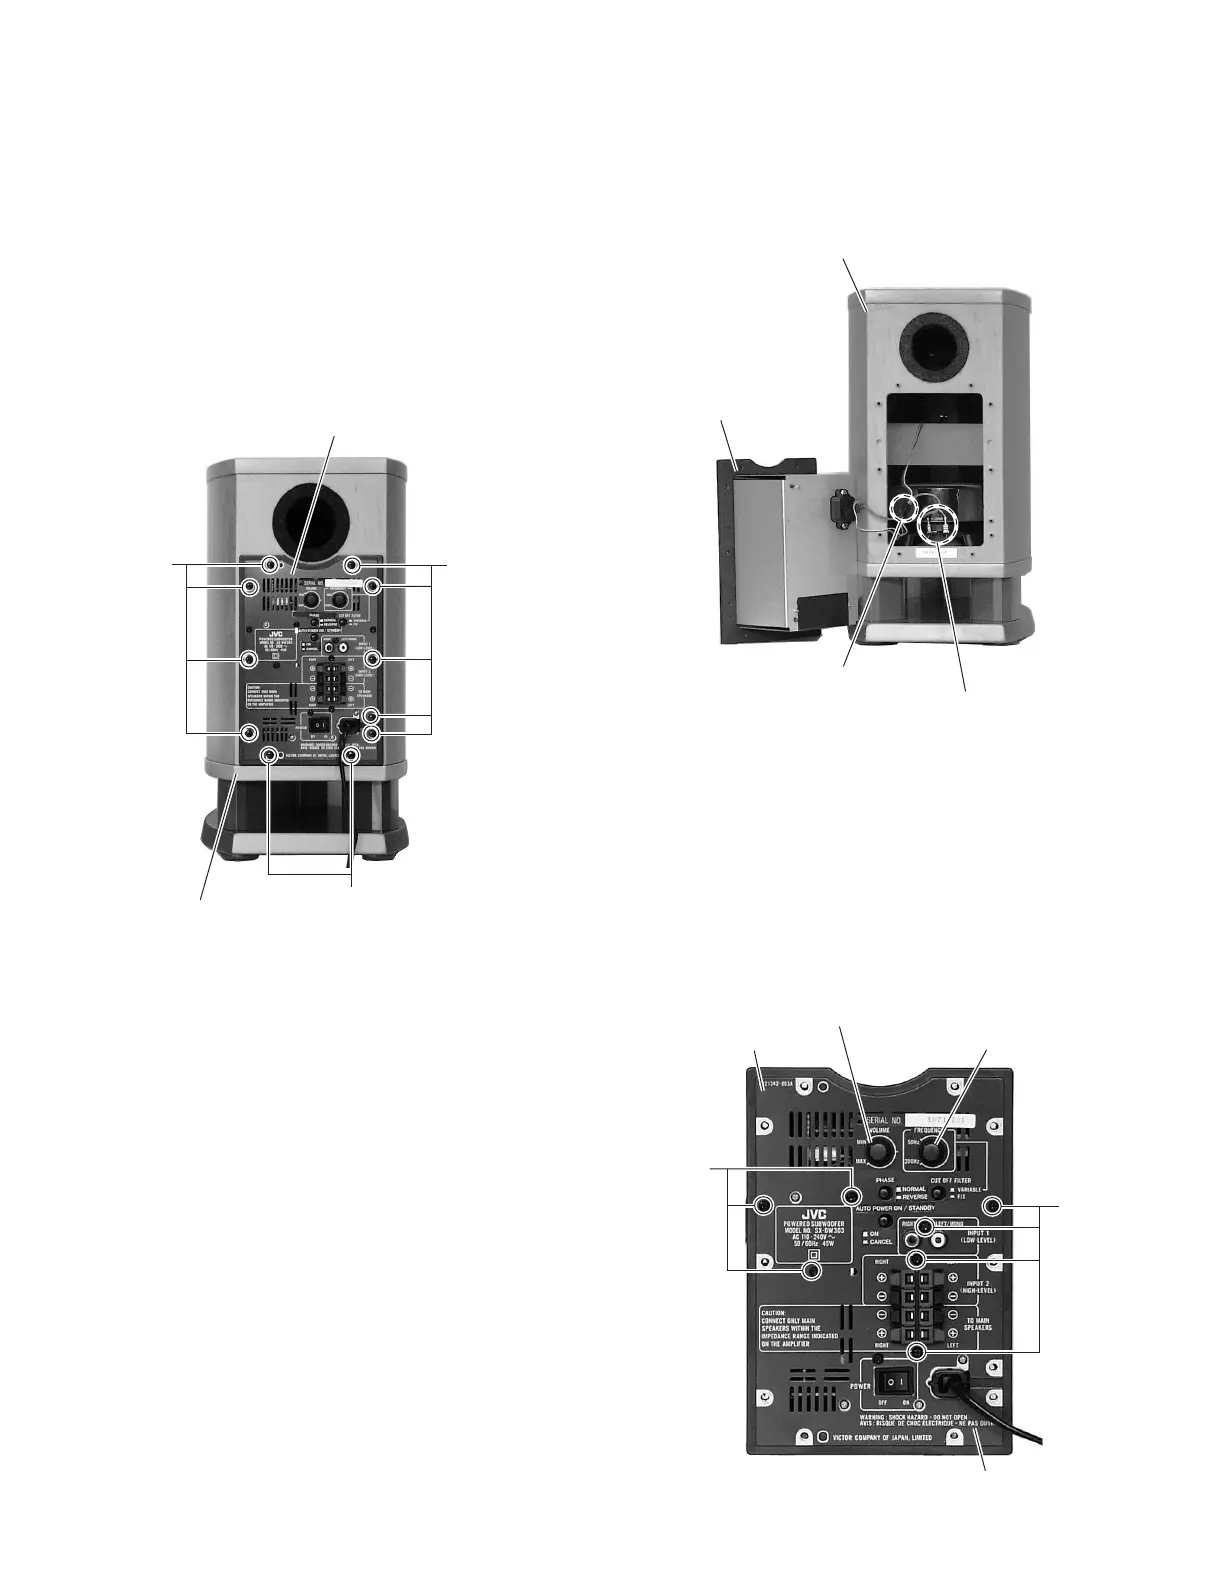
3.1 Removing the amplifier assembly
(See Figs.1 and 2)
(1) Remove the eleven screws A attaching the amplifier as-
sembly. (See Fig.1.)
(2) Remove the amplifier assembly from the service cabinet.
(See Fig.2.)
(3) From the back side of the amplifier assembly, disconnect
the wire from the wire connector. (See Fig.2.)
(4) Disconnect the speaker wire from the speaker terminal.
(See Fig.2.)
Fig.1
Fig.2
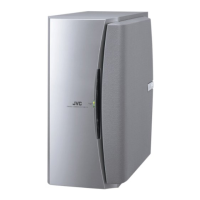
3.2 Removing the back panel
(See Fig.3)
• Prior to performing the following procedures, remove the am-
plifier assembly.
(1) Pull out the volume knob and frequency knob.
(2) Remove the seven screws B attaching the back panel.
Fig.3
Amplifier assembly
Service cabinet
A
A
A
Wire connecter
Speaker terminal
mplifier assembly
Service cabinet
Frequency knob
Volume knob
B
B
mplifier assembly
Back panel
www.freeservicemanuals.info
 Loading...