31
Setting preferences
: Other setting menu (OTHERS)
7 RESUME (See page 25.)
You can activate or deactivate Resume Playback function.
7 ON SCREEN GUIDE
You can activate or deactivate the on-screen guide icons.
(See page 23.)
You can set the analog or digital audio input terminal to use
with the source of VIDEO 1-3.
NOTE
• Before you start the operation;
There is a time limit in doing the following steps. If the
setting is canceled before you finish, start from step 2 again.
1 Select “VIDEO 1”, “VIDEO 2” or
“VIDEO 3” as the source.
(See page 16.)
2 Press SETTING.
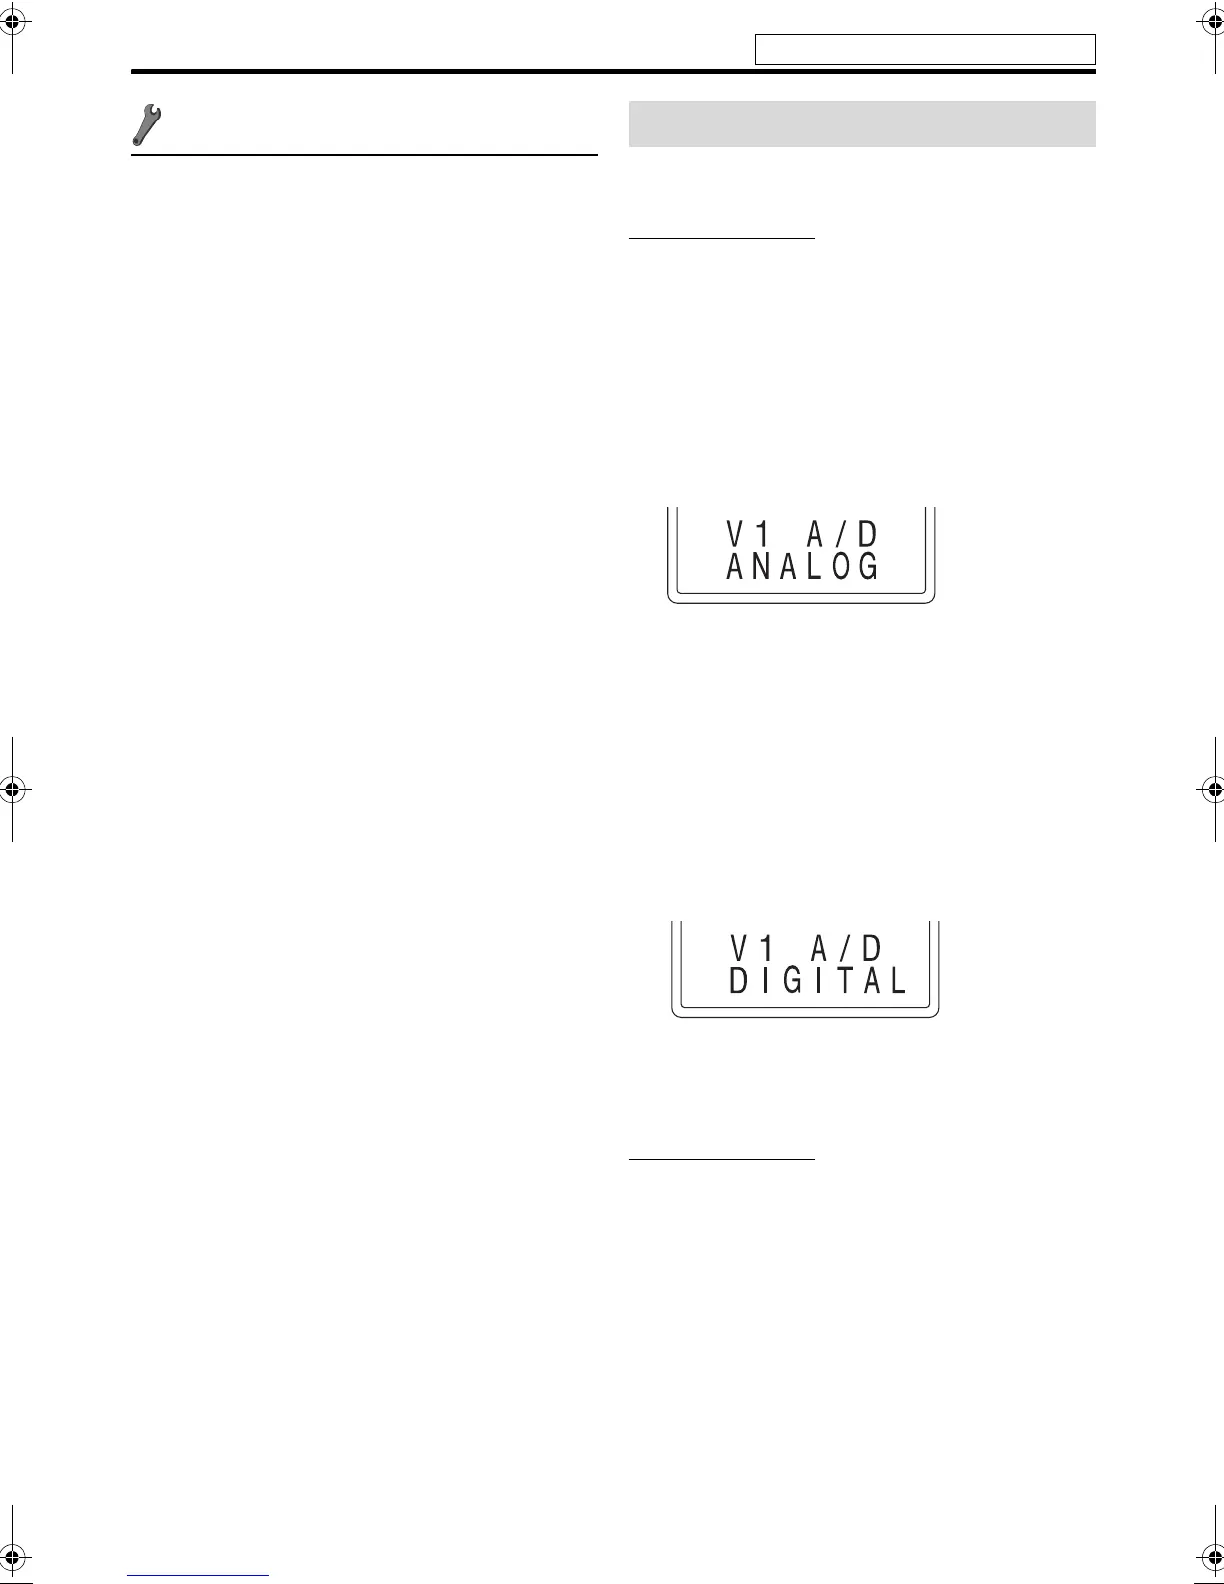
Example:
3 Press 5/Y to select the source
you want to set.
• V1 A/D: For the source of VIDEO 1
• V2 A/D: For the source of VIDEO 2
• V3 A/D: For the source of VIDEO 3
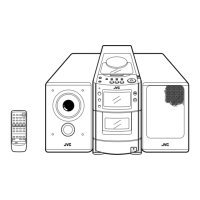
4 Press 2/3 to select the audio
input terminal you want to use for
the source selected in the above
step.
Example:
• ANALOG: Signal from AUDIO jacks comes out of
the speakers (see pages 10 to 12).
• DIGITAL: Signal from DIGITAL IN terminal comes
out of the speakers (see pages 10 to 12).
NOTE
• If you press DVD 3 or DVD 8 in the middle of the
procedure, you cannot select ANALOG/DIGITAL by
pressing 2/3. In this case, press the button for the current
source (VIDEO1, VIDEO2 or VIDEO3) then press 2/3 to
select ANALOG/DIGITAL.
Setting the audio terminal
See page 29 for button locations.
TH-L1[U].book Page 31 Friday, June 1, 2007 9:34 AM