30
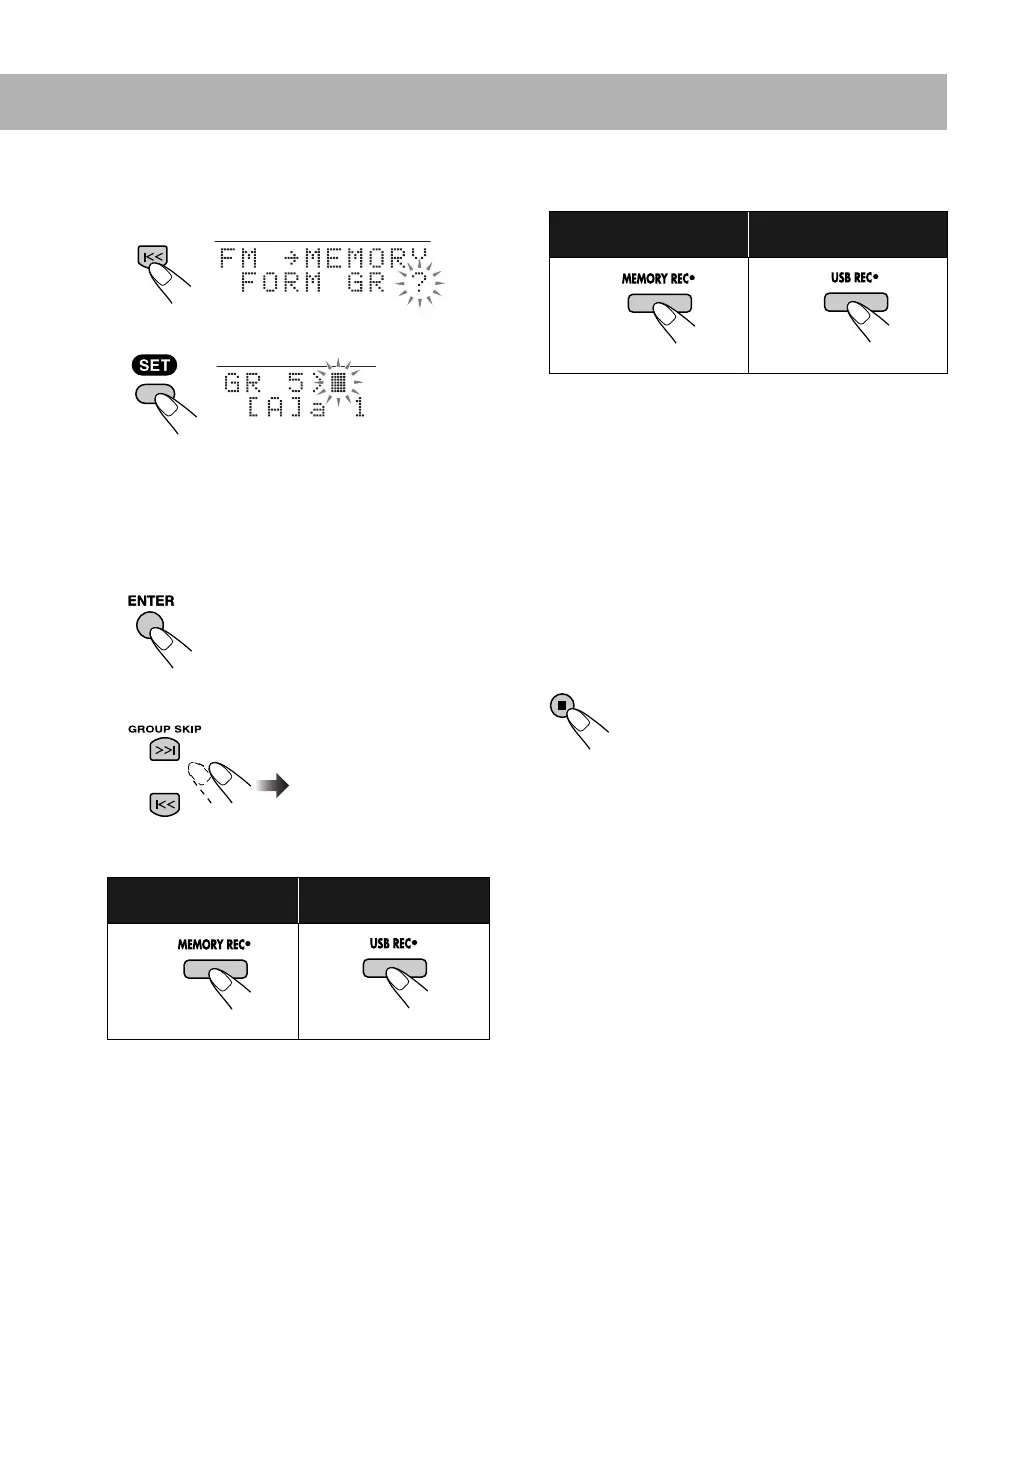
5 Select a group to record tracks into.
• When you make a new group:
1 Select “FORM GR ?” mode.
2 Make a new group.
• The first new group you make is displayed as the
2nd group because the root of the target device is
recognized as the 1st group.
• You can enter the title of new group in this step. See
“Entering Titles” on page 35.
3 Start recording.
• When you select an existing group:
1 Select a desired group.
• See also page 10.
2 Start recording.
• When you want to record into the root group (G1
MUSIC):
6 Start playing the source (only for iPod or external
equipment).
When the sound signal comes into the System, recording
starts automatically.
• When the incoming signal from external equipment is
too weak, recording does not start. In this case, increase
the volume on the external equipment.
• When recording does not start, you can start recording
manually by pressing MEMORY 6 or USB 6.
When no signal is detected for 30 seconds, recording
stops.
To stop recording
To record onto built-in
memory:
To record onto USB
device:
Ex. When a 5th group is made
(on the main unit)
(on the main unit)
To record onto built-in
memory:
To record onto USB
device:
(on the main unit)
(on the main unit)
UX-DM9[B].book Page 30 Friday, July 20, 2007 2:18 PM
 Loading...