40
Timer Operations
INFO
Setting Recording Timer
You can use Recording Timer to record radio broadcasts or
sounds from external equipment onto the built-in memory.
• You can store three timer settings in total for Recording
Timer and Playback Timer (see page 42).
• To exit from the timer setting, press CLOCK/TIMER as
required.
• To correct a mis-entry during the process, press CANCEL.
You can go back to the previous step.
1 Prepare the source to record.
•
When you want to record the radio broadcast:
Preset the desired station or service. (See page 8 for
FM/AM or page 19 for DAB.)
•
When you want to record from external equipment:
Connect the external equipment to the AUX jack (see
page 12) and set the timer on the equipment.
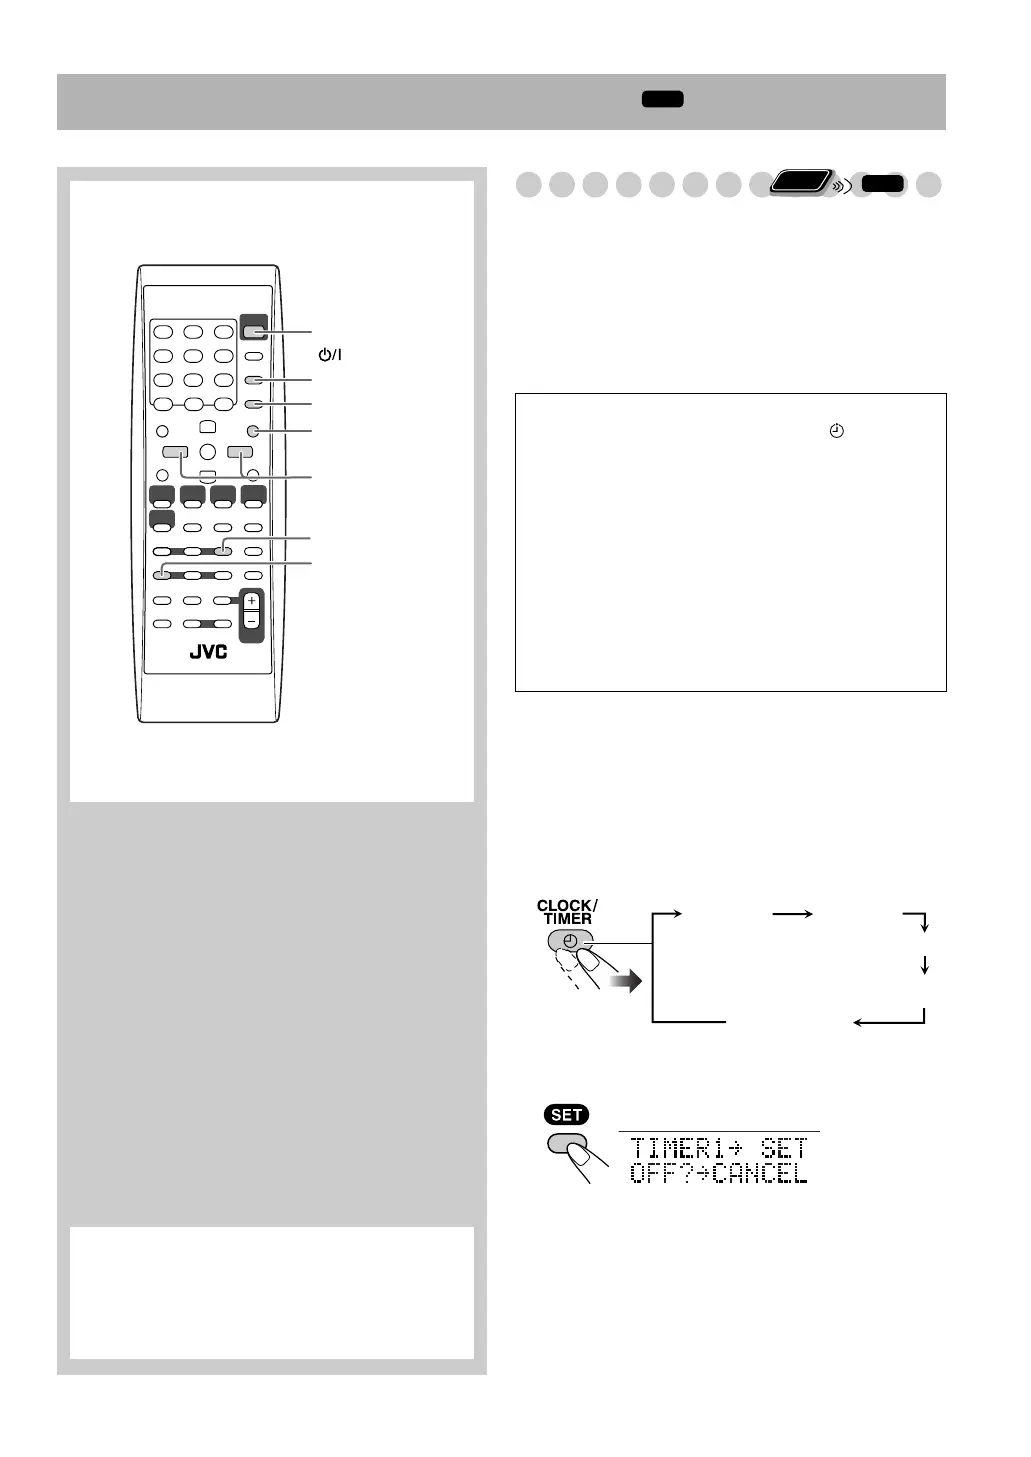
2 Select “TIMER1,” “TIMER2,” or “TIMER3.”
3 Confirm your selection.
REPEAT
SET
CANCEL
4,¢
STANDBY/ON
CLOCK/TIMER
ENTER
HQ/SP/EP
Remote control
When you want to activate several timers, leave a
gap of 6 minutes or more between the end time of the
first timer and the start time of the second timer. If
the gap is less than 6 minutes, the second timer does
not work.
How Recording Timer works
When Recording Timer has been set, the indicator,
REC indicator and timer number (1, 2, or 3) indicator are
lit on the display.
• Recording Timer starts working only when the System
is turned off (on standby).
When the start time comes
The System turns on, starts playing the specified source,
sets the volume level to the preset level and starts
recording.
When the end time comes
The System stops recording and turns off (on standby).
• The timer setting is stored until you change it.
Remote
ONLY
INFO
TIMER1 TIMER2
TIMER3
Canceled
Clock setting
Example: when TIMER1 is selected.
Continued on the next page
UX-DM9[B].book Page 40 Friday, July 20, 2007 2:18 PM
 Loading...